Installing a Connector on Coax CablePage 7
Installing the Power Switch
If the antenna has a power socket on the base AND you would like to install the power switch, proceed with instructions for
installing the power switch.
If the antenna is powered through the receiver and does not have a power socket on the base, the power switch does not
need to be installed. If the antenna has a power socket but you would prefer to power the antenna by connecting the 12V
power cable to a 12V power source, the power switch does not need to be installed.
To install the power switch, make sure “WINEGARD”,
“OFF”, and “ON” are all facing upwards, and push the
power switch through the hole in the wall plate. The
power switch should snap into place.
Choose a location to install the power switch. Be sure the
switch is in the “OFF” position before continuing.
For a wall or panel mount, drill a 1-¼” hole, and pull wires
through the wall or panel.
The 12V power plug should already have been cut off
of the supplied power cord (step 2 of previous section).
Then, strip the jacket to expose the black and red wires.
Strip both the red and black wires 1/8” back.
Connect the 12 volt power wire from the truck to a red
terminal insulator. Then, connect the terminal insulator to
the spade that lines up with the marked “OFF” side of the
power switch.
Connect the red wire from the antenna power cord to
a red terminal insulator. Then, connect the terminal
insulator to the spade that lines up with the marked “ON”
side of the power switch.
Slide the ground wire from the truck into one end of the
barrel crimp splice, and slide the black ground wire from the
antenna into the opposite end of the splice. Crimp the splice.
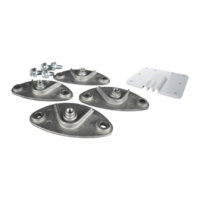
Mount the wall plate with the four supplied wall plate
screws. Tighten.
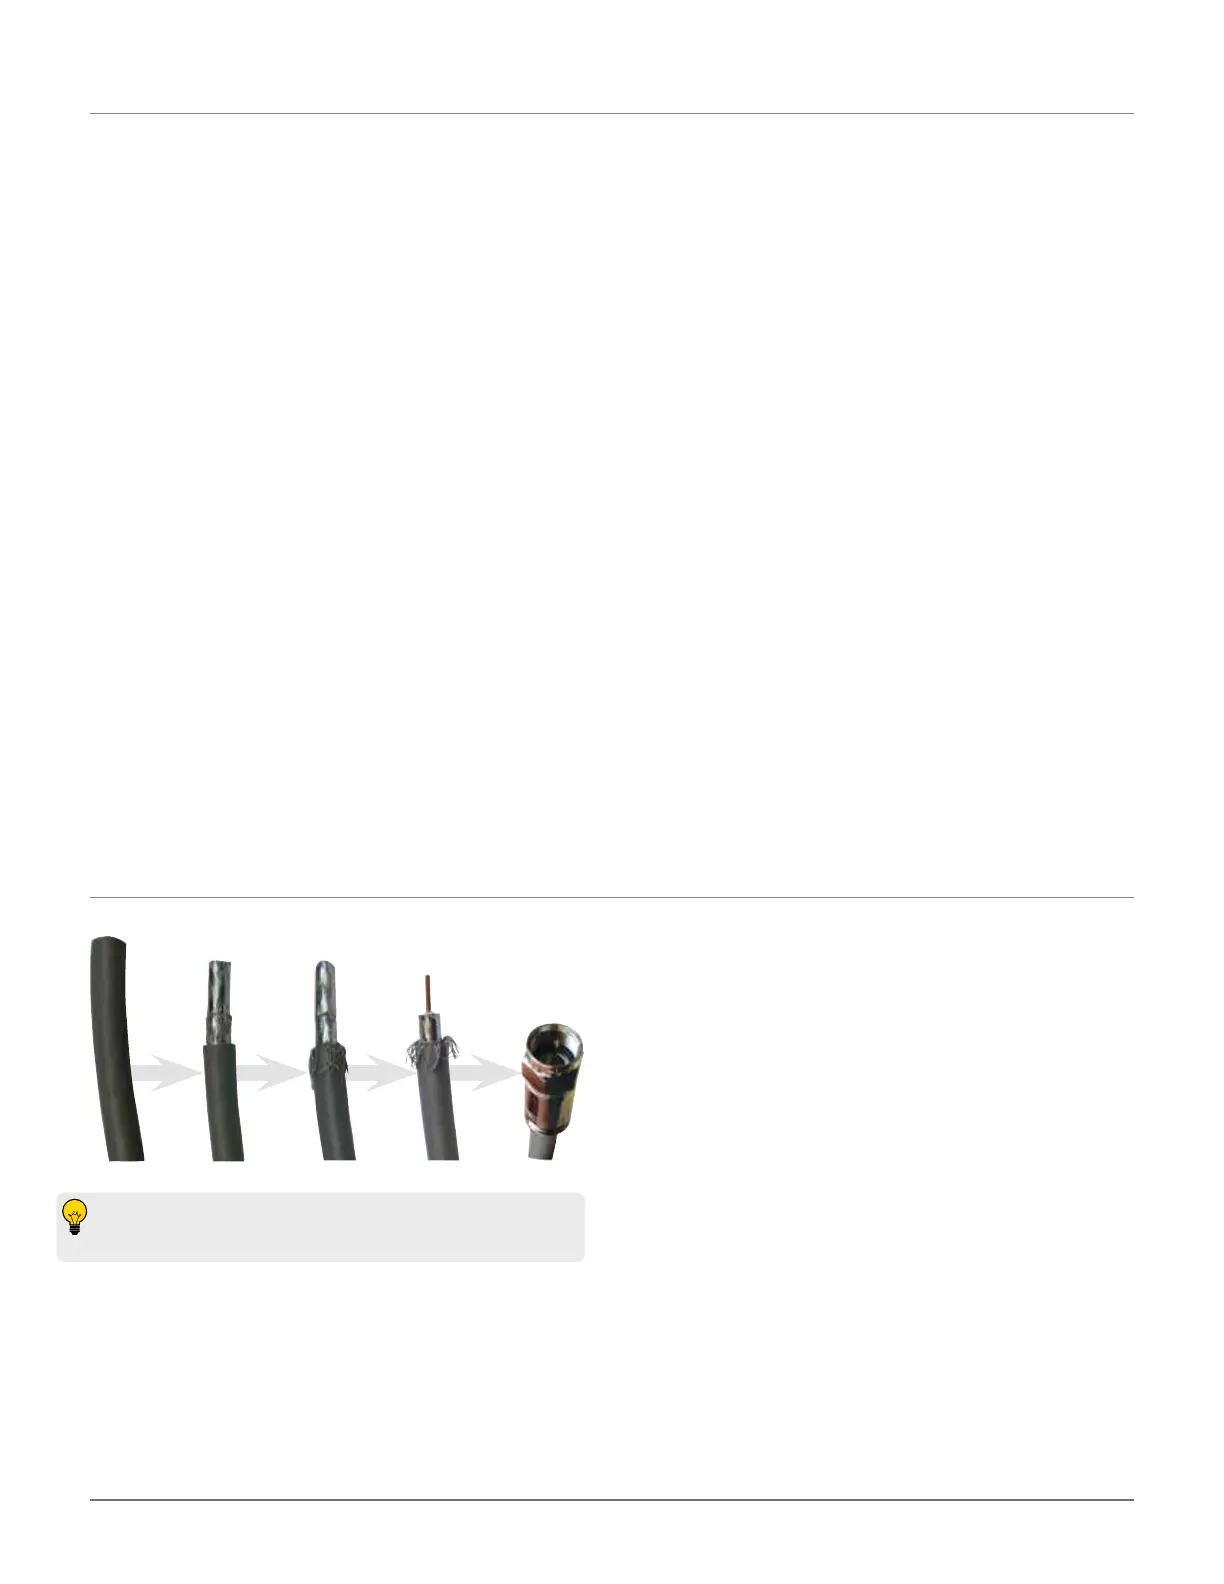
Installing a Connector on Coax Cable
Strip the outer cover back 1/2” from the end of the cable.
Fray braid back as far as the outer cover will allow.
Trim braid close to the outer cover, and remove 1/4″
of inner insulation, being careful not to nick the center
conductor. Make sure no foil or braid can touch the center
conductor.
Slide the connector tip between the braid and inner
insulation (braid and foil, on foil shield cable). Push the
connector onto the cable as far as it will go.
Attach the cable with a proper crimping or compression
tool. Do not crush cable out-of-round.
1. 2. 3. 4.
If installing the connector(s) in hot weather, increase
dimensions by 1/4″.
1.
2.
6.
7.
1.
2.
3.
4.
5.
3.
4.
5.
8.
9.
 Loading...