www.winegard.com/mobile
For Technical Services, email help@winegard.com
or call 1-800-788-4417
For Receivers and Programming, call 1-866-609-9374
DO NOT RETURN ANTENNA TO PLACE OF PURCHASE.
For up-to-date information on receiver compatibility and
programming, visit www.winegard.com/receivers
Product Registration
Please register your Winegard product by filling out and returning
the Product Registration Card provided or by completing the online
registration form at http://www.winegard.com/registration.
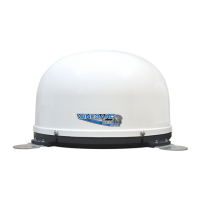
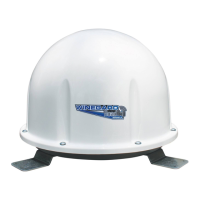
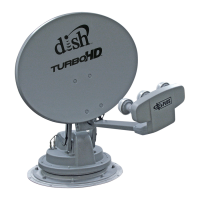
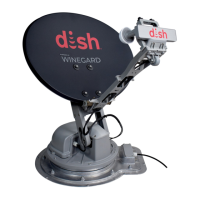
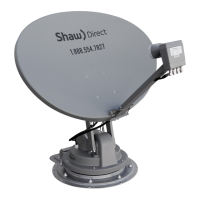
Automatic Roof-Mounted
Satellite TV Antenna
2452219