12
3 Assembly
• Remove the camera head from the rod. .
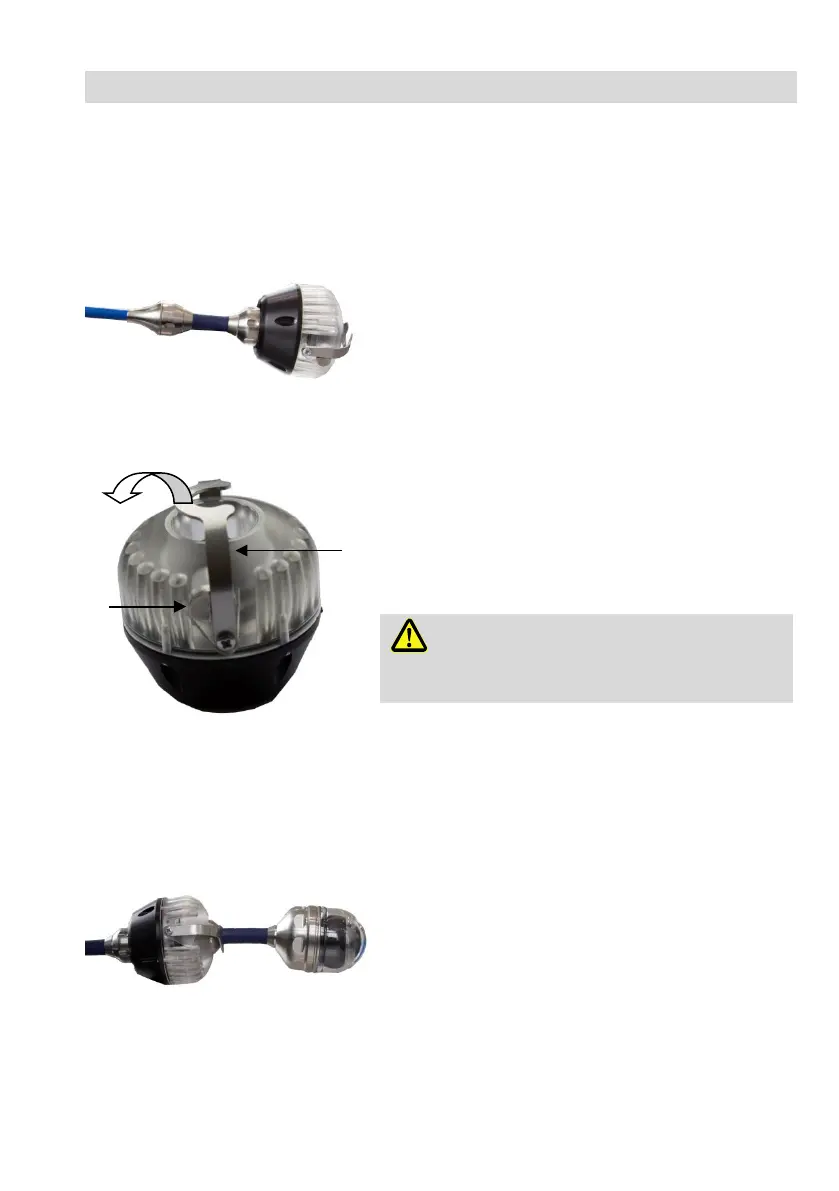
1: Supplementary Light mounted on
• Plug the male connector (8 poles) to the fe-
male connector of the Supplementary Light.
Turn the thread clockwise for closing the
screw connection tightly for a waterproof con-
nection.
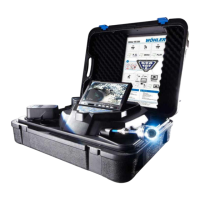
2:
Supplementary light with clamp(1)
and button (2)
• Push the locking clip to the side: Unlock the
clip by pressing the button with the thumb and
pushing the clip with the other hand until the
opening for the camera head is free.
WARNING!
Push the clamp carefully, so that you do not jam
your fingers.
• Plug the camera head on the male connector
of the Supplementary Light, so that the poles
click into place.
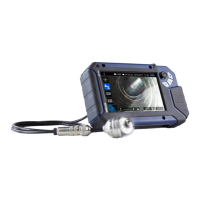
3: Supplementary light mounted
between camera rod and camera head
• Secure supplementary light with the clamp.
Set the clamp vertically so that the button
snaps into place.