12 Operation
MAN1249 (2/28/2018)
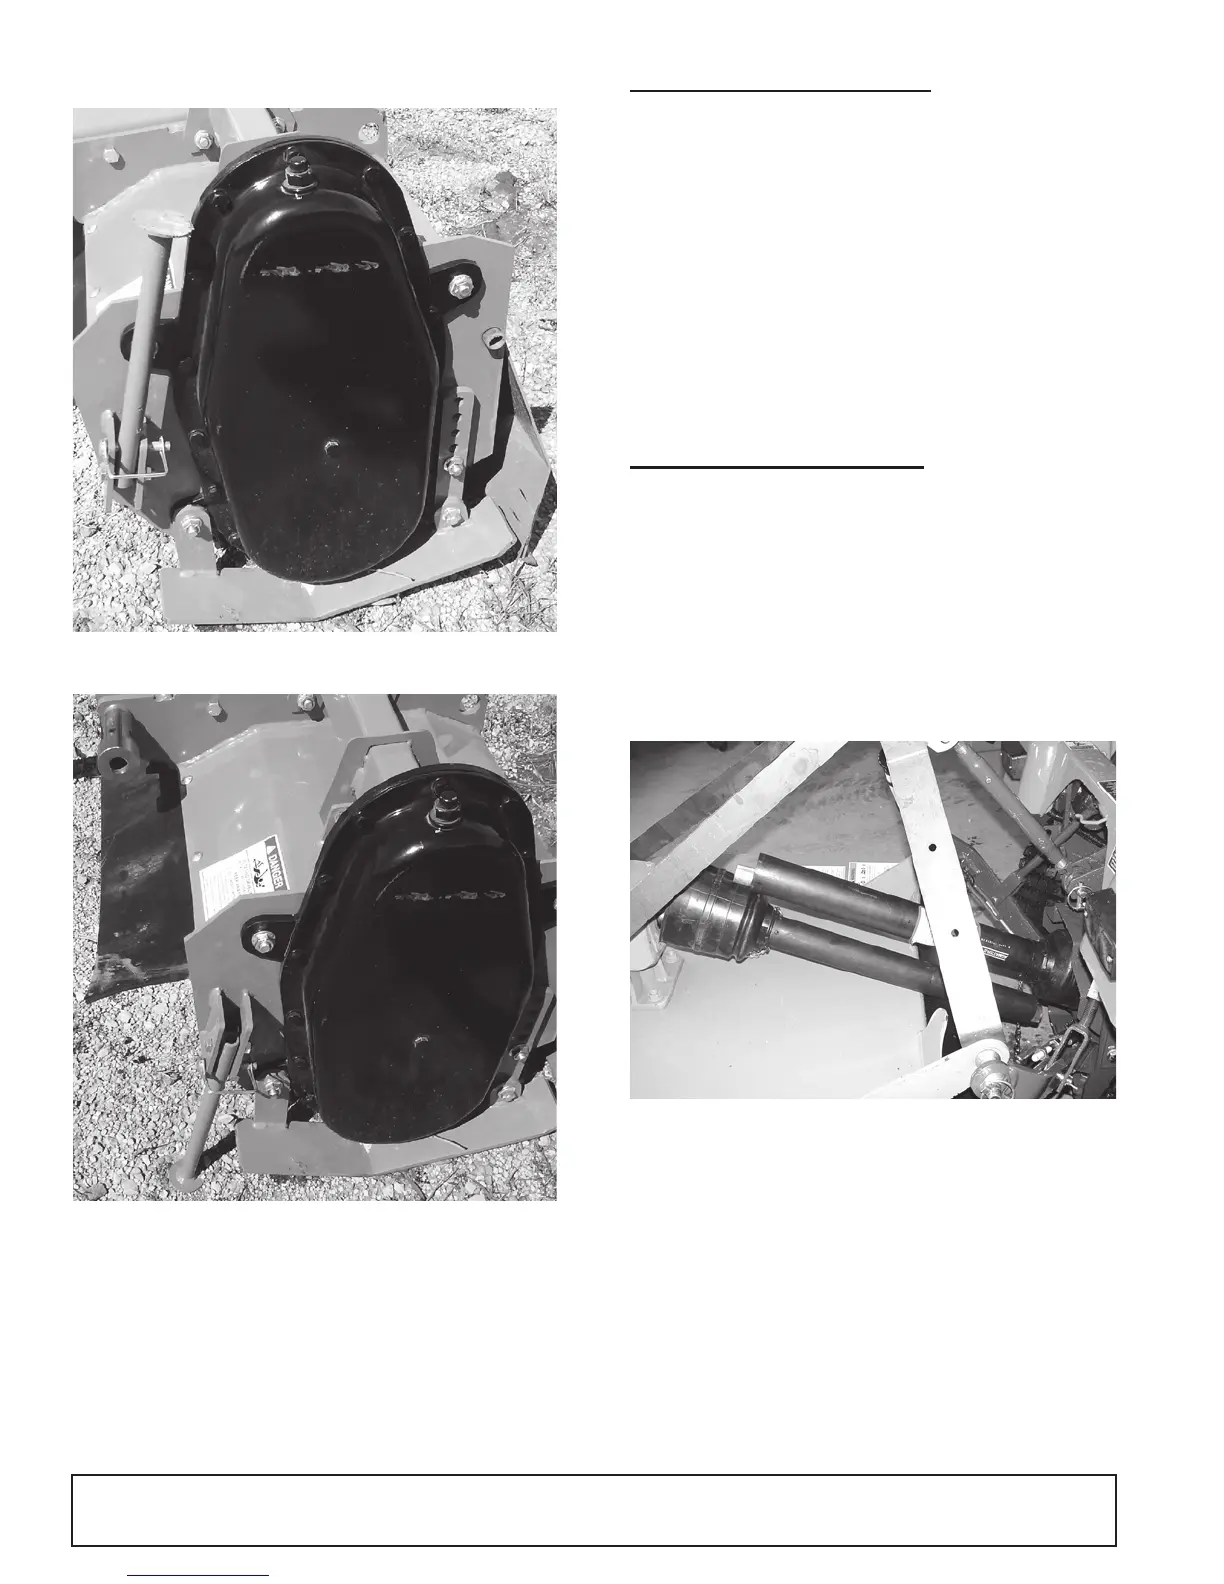
7. Raise park stand and secure in operating position.
Figure 1. Park Stand - Operating Position
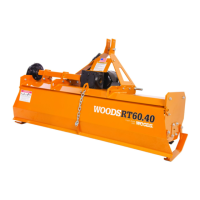
Figure 2. Park Stand - Storage Position
DRIVELINE ATTACHMENT
Attach the rotary tiller to the tractor 3-point hitch (or
quick hitch if available). Do not attach driveline. Raise
and lower the tiller to determine maximum and mini-
mum distance between the tractor PTO shaft and the
gearbox input shaft. If the distance is too large, the
driveline will be too short for proper engagement. If the
distance is too small, the driveline may bottom out in
operation and damage the tiller or tractor.
If the driveline is too short, please call your Woods
dealer for a longer driveline.
If the driveline is too long, please follow the instructions
for shortening the driveline.
SHORTENING DRIVELINE
1. Move the tiller up and down to get the shortest pos-
sible distance between tractor PTO shaft and gear-
box input shaft. Leave the tiller in the minimum
distance position. Install jack stands under the tiller
for support.
2. Separate the driveline into two halves and connect
them to the tractor and the gearbox.
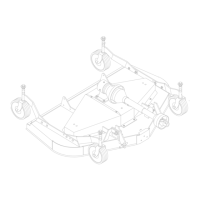
3. Place driveline halves parallel to one another to
determine how much to shorten the driveline.
Figure 3. Drive Halves Placed Parallel
4. Measure from end of the upper shield to the base
of the bell on the lower shield (A). Add 38,1mm (1-
1/2") to dimension (A).