Checking the vacuum and package contents
14
Checking the vacuum and package contents
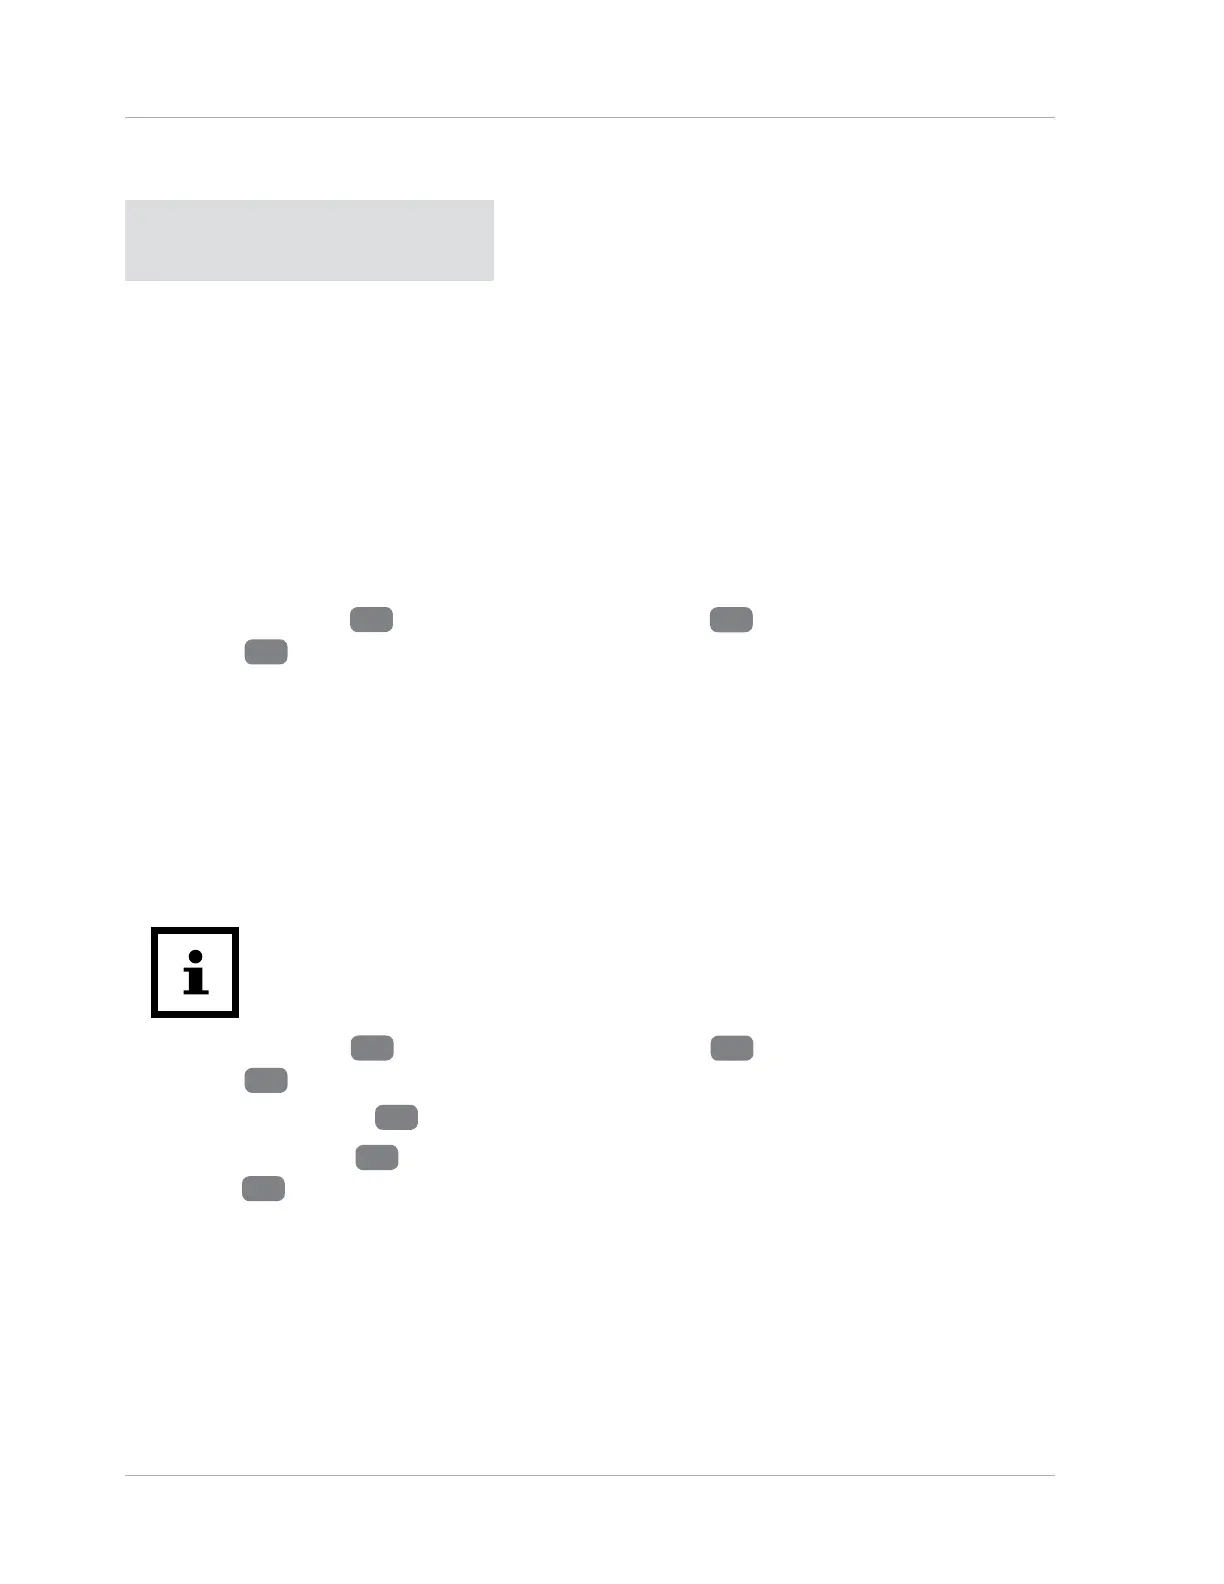
NOTICE!
Risk of damage!
If you are not cautious when opening the packaging with a sharp
knife or other pointed object, you may quickly damage the vacuum.
− For this reason, be very careful when opening it.
1. Take the vacuum out of the packaging.
2. Check to make sure that all parts are included (see Fig. A).
Most of the accessories are stored inside the vacuum. To remove the accessories,
undo the latches
5
and remove the motor head
4
from the vacuum with the
handle
2
.
3. Check whether the vacuum or individual parts are damaged. If this is the case, do
not use the vacuum. Contact the manufacturer via the service address indicated
on the warranty card.
Assembly
Assembling the castors
A crosshead screwdriver is required for assembling the castors.
1. Undo the latches
5
and remove the motor head
4
from the vacuum with the
handle
2
(see Fig. A).
2. Place the dust tank
7
upside down.
3. Insert the castors
10
into the slots on the dust tank and secure them with the
screws
11
(see Fig. B).
4. Turn the dust tank over.
5. Replace the motor head on the dust tank and engage the latches.
Make sure the latches snap tightly in place and are securely engaged.