AFTER SALES SUPPORT
e-mail: info.aldi@positecgroup.com
1300 889 028 (toll free)
MODEL No.: CS20V • 63350 • 01/2019
AFTER SALES SUPPORT
1300 889 028 (toll free)
e-mail: info.aldi@positecgroup.com
MODEL No.: CS207 • 63350 • 01/2019
22 23
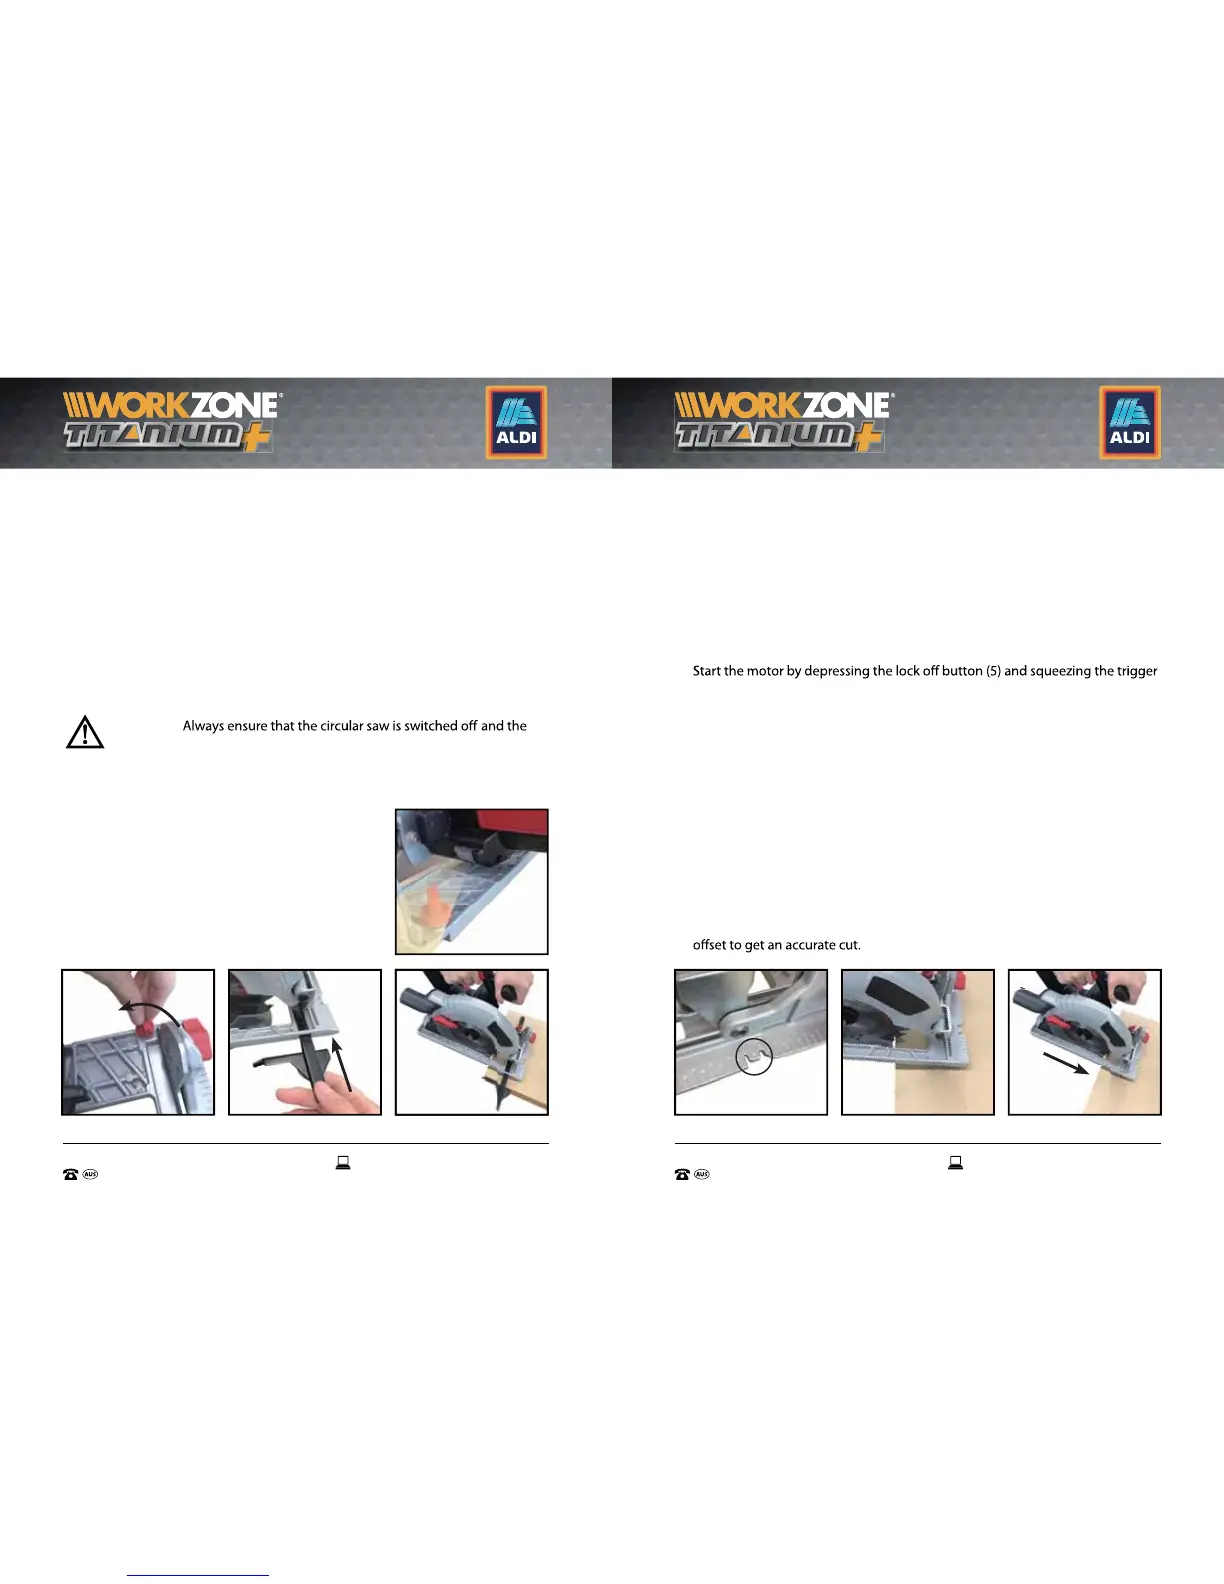
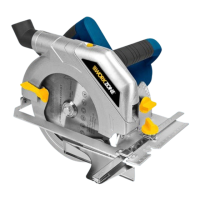
Making a cut
1. Mark the line of cut on your work piece.
2. Adjust the depth of cut and bevel angle as required per previous instructions.
3. When making 90° cross or rip cuts, align your line of cut with the outer blade
guide notch (22) on the base plate (15) of the saw (Fig O).
4. When making 45° bevel cuts, align your line of cut with the inner blade guide
notch on the base plate (15) of the saw.
5. Rest the front edge of the base on the work piece (Fig P).
6.
switch (4).
NOTE: Always let the blade reach full speed (approximately 2 seconds) before
you begin to cut into the work piece.
7. Slowly push the circular saw forward using both hands (Fig Q).
8. When making a cut always use steady, even pressure.
Forcing the circular saw causes rough cuts and could shorten the life of the
circular saw or cause kickback. Allow the blade and the circular saw to do the
work.
9. After completing your cut, release the trigger switch and allow the blade to
come to a complete stop.
Do not remove the saw from the work piece while the blade is moving.
NOTE: Since blade thickness varies, always make a trial cut in scrap material
along the guideline to determine how much, if any, the guideline must be
Using the LED Light
1. When the circular saw is switched on (the trigger switch (4) is depressed) , the
LED light (1) also comes on to ensure better vision and to make working in dark
areas more safe (Fig K).
The LED light (1) goes out when the trigger switch (4) is released.
CAUTION! LED is laser class 1!
Do not look directly into the laser as this may result in damage to the eyes.
Using the Parallel Guide
The parallel guide (12) allows you to make parallel cuts in a sheet of wood, all at
the same width.
WARNING:
battery (27) is removed before making any adjustments.
1. Loosen the parallel guide locking knob (11) (Fig L).
2. Slide the parallel guide (12) through the parallel guide slots (23) in the base
plate (15) (Fig M).
3. Adjust the parallel guide to the required width
and secure it in position with the parallel guide
locking knob (11).
4. Ensure that the parallel guide rests against the
wood along its entire length to give a consistent
parallel cut (Fig N).
L. M. P.N. Q.
K.
ANTI-CLOCKWISE