3
Quick Guide
System Startup
1. Remove all packing materials.
2. Place the computer on a stable surface.
3. Securely attach any peripherals you want to use with the
computer (e.g. keyboard and mouse) to their ports.
4. Attach the AC/DC adapter to the DC-In jack on the left of the
computer, then plug the AC power cord into an outlet, and
connect the AC power cord to the AC/DC adapter.
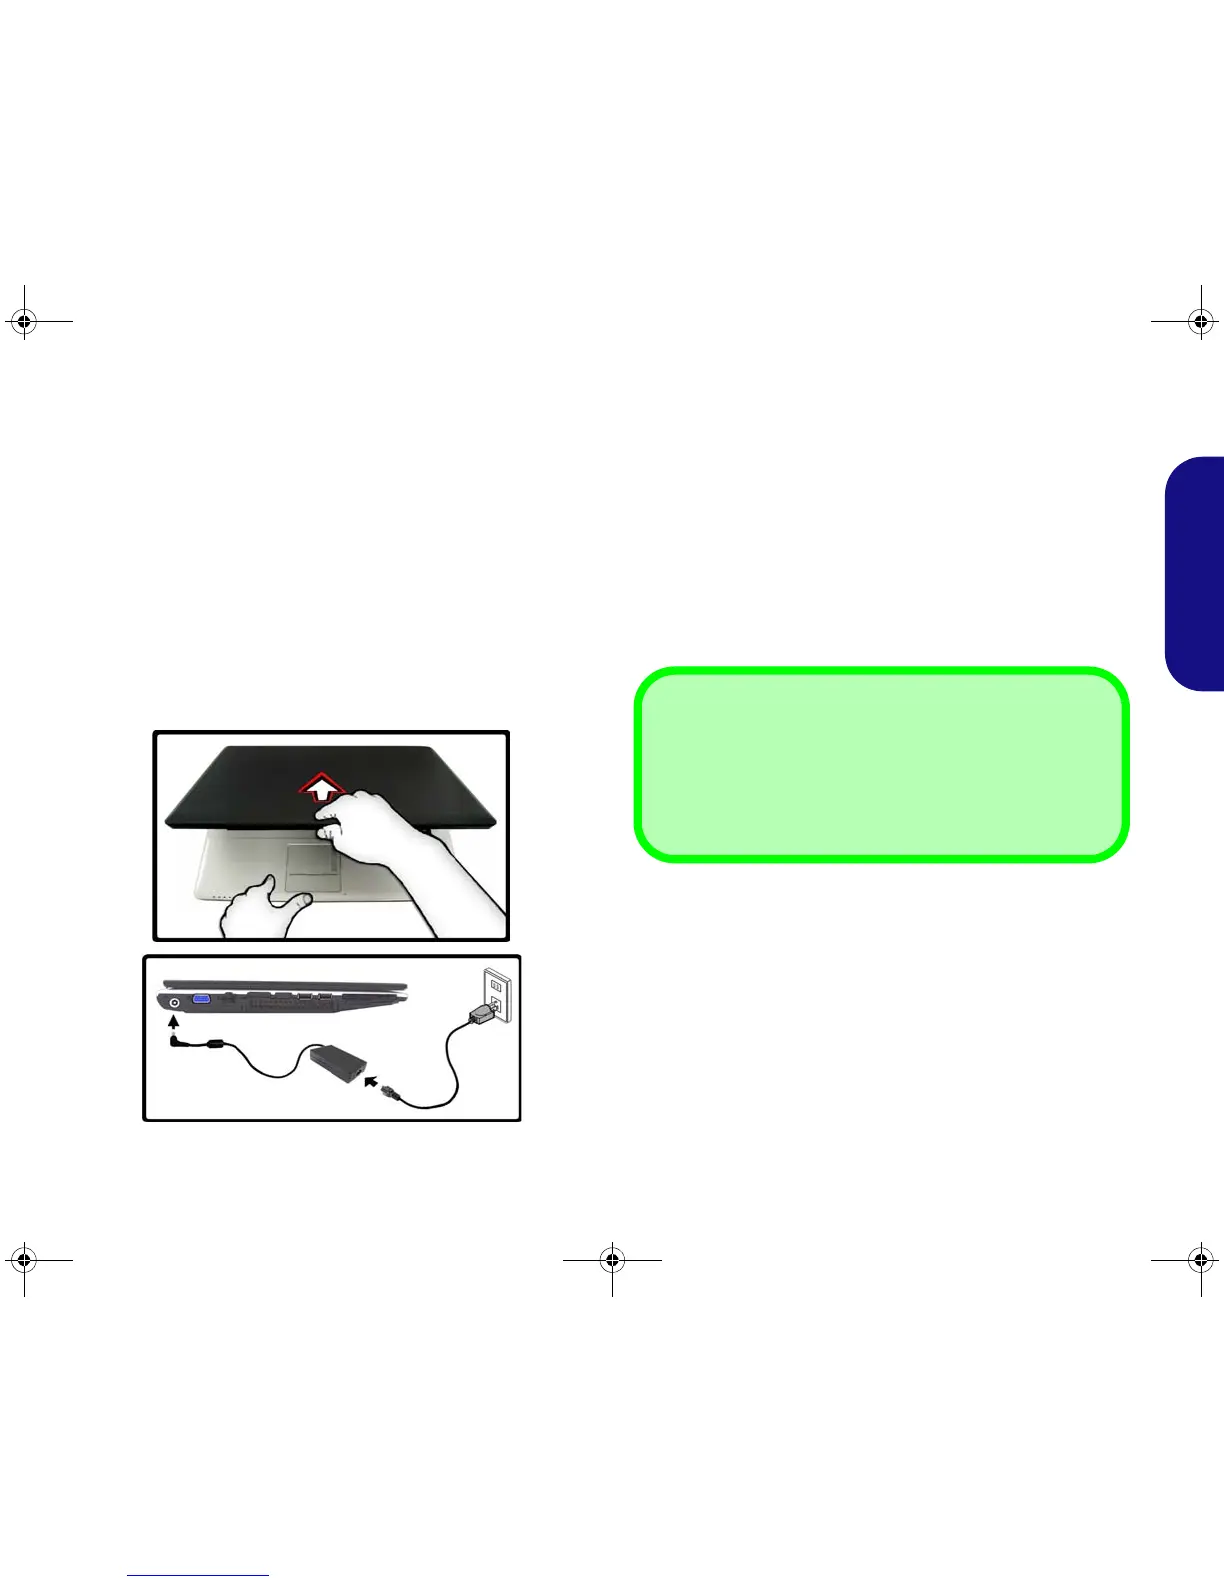
5. Use one hand to raise the
lid/LCD to a comfortable viewing
angle
(do not exceed 120 degrees)
;
use the other hand (as
illustrated in Figure 1) to support the base of the computer
(Note: Never lift the computer by the lid/LCD).
6. Press the power button to turn the computer “on”.
Figure 1 - Computer with AC/DC Adapter Plugged-In
System Software
Your computer may already come with system software
pre-installed. Where this is not the case, or where you are
re-configuring your computer for a different system, you
will find this manual refers to the Microsoft Windows Vis-
ta operating system. Further information on installing the
drivers and utilities is available in Chapters 4 & 7 of the
expanded User’s Manual on the Device Drivers & Utili-
ties + User’s Manual disc.
Model Differences
This computer series includes two different model types
(each model includes different design styles). The exact
outward appearance and some of the Hot-Key buttons
may appear slightly different from those illustrated in this
manual, however all the ports, components and functions
etc. are the same for each design style
(see “System Map:
Front View with LCD Panel Open” on page 4).
 Loading...