First of all, find a spot for the charging base, taking into account the position of your outdoor socket since the charging base only has a
15m power cord.
NOTE: Make sure the adaptor and the electrical socket are always kept in a dry area.
Your Landroid
®
M needs to know where to mow. This is why you have to mark its working area with a boundary wire
that will form an invisible fence. This wire will also guide your Landroid
®
M to its charging base.
If your neighbor also uses a Landroid
®
M , then you must keep a space of at least 0.5 metres between your
Boundary Wire and your neighbor's.
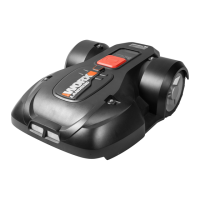
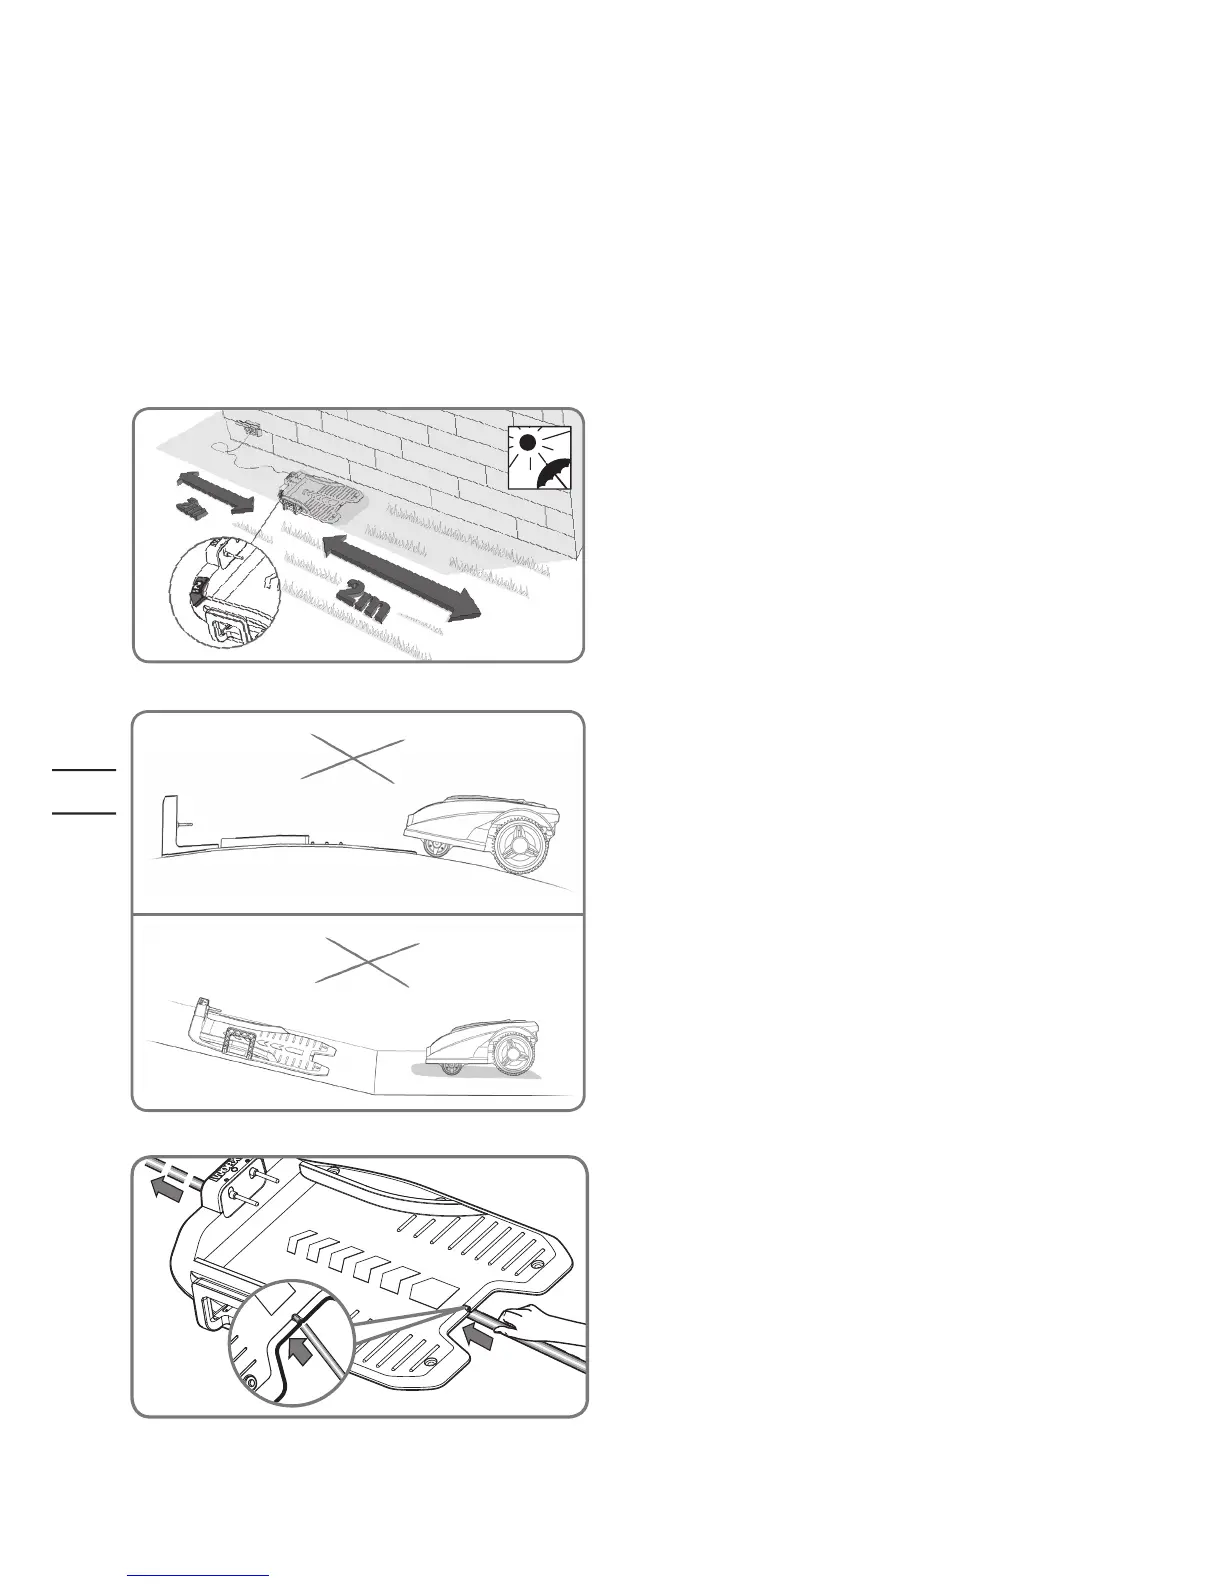
The charging base should be placed along a straight line, with
the “IN” arrow pointing to the lawn. Allow 2m distance with no
obstacles both front and back of the charging base. If possible, place
the charging base in the shade, as batteries are better recharged in a
cool place.
1.1
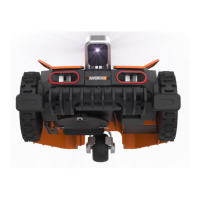
Make sure that your Landroid
®
M can run on a flat area, clear of any
obstacles.
Feed the boundary wire through the tunnel underneath the
charging base.
1.2
1. Placing the Charging Base

 Loading...