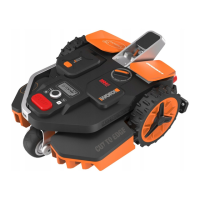
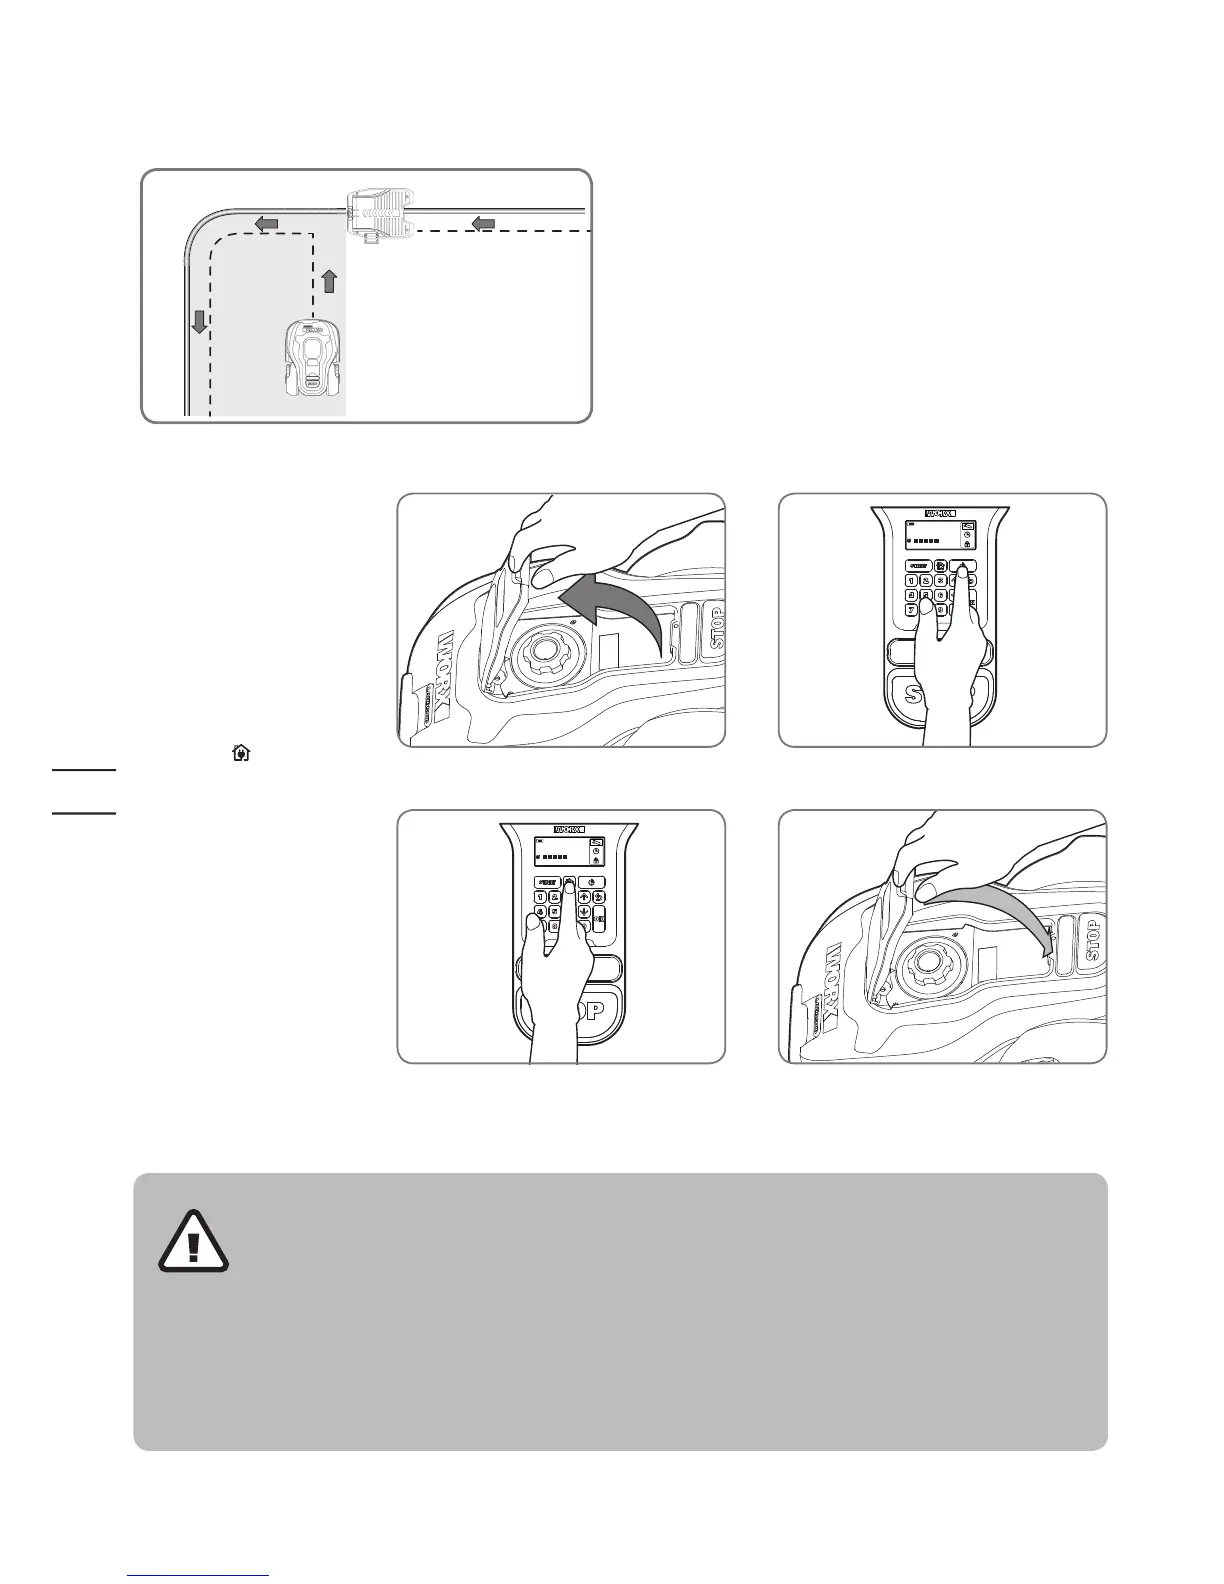
Open the panel cover, press
power button,
then input the default PIN
0000.
Press the
key and close
the control panel cover: your
Landroid
®
M will now
find its way to the charging base.
Watch the Landroid
®
M as
it returns to the charging
base and modify the
positioning of the boundary
wire if necessary. When the
Landroid
®
M successfully
returns to the charging base,
this means the installation has
been successfully completed!
Now your Landroid
®
M will
start to fully charge.
4.2
• If your Landroid
®
M
is outside its territory,
it will not move and
the display will indicate
“outside working area”
error. Just move it inside
its territory and repeat
step 4.2
• If your Landroid
®
M is
inside its territory but
the display says “outside
working area” and the
LED is on, it means you
clamped the boundary
wire ends incorrectly.
Just reverse them.
• Your Landroid
®
M
should always remain
switched on. If you ever
need to turn it off, then
make sure you place it
within its boundary area
before you switch it back
on again.
• Should your
Landroid
®
M stop
operating unexpectedly,
just press its ON/OFF
key to ON, correct the
problems, press Start
button and close the
cover.
NOTE: Please refer to the Programming and Troubleshooting Guide for more information.
Warning
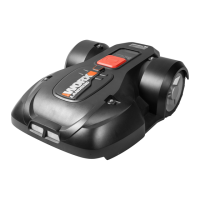
4. Turn on and test the installation
Place your Landroid
®
M inside the
working area, a few meters from
the back of the charging base.
4.1
This is the exciting part where you can turn your Landroid
®
M on for the first time.
 Loading...