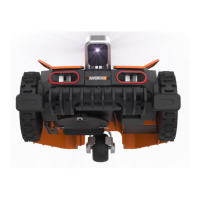
You can now permanently fix the charging base on the ground
by pressing the supplied Base Retention Pegs with the supplied
Hex key.
NOTE: Make sure the IN-wire is running straight
underneath the center of the charging base.
3.3
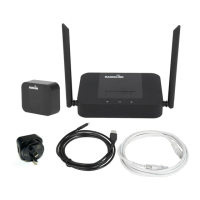
Connect the power cord to the adaptor and then to the AC
electrical socket, the LED on the charging base will turn on.
When connecting, align the notch on the power cord connector
(a) with the groove on the adaptor connector (b).
In case the power cord is within the working area, you may bury
it as needed.
Check the LED status to make sure the connection is OK.
3.4
LED light display Status Action
Green light on Boundary wire is connected successfully;
fully charged
/
Green light on, while “outside working
area” shown in the screen at the same
time
Boundary wire is connected in wrong
direction.
Check and reverse two ends of
boundary wire.
Green light flashing Power supply is connected successfully,
while the wire is connected unsuccessfully
Check and connect the wire again.
Red light on Charging /

 Loading...