SYMBOLS OPERATING INSTRUCTIONS
NOTE: Before using the tool, read
the instruction book carefully.
ASSEMBLY / ADJUSTMENT
NOTE: The guard must be attached
to the trimmer head before use.
1. INSTALLING THE SAFETY GUARD
(See Fig A, B)
1) Disconnect the trimmer from the power
supply.
WARNING: To avoid injury, ALWAYS
turn off and disconnect the trimmer
from the power outlet BEFORE installing
parts or cleaning the trimmer or making
any adjustments.
2) Turn the trimmer’s motor housing head over
to provide access to underside base of the
head by the cutting line spool.
3) Locate the 4 screws in the base of the head
and remove the screws (See Fig A).
4) Insert the edge of the guard into the slot
along the back of the trimmer’s head, carefully
lining the 4 screw holes in the guard up with
the 4 screw holes in the trimmer head.
5) Insert screws and securely attach the safety
guard (See Fig B).
CAUTION: Line cutter on edge of
safety guard is sharp. Use caution
when handling.
2. FITTING THE AUXILIARY HANDLE
(See Fig C1)
NOTE: THE AUXILIARY HANDLE MUST BE
ATTACHED to the trimmer shaft before
use.
WARNING: To avoid injury, ALWAYS
turn off and disconnect the trimmer
from the power outlet BEFORE installing
parts or cleaning the trimmer or making
any adjustments.
1) Disconnect the trimmer from the power
supply.
2) Unscrew the auxiliary handle’s tightening
knob (counterclockwise) and remove from
handle.
3) Position auxiliary handle onto handle
bracket assembly located on trimmer’s top-
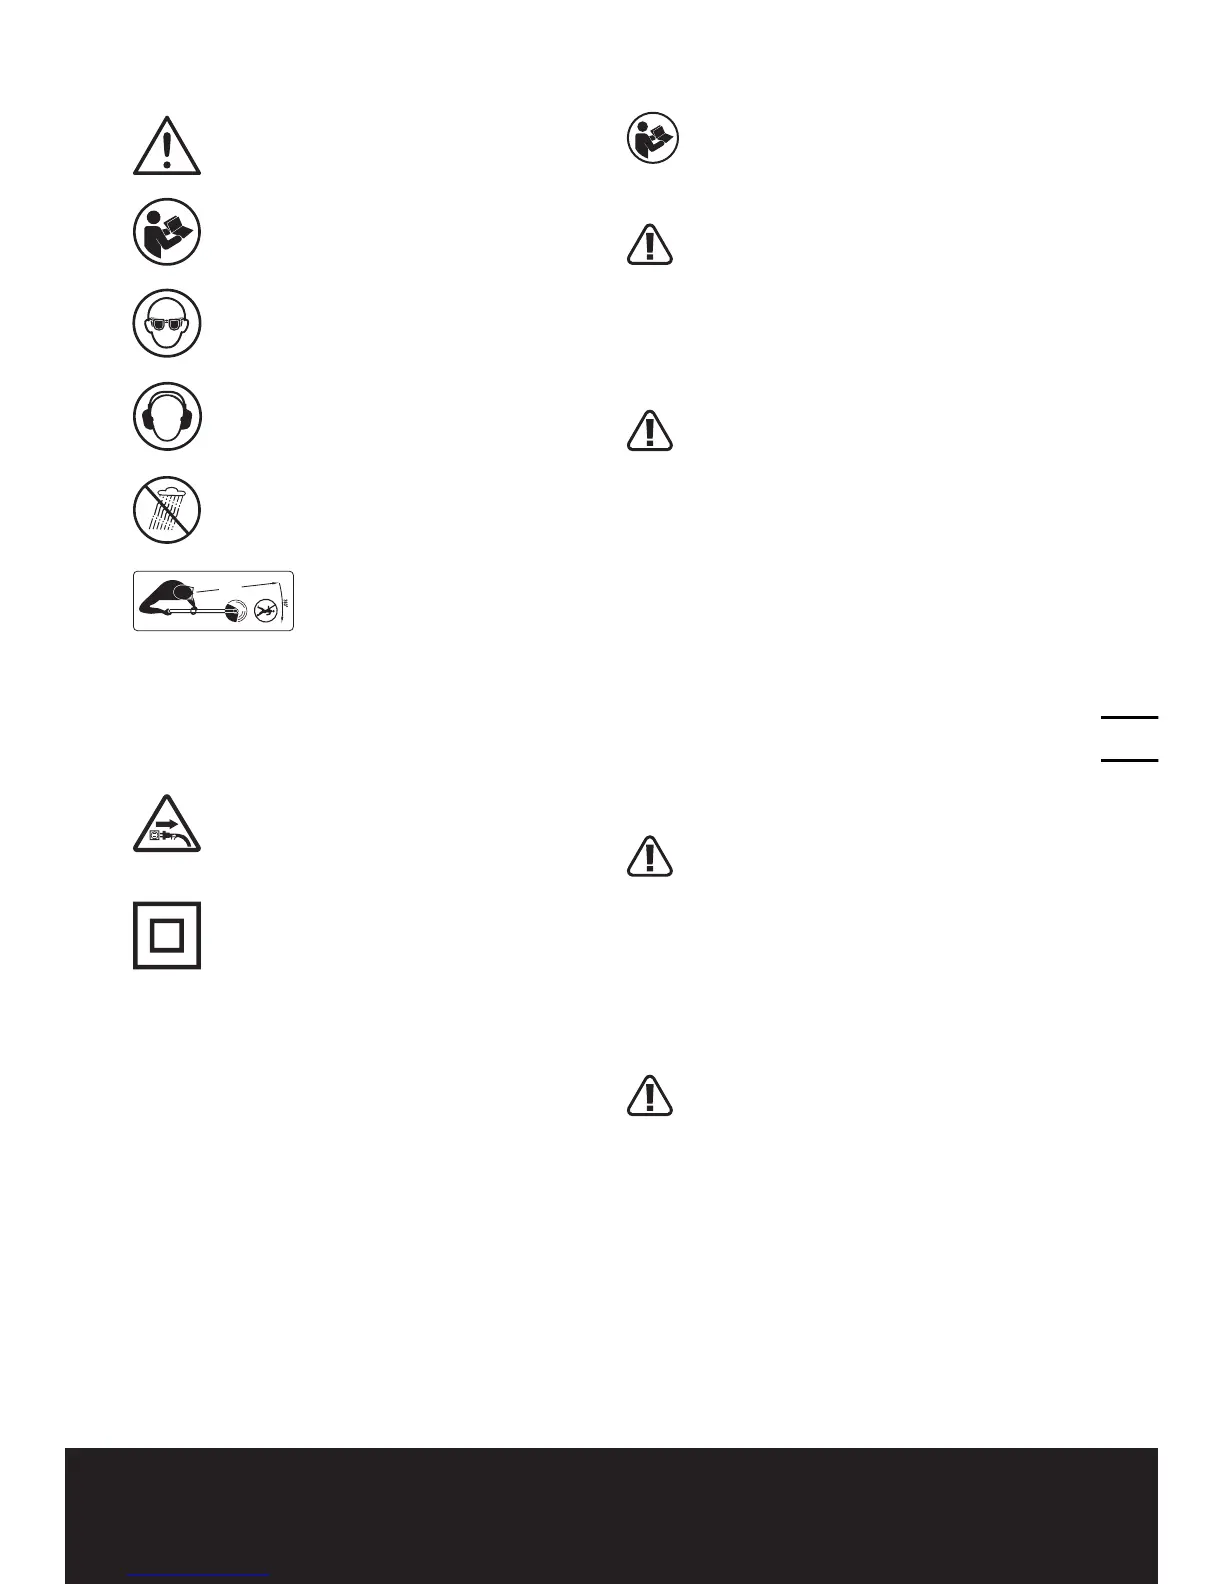
Warning
Read the manual
Wear eye protection
Wear ear protection
To avoid possibility of electric
shock, do not use in damp or wet
conditions
Keep all other people, including
children, pets and bystanders
outside the 15 meters hazard zone,
stop the trimmer immediately if you
are approached.
Switch off! Remove plug from
mains before adjusting, cleaning or
if cable is entangled or damaged.
Double insulation
15m

 Loading...