13
2. Prepare the remote controller
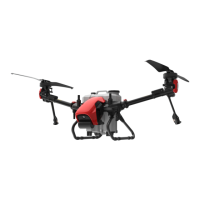
XAG P series UAV needs to be used together with professional remote controller and APP, which
supports various control modes. Currently, the supported control equipment (combination) includes:
1: ACB1 CommBack (standard) + Smart phone;
2: ACS1 ControlStick (optional);
3: ARC1 Agricultural Remote Controller (optional);
Each remote controller has a slightly different operation mode. Taking ACB1 smart remote controller
as an example:
•Turn On the ACB1 CommBack
•Device connection
•Download the "Plant Protection operation"APP
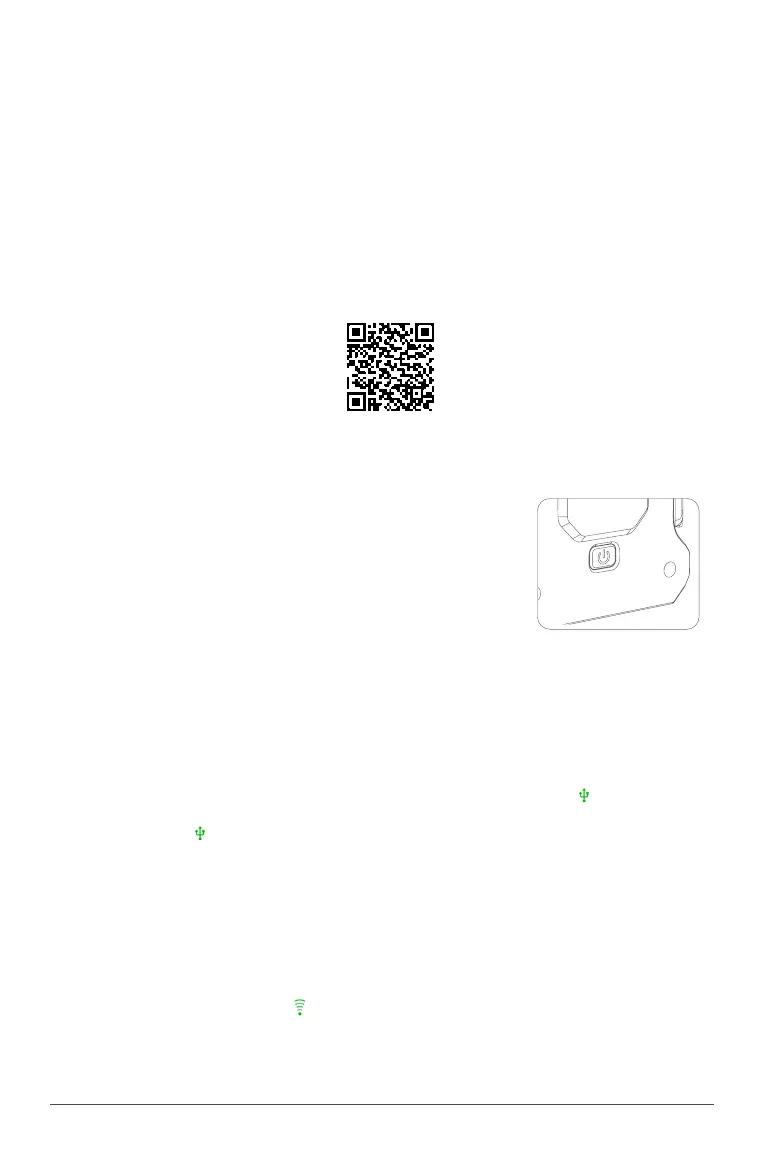
Scan and enter XAG Academy to download
the "Plant Protection operation" APP
Turning the remote controller On and Off
STEP 1 – Press and hold the power button until the indicator LEDs
STEP 1 – flashing, then again hold the Power Button to turn on the ACB1
STEP 1 – CommBack
STEP 2 – Within 60 seconds, the Indicator LED 3 will flash slowly
STEP 1 – indicating the device communication module is starting
STEP 3 – Repeat Step 1 to turn off the CommBack
STEP 1 – Connect the ACB1 CommBack with an Type-C USB Cable to the Smart Phone.
STEP 2 – Start XPLANET APP and ensure the device is connected successfully (the icon turns green).
STEP 3 – Click on the icon to check for Hotspot Details .
Default name: XAG123
Default Password: 20070401
Hotspot Details on ACB1 CommBack can be edited
STEP 4 – Edit the Hotspot detail to be consistent with your Smart Phone, and enable Hotspot.
STEP 5 – Disconnect the USB Cable connecting your Smart Phone and ACB1 CommBack, and waits
STEP 5 – for the device connection via WiFi. Once it is connected, the WIFI connection icon on
STEP 5 – “XPLANET” APP to light up ( turns green)
.