10
Mounting
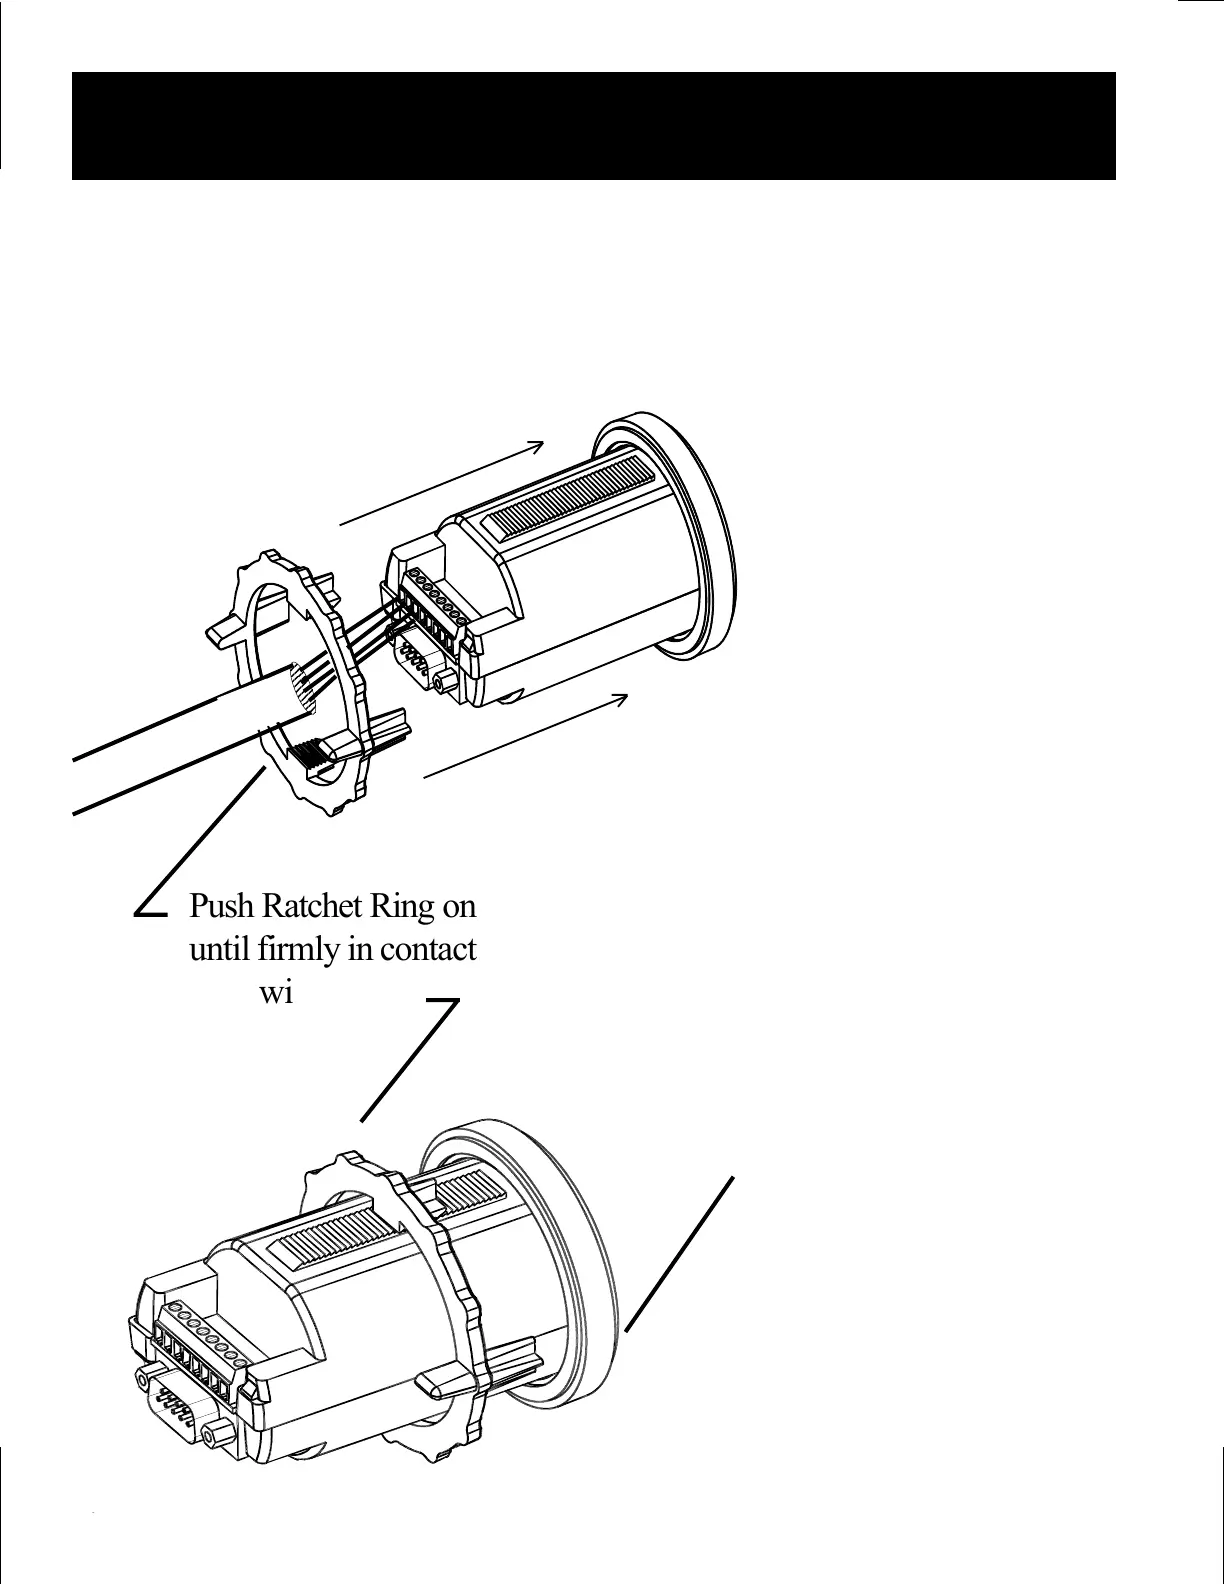
Our Patent Pending "Ratchet Ring" makes mounting easy and fast.
TIP: When installing from the front of a
panel or dashboard slide the Ratchet Ring
onto cable with correct orientation
and then connnect
the wires.
12345
12345
12345
12345
12345
12345
12345
12345
12345
Push Ratchet Ring on
until firmly in contact
with panel.
The gasket around the ring
of the Link 10 should pro-
vide an adequate seal
against moisture. If a sealant
is used be sure it is silicone
so that the Link 10 may be
removed without damage.
CAUTION!
Orient ring so the ratchet
teeth will engage properly.
Practice installing and re-
moving ring before final
assembly. Considerable
force is required—this
ensures the ring will not
loosen over time.
Install the meter from the front of your
panel. The panel thickness may range from
1/16" to 1 1/2". Slip the locking ring on
from the rear and press forward until its
teeth hold the meter securely in place.
PATENTED
 Loading...