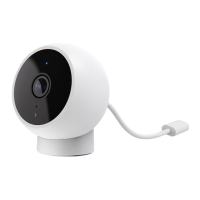
(Fig. D-1 Fig. D-2)
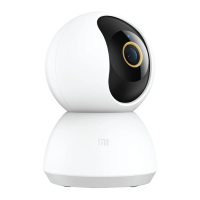
(Fig. D-3)
(Fig. E-1)
(Fig. E-2)
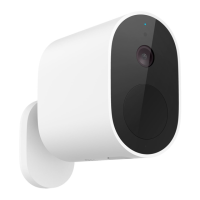
(Fig. F)
How to Install
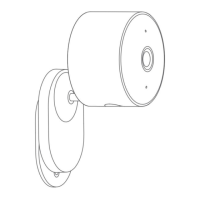
Mounting the camera on a wall
1. Paste the mounting template sticker where the camera needs to be installed, and drill four holes in the wall with a
drilling tool according to the locating holes on the sticker. The hole is approx. 6 mm in diameter and approx. 40 mm
in depth.
2. Insert four plastic wall plugs into the holes in the wall.
3. Place the mount against the wall, insert screws into the holes, and drill them into the plastic wall plugs on the wall.
Ceiling mount installationWall mount installation
4. Wrap the power cable port with the waterproof tape aer the camera is fixed to ensure
waterproof performance.
Installing the waterproof accessories
Place the sealing ring on the camera's network cable port (Fig. G-1). Thread the waterproof rear cover, stopper and
waterproof sleeve over the network cable in order (Fig. G-2), then plug the network cable into the port. Screw together
the waterproof sleeve and stopper, then screw together the waterproof rear cover and waterproof sleeve (Fig. G-3).
The waterproof network port accessories to be installed include: sealing ring, waterproof sleeve, stopper, waterproof
rear cover. Once installed, the waterproof performance of the network cable port will be improved.
The wall must be able to support at least three times the total weight of the camera.
The camera must be firmly fixed to the wall according to the installation instructions in the user manual to prevent
accidental injury.
Do not install near an air conditioner outdoor unit, range hood outlet, gas water heater outlet, or other heat sources.
CAUTIONS:
1
Sealing Ring
2
Network Cable
3
Waterproof Sleeve
4
Stopper
5
Waterproof Rear Cover
Wrapping with the
waterproof tape
Fig. G-1 Fig.G-2
7
●
●
●