XR Series Wireless Arrays
5
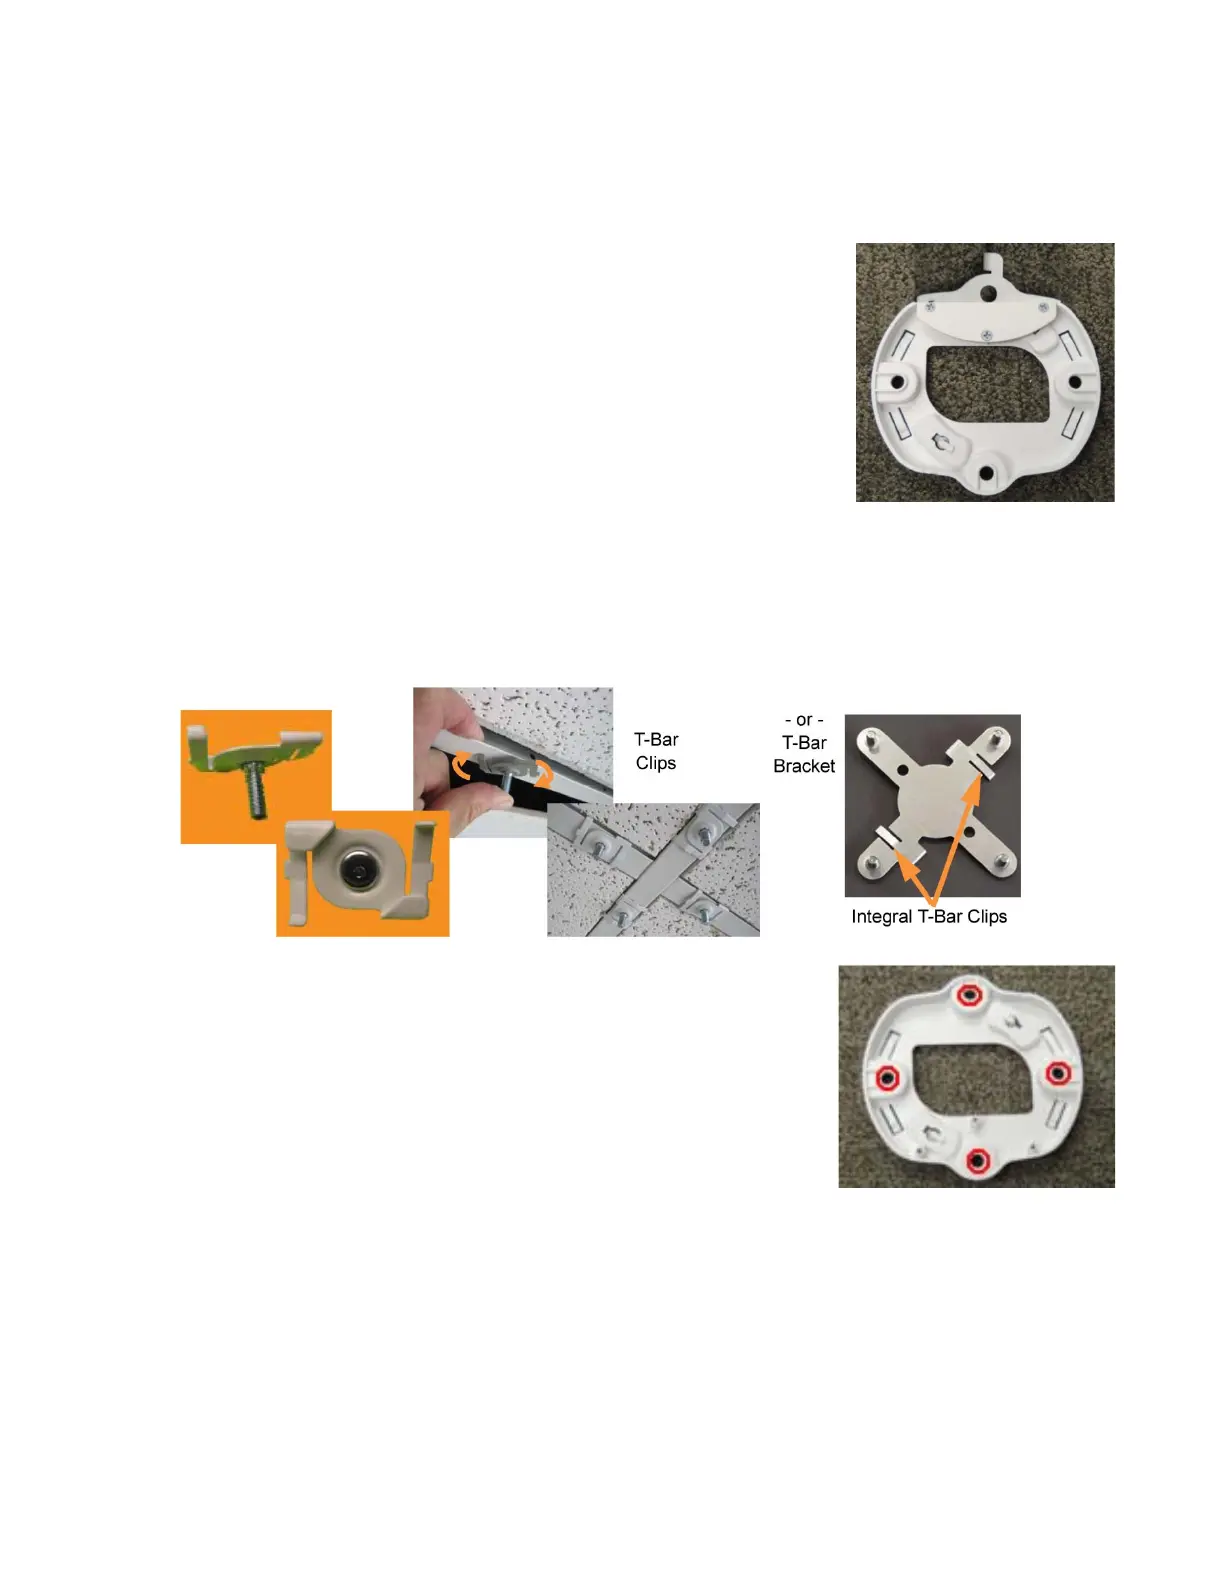
2. Use the three screws provided in the accessory kit to attach
the locking plate to the XR-600 mounting plate as shown.
NOTE: Use only the screws provided in the accessory kit. Other
screws that may appear equivalent in size may damage the XR-
600 mounting plate.
3. If using a T-Bar bracket for a standard ceiling grid, just twist
the built-in clips onto the grid with the bolts facing down. For
a slotted grid, slide the T-bolt heads into the grid's slot (easiest
to do at an intersection), position them for the two holes in the
T-Bar Bracket, and twist bolts till snug in the slot. Secure
bracket with nuts, bolts pointing down.
Attach the Mounting Plate to bracket with supplied nuts. Skip
the next 2 steps.
4. If using T-Bar clips, use the four holes on the XR-600
mounting plate to mark the placement of the four T-bar clips
on the metal ceiling support grid.
NOTE: You MUST use the mounting studs furnished with the T-
BAR accessory kit. You cannot use old T-bar clips from XN or XS
Arrays with the XR Series. The new clips have studs that are
painted white—don’t use old clips that have studs that are not
white.
 Loading...