XR Series Wireless Arrays
7
4C-Ceiling Mount with Mounting Plate
The following steps use a mounting plate, which offers ease of dismount and a locking option
for the AP.
NOTE: Steps 1 and 2 are only required if you wish to lock the XR-600 to its mounting plate
after it is installed.
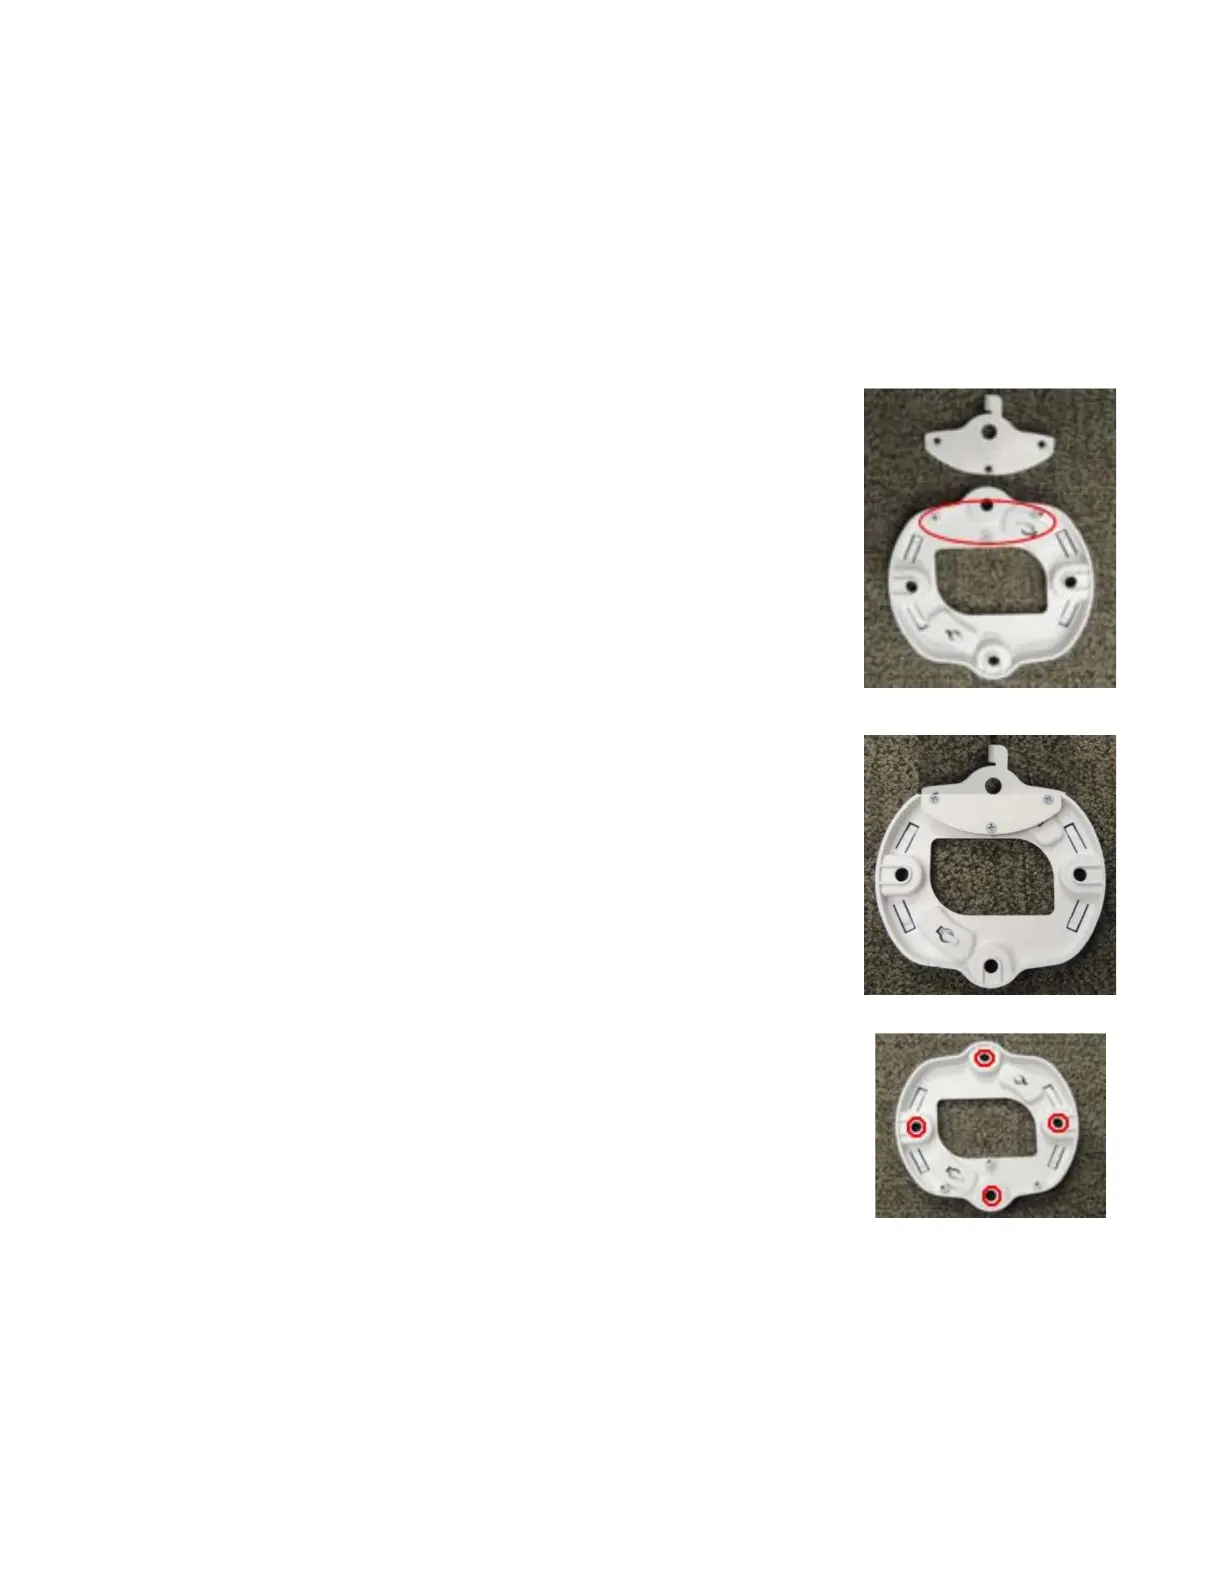
1. Align the three holes in the locking plate over the
corresponding three holes in the XR-600 mounting plate.
2. Use the three screws provided in the accessory kit to attach the
locking plate to the XR-600 mounting plate as shown here.
NOTE: Only use the screws provided in the accessory kit. Other
screws that may appear equivalent in size may damage the XR-
600 mounting plate.
3. Use the four holes on the XR-600 mounting plate to mark the
placement of four screws to install in the ceiling. You must
supply four screws of an appropriate type for your ceiling
construction type.
4. Drill and prepare holes for the screws as appropriate.
5. Cut an access hole for the cable(s) in the ceiling and draw
enough cable through to attach to the XR-600 after it is
installed.
6. Align the XR-600 mounting plate over the prepared locations
and secure it with the screws. Do not over tighten.
 Loading...