• Adjust your system’s general software settings for
maximum video performance (these are optional,
but highly recommended.)
- Tu rn off File Sharing in the “File Sharing” control
p a n e l .
- Tu rn off Virtual Memory in the “Memory “ control panel.
- Tu rn off Connectix Ram Doubler extension (if applicable.)
- Quit any other applications you aren’t using.
- Defragment your hard drive by using a utility such as
Norton Speed Disk or any software designed for such.
- Make sure you have adequate space on your hard drive to
s t o re the digitized clips (at least 100 MB.)
- In Control Panels, set your monitor to “Thousands” of col-
ors, rather than “Millions” (note that InterView does NOT
s u p p o rt 256 colors.)
Chapter 5 - Using InterView
Page 29
Configuring your software
InterView can capture near real time 320x240 NTSC frames
or full 640x240 non-interlaced snapshots.
Using InterView’s VideoShop digitizing function, you can
capture your own clips live, from a VCR or from any standard
video source with video out via RCA composite connectors or
S-Video connectors. When you have finished creating a
movie, you can save it as a QuickTime movie to be distribut-
ed via the Web, email, a CD, or any form of electronic dupli-
cation you prefer.
1. Verify that you have:
• InterView with software fully installed
• A VCR, digital camera or camcorder connected to
the InterView device with audio connected to the
Mac, or an audio digitizing card
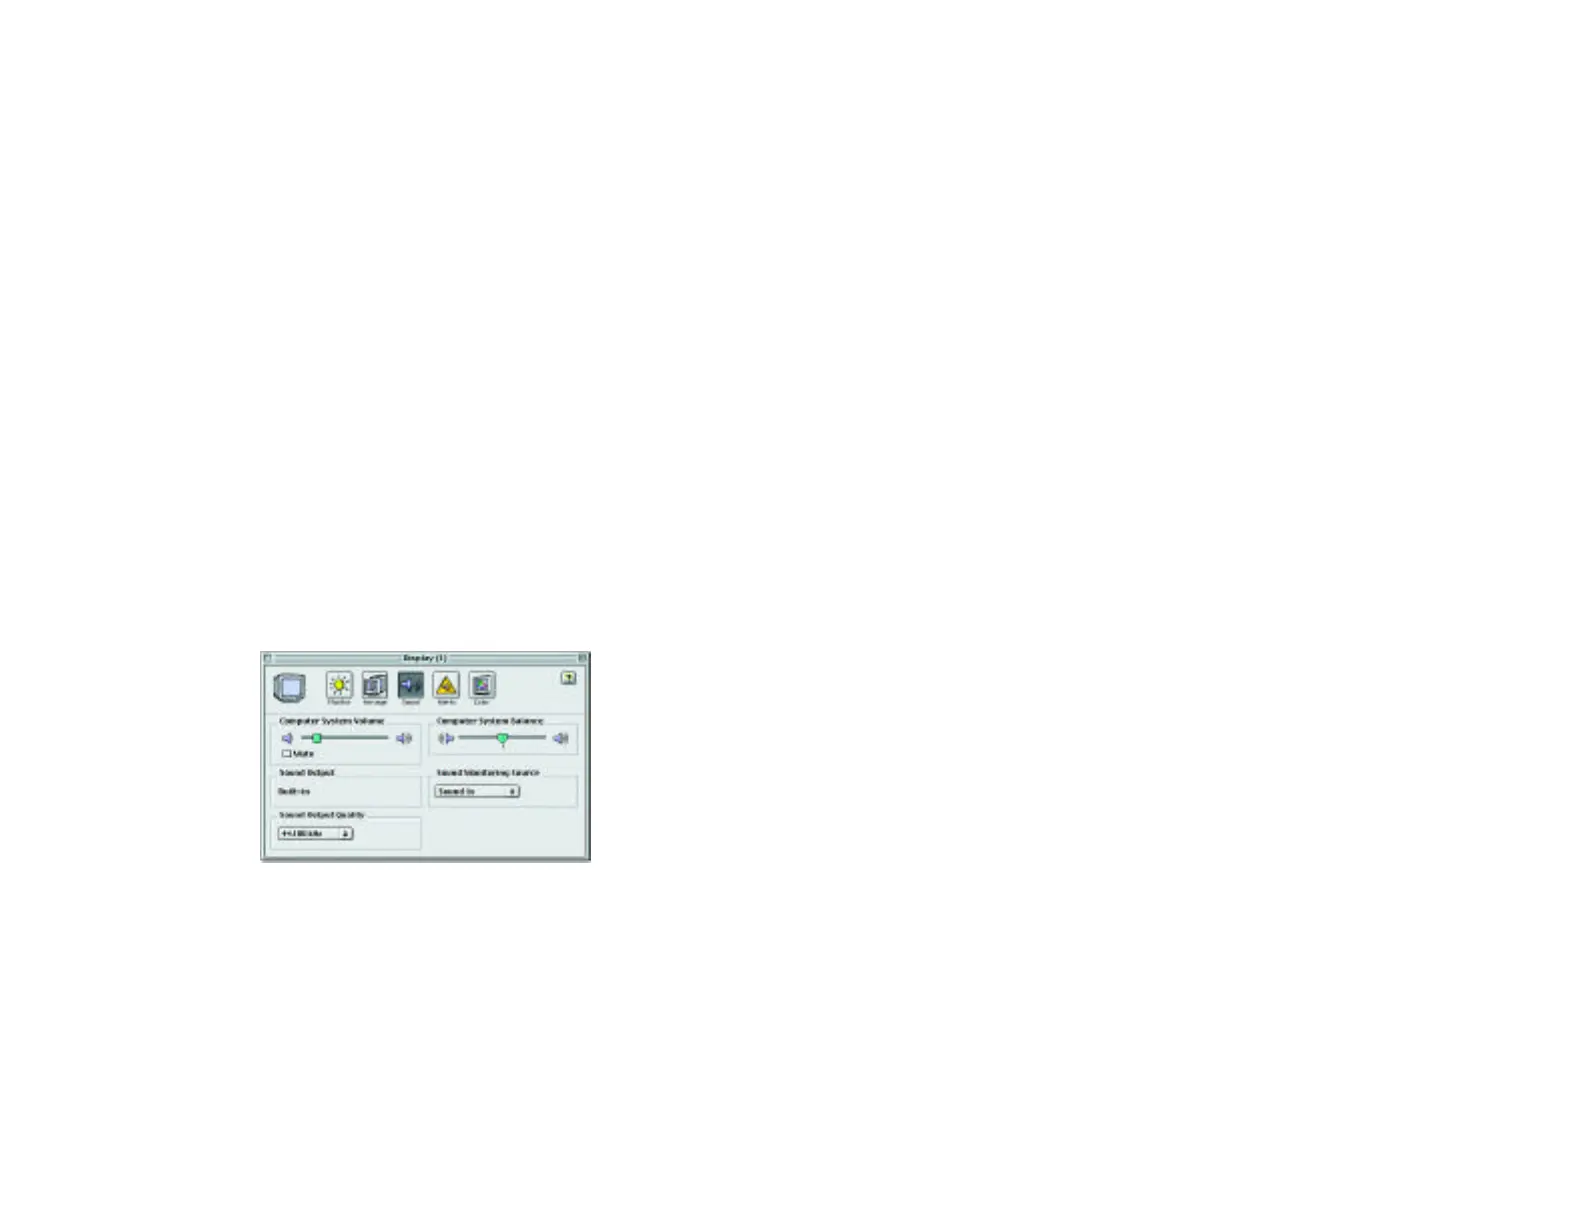
2. Configure your system software for “InterView-ing”
• Set the Mac for “Sound In” by opening the “Monitors
& Sounds” control panel to the “Sound” settings,
then set the “Sound Monitoring Source” to “Sound
In,” “AV Connector” or “External Mic” depending
upon your set up.
Chapter 5 - Using InterView
Page 28