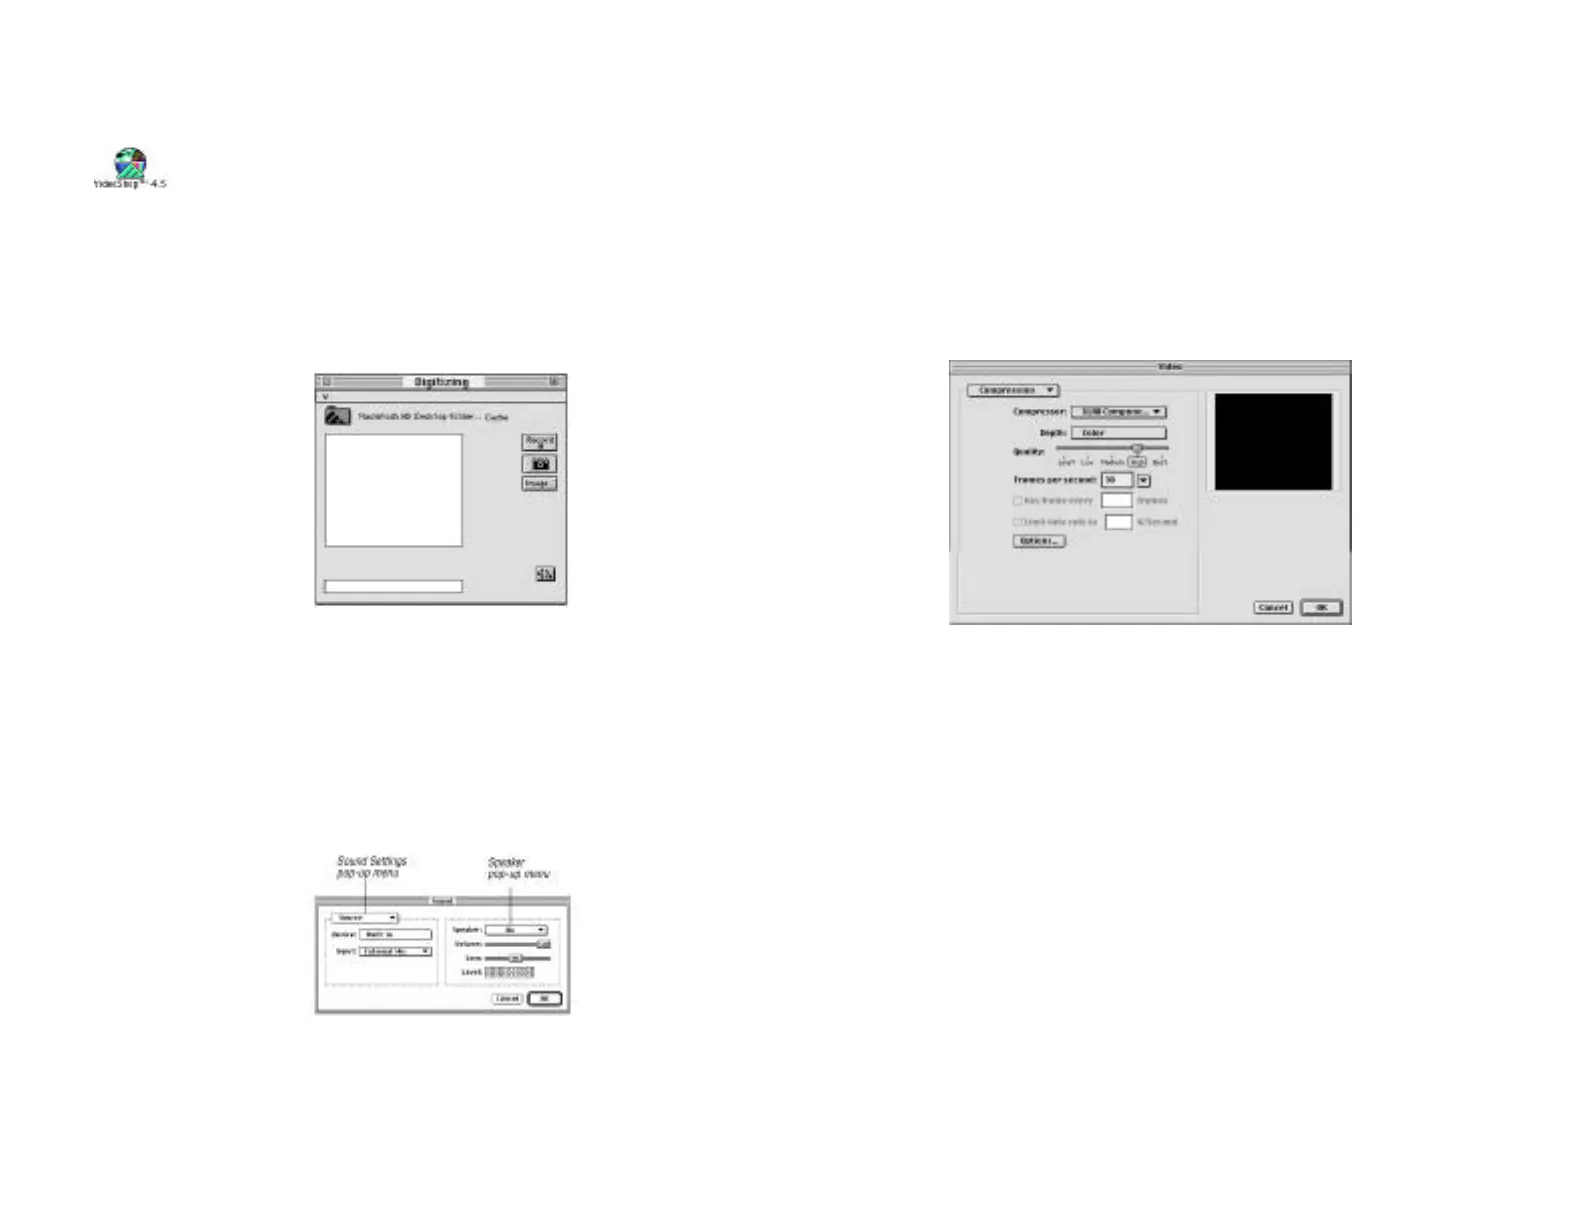
• From the Digitizing menu, select “Sound Settings…”
and:
Select “Compression”; set to the default of “None”; and set
the speaker setting to “On.”
Select “Sample”; set the Rate/Size/Use to your preferred
settings (22.050/8bit/Stereo are recommended.)
Select “Source”; set to your current device (Built-in, A/V)
and input (A/V, Sound In or External Mic.)
Click “OK” to close the dialog.
• From the Digitizing menu, select “Video Settings…”
and:
Select “Compression”; set to the default of “XLR8
Component” and enter the frame rate of 30 fps.
Select “Image”; click the “Default” button.
Select “InterView”; click the “Default” button.
Select “Source”; select “InterView” as the digitizer; select
either “C-Video (yellow RCA) or S-Video (black) as the
input depending on which connector you are using (note:
if you select the wrong input, the preview and captured
movies will be solid black); select either “NTSC (US) or
PAL (European)” as the format; and “TV, LaserDisc”
for live video, or “VCR” for taped video digitizing as
the filter setting.
Click “OK” to close the dialog.
Chapter 5 - Using InterView
Page 31
3. Configure VideoShop for “InterViewing”:
• Launch VideoShop. Double click the application to
launch it.
• When prompted, enter the Name, Company and
the Serial Number from your VideoShop registration
card.
Note: If the “Name” field is left blank, the application
will not launch correctly. Run VideoShop again and
enter a name as well as the serial number.
• From the“Windows” menu, select “Show Digitizing
Window.”
• From the Digitize menu, verify that “Video On” and
“Sound On” are selected. A checkmark next to the
command indicates it’s active. If they are not active,
select them.
Chapter 5 - Using InterView
Page 30