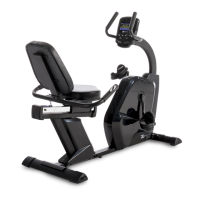
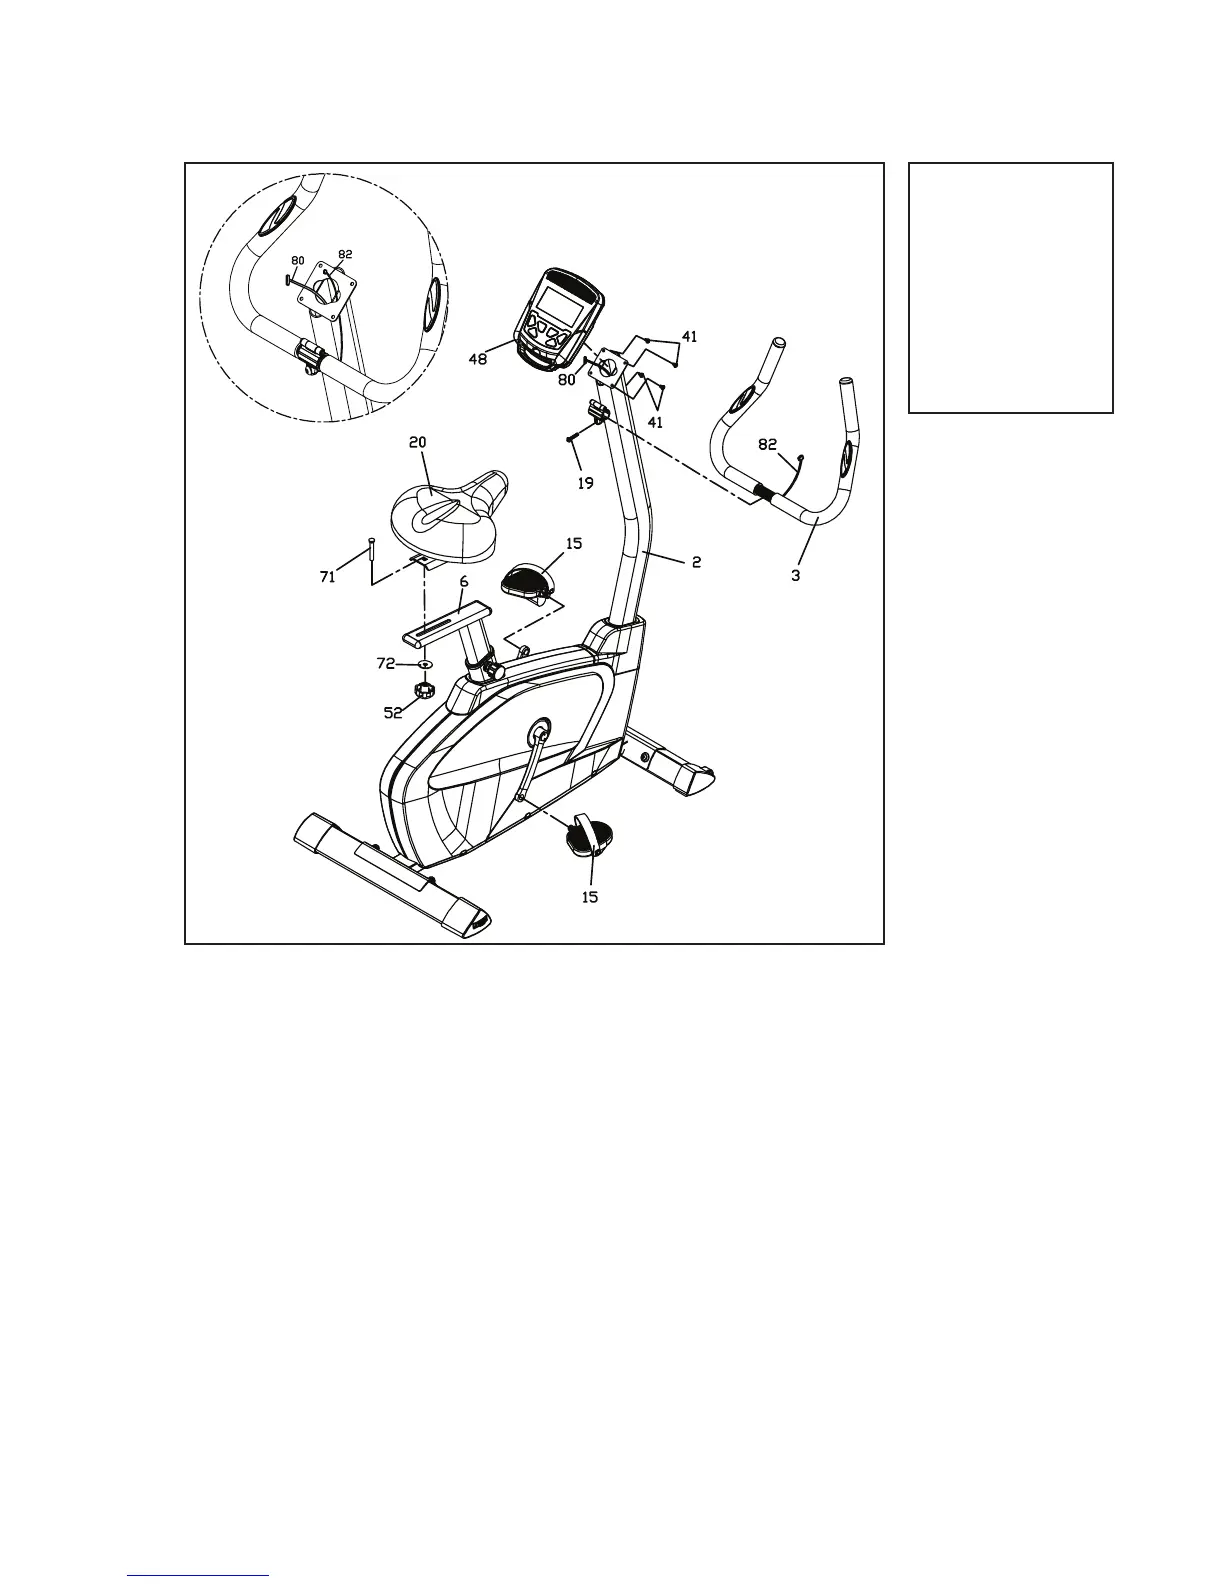
UB2.5 Upright Bike
5
Handlebar, Seat, Pedals & Console
2
1. Attach the Handle Bar (3) onto the Console Mast (2) with the Button
Head Socket Bolt (19). Tighten using the M5 Allen Wrench (43) to lock
the handle bar in place. Route the hand pulse sensor cable (82) through
the console mounting plate as shown below.
2. Connect the console cable (80) and Hand Pulse Sensor Cable (82) to
the Console (48). Mount the console on the Console Mast (2) with four
Phillips Head Screws (41). Tighten using the Phillips Head Screw Driver
(43).
3. Use the 15 mm Wrench (79) to install both Pedals (15 left and right)
on the crank axle. The left pedal is a reverse thread and will screw in a
counterclockwise direction. The pedals are marked with an R or L on the
end of the threaded pedal axle. Make sure to tighten the pedals rmly
or a clicking noise can occur during pedaling. It may be necessary to
retighten the pedals after use if clicking occurs.
4. Locate the Carriage Bolt (71) and slide through the Seat slider bracket
(20) and the seat post (6). Secure the slider with a Flat Washer (72) and
the fore/aft adjustment Knob (52).
Hardware Step 2
#19. M8 x 30mm
Button Head Socket
Bolt (1 pc)
#41. M5 x 12mm
Phillips Head
Screw (4 pcs)
#71. 3/8” x 1-1/2”
Carriage Bolt (1 pc)
#72. 3/8”
Flat Washer (1 pc)

 Loading...