The prepared SUBCAB
®
cable The prepared screened SUBCAB
®
cable
SUBCAB 1000V
T
1
T
2
1
2
3
4
5
6
WS004299E
1. T1+T2 twisted pairs in control element
2. Drain wire in control element (bare copper wire)
3. Screened copper pt-foil
4. Insulation sheath (jacket) or PT-foil for control element
5. Power cores
6. Ground (earth) core
WS004298C
T
4
T
3
Screened SUBCAB
2
3
4
1
5
8
6
7
1. T1+T2 and T3+T4 twisted pairs in control element
2. Drain wire in control element (bare copper wire)
3. Screened copper pt-foil
4. Insulation sheath (jacket) for control element
5. Power cores
6. Aluminum foil
7. Ground (earth) core with green/yellow shrink hose
8. Uncovered screen/braided wire
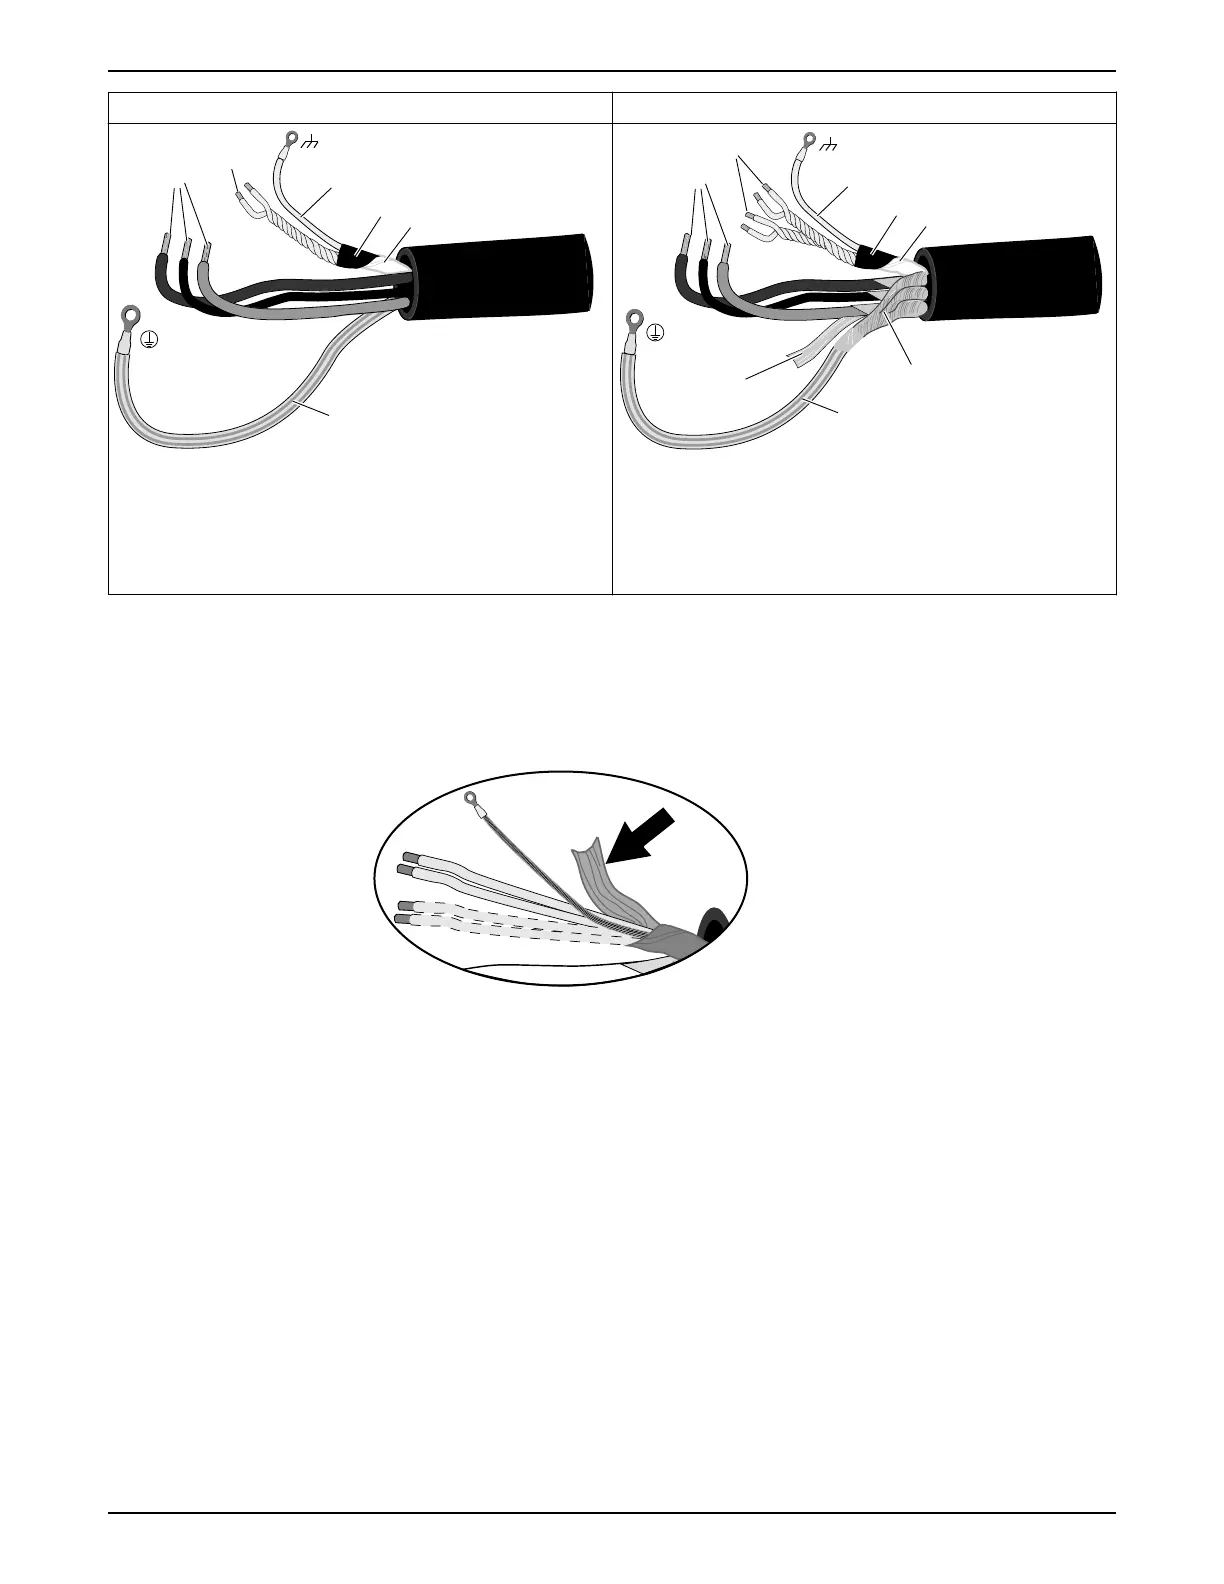
1. Peel off the outer sheath at the end of the cable.
2. Prepare the control element:
a) Peel the sheath (if applicable) and the copper foil.
The copper foil is a screen and is conductive. Do not peel more than necessary,
and remove the peeled foil.
Figure 5: Copper foil on control element.
b) Put a white shrink hose over the drain wire and the cable terminal.
c) Fit a cable lug on the drain wire.
d) Twist T1+T2 and T3+T4.
e) Put a shrink hose over the control element.
Make sure that the conductive copper foil and drain wire is covered.
3. Prepare the ground (earth) core for SUBCAB
™
cable:
a) Peel the yellow-green insulation from the ground (earth) core.
b) Check that the ground (earth) core is at least 10% longer than the phase cores in
the cabinet.
c) If applicable, put a cable lug on the ground core.
4. Prepare the ground (earth) core for screened SUBCAB
™
cable:
a) Untwist the screens around the power cores.
b) Put a yellow-green shrink hose over the ground (earth) core.
Leave a short piece uncovered.
c) If applicable, put a cable lug on the screened ground core.
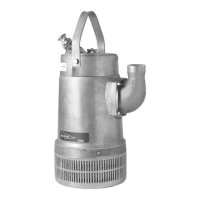
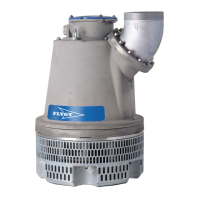
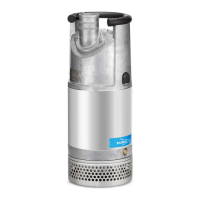
4 Installation
Flygt 2190, 2201 Installation, Operation, and Maintenance Manual 19

 Loading...