1033576B-2/15
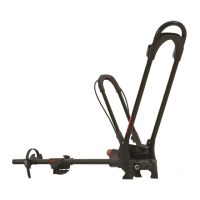
BETWEEN THE TOWERS
Viper can slide along the bar for
easy repositioning, even when
locked and loaded.
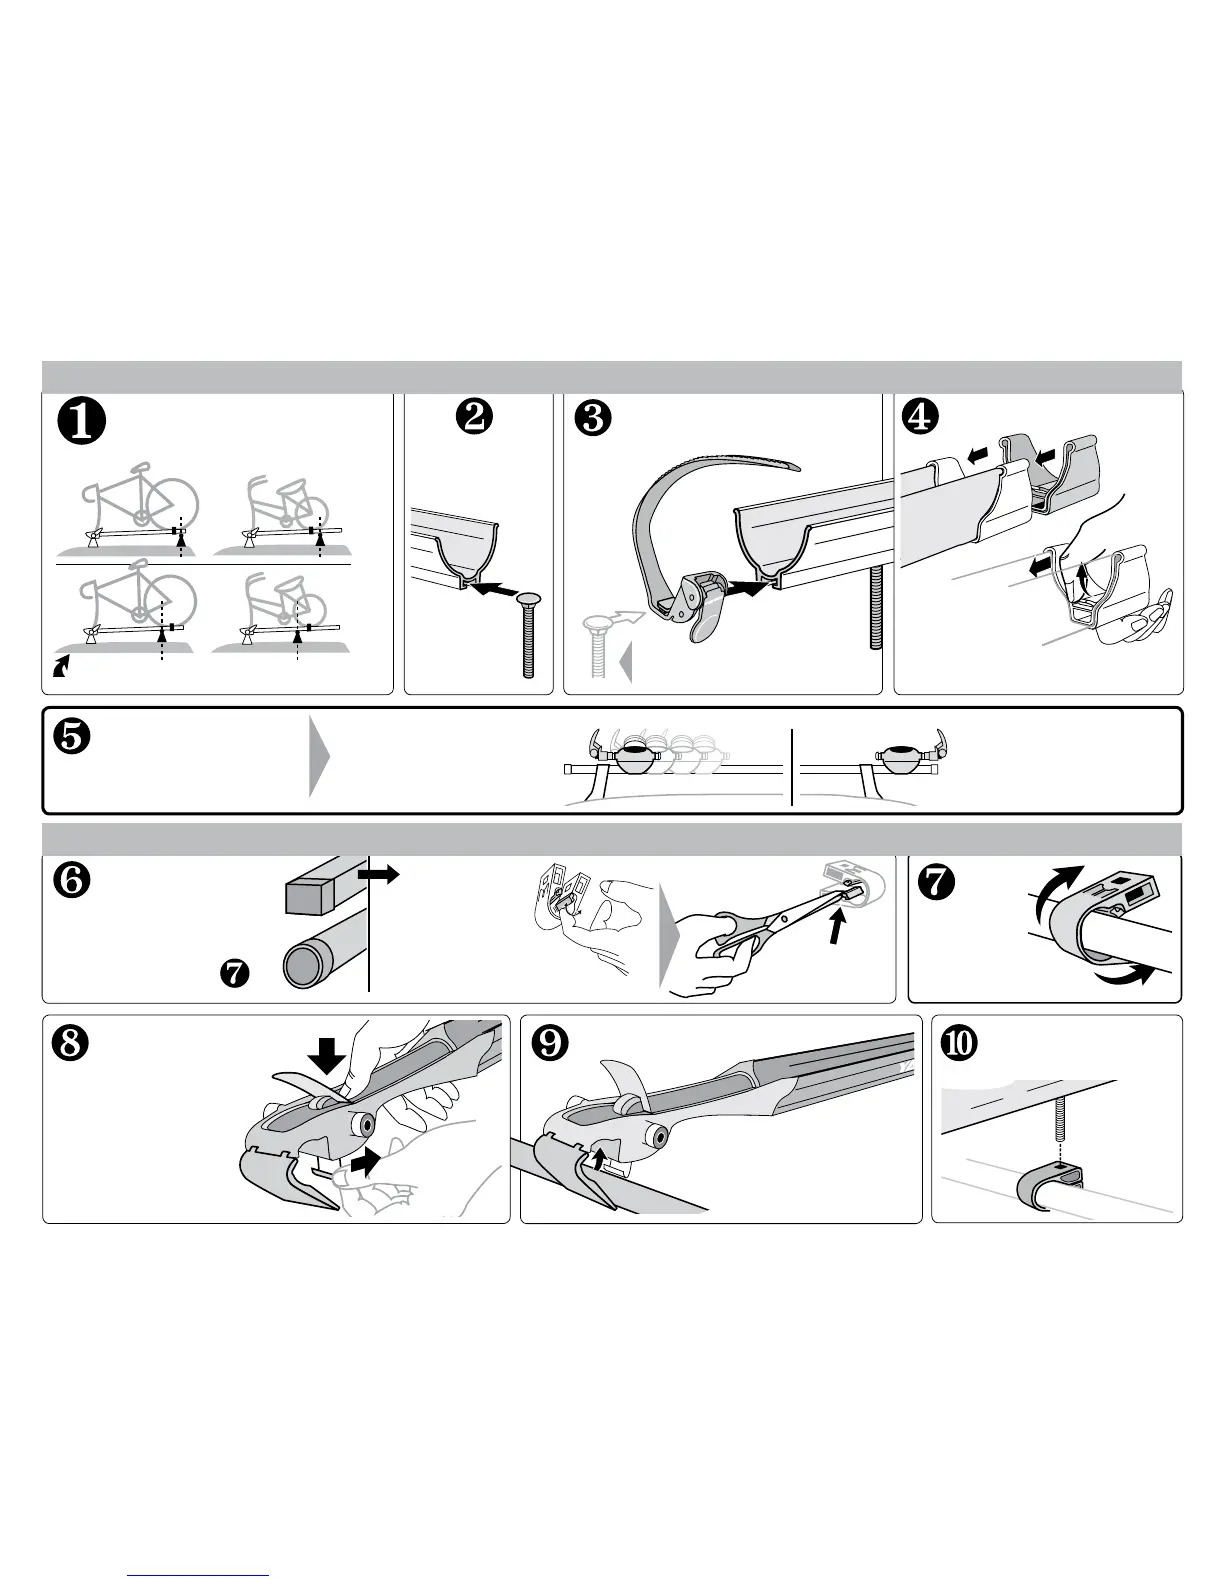
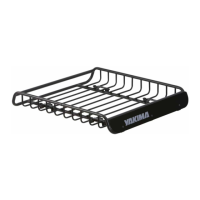
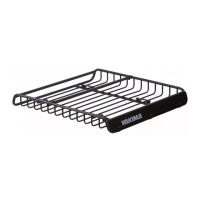
Install tray bolt, wheel strap and end cap.
Secure opposite end.
Insert bolt head
into slot in tray.
If you have
SQUARE BARS,
loosen the tabs
by bending them
repeatedly.
Remove the tabs with
scissors or pliers.
Install the wheel strap with
the red button toward you.
Short bikes or wide crossbar
spreads may require the strap to
go on before the bolt.
Attach
SnapAround
to opposite
bar.
Attach the tray cap.
Lift the tab while
pushing.
Push until the tab
goes into the hole.
IF ROUND, continue to
Do you have
round or square
crossbars?
(The strap may need to go on first
depending on the bike-to-bar fit.)
Set opened Viper onto the crossbars.
Allow the cover to remain
open on the bar.
Align the bolt to the
SnapAround and insert
into the square hole.
• Press open the
red cover.
• Pull silver hook
outward until bottom
plate opens.
Decide where
you will position
the Viper along
your crossbars.
OUTSIDE THE TOWERS
Viper can be in a fixed location
for optimum security when
mounted outside the towers.
(Large bikes, or short crossbar spreads)