Do you have a question about the Yakima MegaWarrior and is the answer not in the manual?
List of tools required for assembly and mounting the rack system.
Specifications for maximum basket contents and overall system weight.
Instructions for positioning movable bars or confirming fixed bars.
Connect basket tubes using screws and washers.
Mount the fairing to the front of the basket.
Position the basket over the vehicle's crossbars.
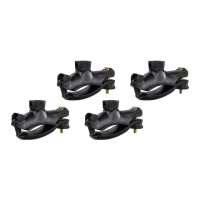
Place support brackets above crossbars, avoiding unstable points.
Mount cover brackets onto support brackets.
Insert bolts into designated holes on the basket and brackets.
Engage the threads of the bolts with the knobs.
Lock the T-bolts into position by turning them 90 degrees.
Ensure all knobs are tightened securely.
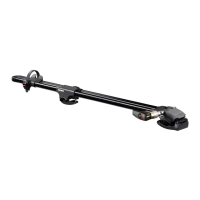
Connect the load bar using bolts and embedded nuts.
Consult diagrams for correct bar placement and necessity.
Tighten end clamp bolts while pushing clamps together.
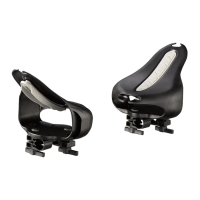
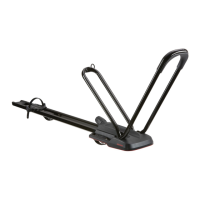
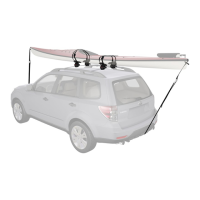
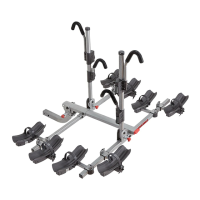
Secure accessories like bikes, boats, or skis to the front of the basket.
Verify the basket is securely attached by tugging and tightening knobs.
Procedure for detaching the basket without disassembling hardware.
Warning about potential interference when opening vehicle hatches.
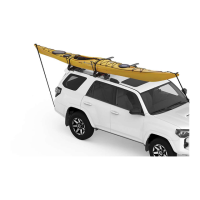
Advice to secure long loads at front and rear for stability.
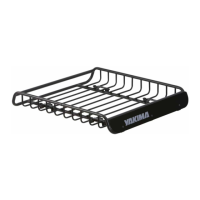
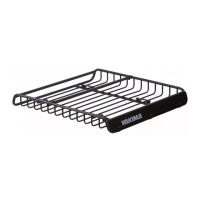
| Product Type | Cargo Basket |
|---|---|
| Material | Steel |
| Mounting System | Universal mounting hardware |
| Included Hardware | Universal mounting hardware |
| Finish | Black Powder Coat |
| Compatibility | Most factory and aftermarket crossbars |