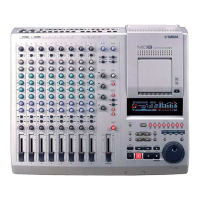
MDX-E300
8
MDX-E300
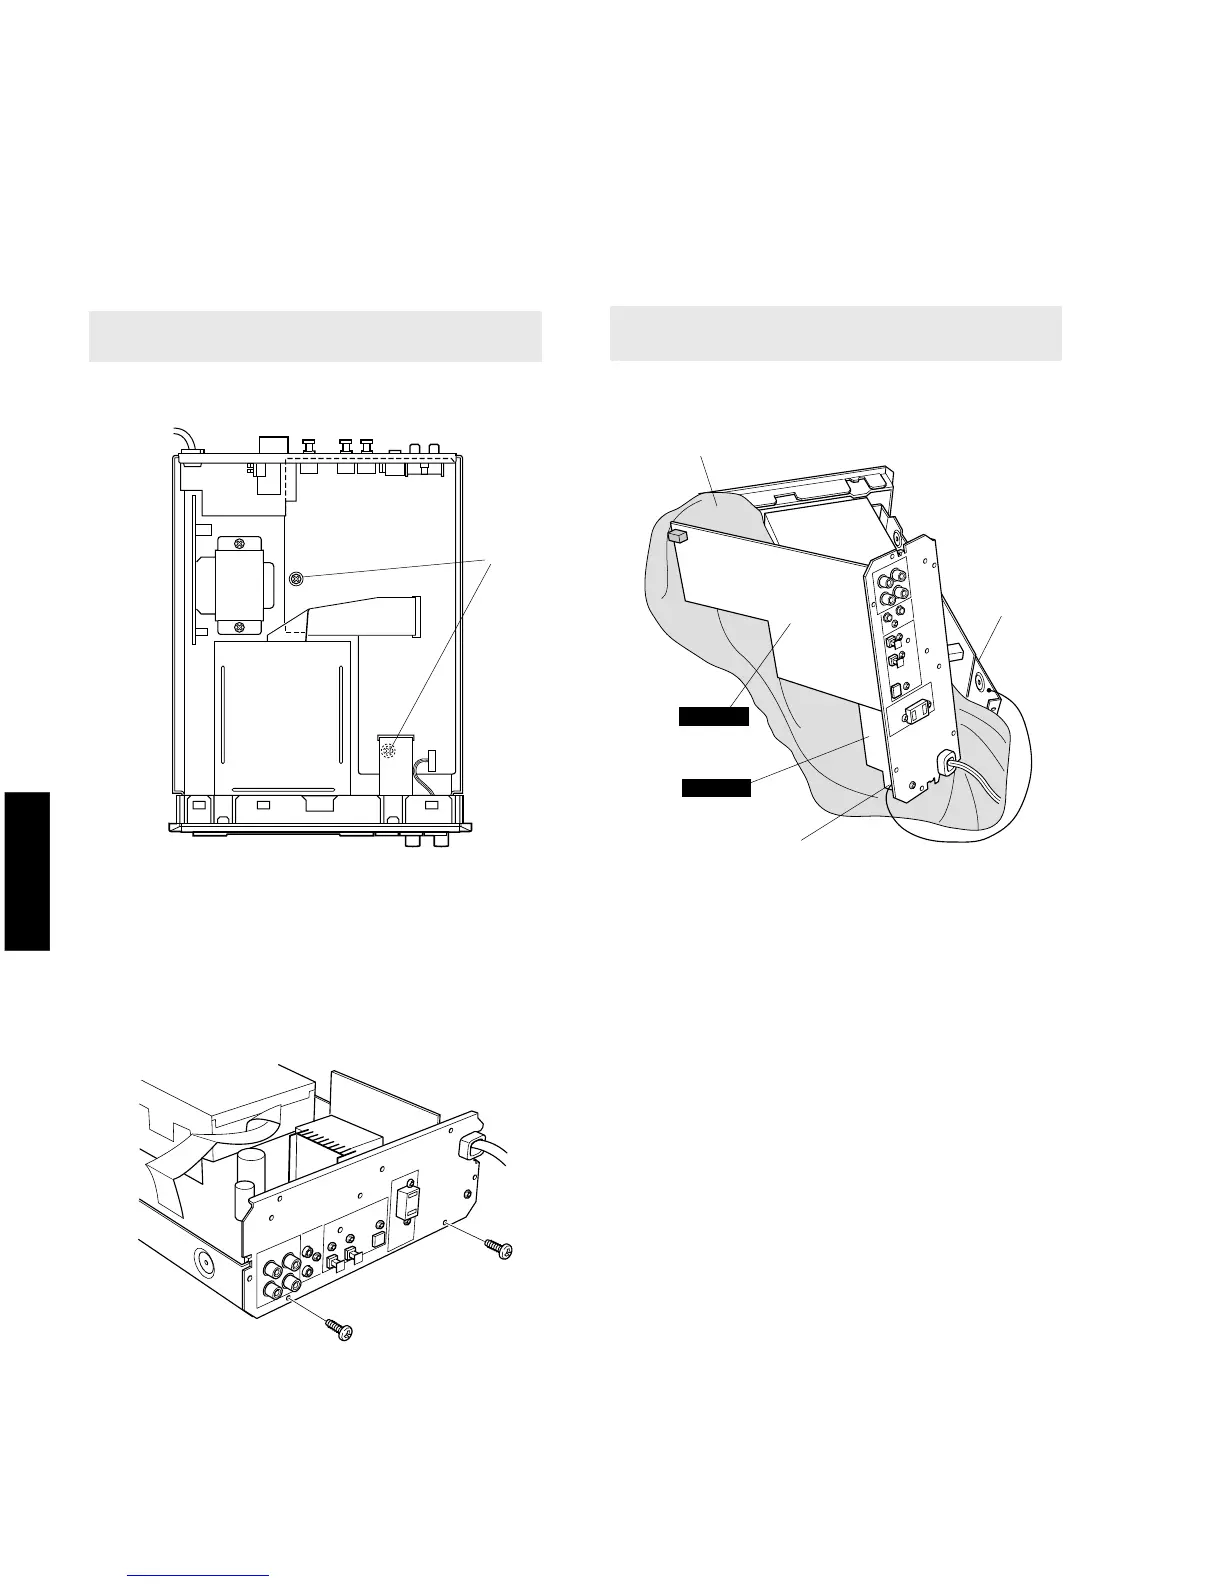
● サービスポジション
a. y のネジ 2本を外します。(Fig.3)
b. u のネジ 2本を外します。(Fig.4)
c. Main(1)P.C.B. を外します。
d. Main(1)P.C.B. および Main(4)P.C.B. を Fig.5 のよう
に置いて、動作チェックを行います。
● Service Position
a. Remove 2 screws (y) in Fig. 3.
b. Remove 2 screws (u) in Fig. 4.
c. Remove the Main (1) P.C.B. from the chassis.
d. Place the Main (1) P.C.B. and Main (4) P.C.B. as shown
in Fig. 5 for servicing.
Fig. 3
Fig. 4
Fig. 5
MAIN (1)
MAIN (4)
y
u
u
Cloth
P.C.B. チェックをする場合には
Main(4)P.C.B. の ST1 をリード線等でシャーシに接続してく
ださい。
When checking the P.C.B.:
Be sure to connect the ST1 of the Main (4) P.C.B. to the
chassis with a jumper wire or the like.
シャーシ
メイン(1)
メイン(4)
布
ST1
Chassis


 To Next Page