Do you have a question about the Yamato VT2500 and is the answer not in the manual?
| Brand | Yamato |
|---|---|
| Model | VT2500 |
| Category | Sewing Machine |
| Language | English |
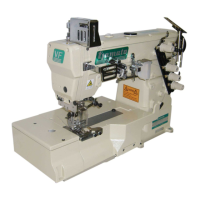
Defines the intended use and application of the sewing machine.
Emphasizes reading all manuals before operating the sewing machine.
Lists unsuitable environments for operating the sewing machine to ensure safety.
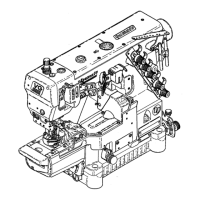
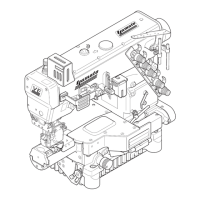
Provides instructions for safely unpacking and transporting the sewing machine head.
Highlights the need for trained personnel for machine operation and maintenance.
Details requirements for the sewing table, lighting, and motor installation.
Instructions for correctly wiring the sewing machine head, motor, and electric apparatus.
Precautions to take before operating the sewing machine, including lubrication and power checks.
Safety guidelines to follow while operating the sewing machine, covering guards and moving parts.
Procedures for safely removing parts or the machine head, including power off precautions.
Guidelines for performing maintenance, inspection, and repair safely and correctly.
Explains the meaning of WARNING and CAUTION signs used in the manual.
Describes various pictorial markings indicating warnings and cautions for specific hazards.
Describes specific warning labels affixed to the sewing machine and their meanings.
Indicates the placement of safety labels on the machine and the importance of keeping them readable.
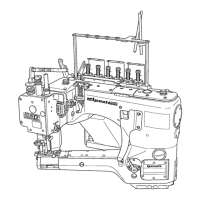
Details the installation process for the table top type sewing machine.
Provides a diagram showing the cutting dimensions for the machine table.
Instructions for mounting the sewing machine onto the prepared table.
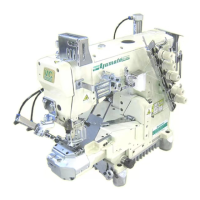
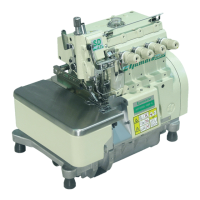
Covers the installation procedure for the semi-submerged type machine.
Diagram showing cutting dimensions for the table in semi-submerged installation.
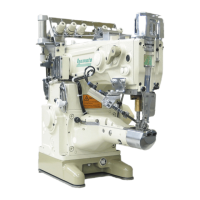
Instructions for installing the sewing machine in a semi-submerged configuration onto the table.
Details on selecting and installing the motor, pulleys, and V-belt.
Step-by-step guide on how to hang and tension the V-belt connecting the motor and machine pulleys.
Instructions for fitting the belt covers for safety and protection.
Steps for attaching the thread tension unit to the sewing machine.
Instructions for installing the essential safety guards: eye guard and finger guard.
Guidance on installing the presser lifter pedal mechanism under the table.
Instructions for attaching the supplementary cover to the cylinder front cover.
Specifies the type of lubricating oil to use and its capacity.
Instructions for initial oil filling and checking oil flow after starting the machine.
Details the interval for changing lubricating oil and the procedure for performing it.
Explains how to check and replace the oil filter for proper lubrication.
Instructions for removing and reattaching the front cover of the cylinder section.
Identifies the correct needle system (UY x 128GAS) and how to select needle size.
Step-by-step guide on how to correctly install sewing machine needles.
Detailed instructions and diagrams for threading all the necessary threads through the machine.
Guidance on adjusting the tension for all threads to achieve stable stitches.
How to adjust the presser foot pressure for optimal stitch quality.
Instructions for adjusting the differential feed for gathering or stretching fabric.
Procedure for infinitely adjusting the stitch length of the sewing machine.
Information on using the SP device to prevent thread issues during high-speed sewing.
How to use the lever to keep the presser foot raised for maintenance or material removal.
Instructions for adjusting fabric edge guides for hemming and covering seams.
Daily and weekly cleaning procedures to maintain the sewing machine.
Details on adjusting the tension of the needle threads using the front eyelet and strike-off pins.
How to adjust the tension for the top cover thread using the take-up eyelet.
Guidance on adjusting the looper thread take-up eyelet position for proper tension.
Procedures for adjusting the spreader's position relative to the needle and hook.
Specific steps for adjusting the spreader's clearance and distance from the needle.
How to adjust the top cover thread guide for correct thread path.
Steps for adjusting the top cover thread eyelet position.
Comprehensive guide for adjusting the distance, angle, and position of the looper relative to the needles.
How to adjust the distance between the looper tip and the needle based on needle distance code.
Instructions for setting the looper's angle and height.
Procedure for adjusting the front-to-rear position of the looper.
How to set the correct height for the left needle relative to the stitch plate.
Instructions for adjusting the height and front-to-rear position of the rear needle guard.
How to adjust the front needle guard's clearance to the needles.
Steps for setting the correct height for all feed dogs.
How to correctly position the presser foot relative to the needle holes.
Adjusting the stopper collar to set the gap for the topmost presser foot position.
Procedures for removing and reinstalling the presser foot.