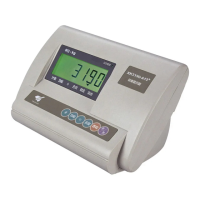
XK3190-A12(E)
Add full capacity load,
press [TARE] to continue
Calibrate the full capacity
For example:
Load 25000 weight on scale(as we set in step 3)
Use [TARE] and [ZERO] to change the value to
be 25000.
When stable indication sign is on, press [#] to
confirm.
Press [TARE] to select the
digit bit;
Press [ZERO] to change
the value accordingly with
the full capacity;
Press [#] to confirm when
the stable indication sign is
on
Press the calibration switch
at the back housing of the
indicator.
It saves the calibration parameter and back to the
weighing mode.
Note: if no pressing the calibration switch, all the
parameters won‟t be saved.
4.2 FAST CALIBRATION FOR ZERO POINT AND FULL CAPACITY
Connect load cell properly, then turn on the indicator, keep pressing [ # ] key while its initialization, it will
enter into the calibration mode, and display 【d X 】.
4.2.1 Fast calibration of zero point:
At any time before it showing [nOLOAD], press [FUNC]. Indicator will keep the original division, decimal
point, full capacity, and enter the zero point calibration directly. Making sure there is no load on the scale,
and the stable indication sign is on, press [ZERO] to re-calibrate the zero point. The indicator will display
[End]. Press the calibration switch at the back of the indicator to save the setting and get back to the
weighing status.
4.2.2 Fast calibration of full capacity:
At any time before it showing [AdLOAD], press [*]. It keeps the original division, decimal point, full capacity,
zero point, and enters into the full capacity calibration directly. After the full capacity is reset, press the
calibration switch at the back of the indicator to save the setting and get back to the weighing status.
Chapter 5 Maintenance
5.1 To ensure the clarity and service life of the indicator, it must be kept away from direct sunlight during
using, and the ground where the indicator stands must be smooth.
5.2 It is improper to use this indicator in a dustful or vibrant or damp environment.

 Loading...