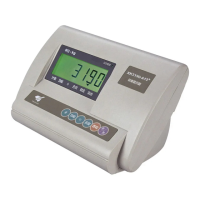
XK3190-A12(E)
13th byte: the 4 low bits of checksum (0x33)
14
th
byte: 0x0d
15
th
byte: 0x0a
Chapter 4 Calibration
4.1 CALIBRATION
Connect load cell properly, then turn on the indicator, keep pressing [#] key while it‟s initializing, it will enter
the calibration mode, and display 【d X 】.
Press [TARE] to change
the division, and press [#]
to confirm
Division setting.
For example: Press [#] when displayed【d 5】,
then the division is set to be“5”, and the indicator
enters decimal point setting.
Note: The 10, 20, 50 divisions are only valid when
there is no decimal point. When there is a decimal
point, the 10, 20, 50 divisions will be turned to 1, 2,
and 5 automatically.
Press [TARE] to change
the decimal point, and
press[#] to confirm
Decimal point setting
For example: Press [#] when displayed【P 0.000】,
then the decimal point is set to be “0.000”, and the
indicator enters full capacity setting
Note: When there is a decimal point, division 10,
20, 50 are invalid, and will be turned to 1, 2, and 5
automatically.
Press [TARE] to select the
digit bit;
Press [ZERO] to change
the value;
Press [#] for confirm the
input of full capacity
Full capacity setting
For example: Press [#] when displayed【025000】,
then the full capacity is set to be “25000”, and the
indicator enters zero point calibration
Make sure there is no load
on scale, and press [#]
when the stable indication
sign is on
 Loading...