Do you have a question about the Yard force NX 60i and is the answer not in the manual?
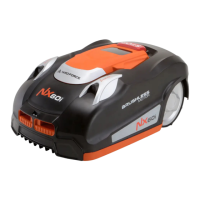
Details the components and features of the Robotic Mower.
Overview of lawn preparation and tools needed.
Instructions to cut the lawn to 60 mm before installation.
Explains detection of obstacles and boundary wire placement rules.
Advice on clearing stones and protecting trees.
Guidance on navigating slopes and boundary wire placement.
How to handle driveways and roads with boundary wire.
Recommendations for leveling uneven lawn areas.
Guidelines for choosing the best location for the docking station.
Instructions for laying and securing the boundary wire.
How to use boundary wire to exclude flowerbeds from the cutting area.
Importance of excluding pools and recommendations for safety fencing.
Requirements for boundary corridors for inventory or garage access.
Steps to connect the boundary wire to the docking station.
How to select and set the boundary wire signal (S1/S2).
Overview of the mower's control panel buttons.
Steps to adjust time and date settings before operation.
What the display shows after powering on and entering PIN.
Configuration options for ultrasonic and rain sensors.
How to change the mower's PIN code for security.
Options for selecting language and connecting via Wi-Fi.
How to adjust the cutting height of the mower.
Steps to start mowing after settings are complete.
How to command the mower to return to its docking station.
How to perform an emergency stop of the mower.
General guidance for checking and cleaning the mower.
Information on the mower's battery life.
Instructions for storing the mower during winter.
Steps to prepare the mower after winter storage.
How to clean the exterior of the mower.
Guidelines for proper disposal of the mower and battery.
Step-by-step guide for replacing the mower's battery.
How to clean the mower's underside and charging contacts.
Instructions for reversing or replacing the mower's blades.
Information on ordering spare parts.
Solutions for the mower failing to dock correctly.
Causes and fixes for the mower running in circles.
Reasons for excessive noise and potential solutions.
Troubleshooting steps for start button problems.
Explanation of LED indicators on the docking station.
Solutions for charging-related problems.
Solutions for mowing-related problems.
This document provides an installation guide, operation instructions, technical data, maintenance, and troubleshooting information for the YARD FORCE Robotic Mower models NX 60i, NX 80i, and NX 100i.
The YARD FORCE Robotic Mower is designed to automatically cut lawns within a defined boundary. It is equipped with collision sensors to detect obstacles and navigate around them. The mower returns to a docking station for charging and can be programmed with a working schedule. It features ultrasonic sensors to detect obstacles on the lawn, and a rain sensor that will send the robot back to its charging station if it starts to rain. The device also supports Wi-Fi connectivity for potential app control (refer to the APP manual for details).
The robotic mower comes in three models with varying maximum cutting areas and boundary wire lengths:
Common specifications across all models include:
| Brand | Yard force |
|---|---|
| Model | NX 60i |
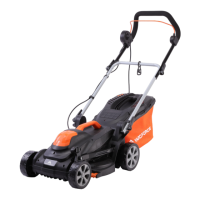
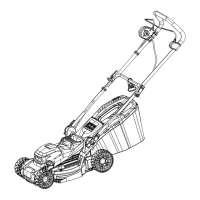
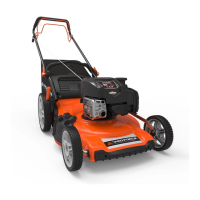
| Category | Lawn Mower |
| Language | English |