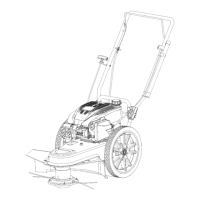
GENERAL
ENGINE
CARE
• Maintain oil level
as
instructed in Engine Operator's Manual.
Service air cleaner every
25
hours
of
use under normal conditions.
Under
extremely dusty conditions, clean every
few
hours. Poor
engine performance
and
flooding usually indicate
that
the air
cleaner should
be
serviced.
To
service the air cleaner, refer
to
the
Engine Operator's
Manual.
• Clean
spark plug
and
reset the gap once a season. Spark plug
replacement
is
recommended at the
start
of
each trimming
season. Check Engine Operator's
Manual
for
correct plug type
and gap specifications.
• Clean engine regularly
with
a cloth
or
brush. Keep the
top
of
the
engine
clean
to
permit proper air circulation. Remove
all
grass,
dirt, and
combustible debris
from
the muffler area.
• Engines stored between
30
and
90
days need
to
be
treated
with
a
gasoline stabilizer
to
prevent deterioration and gum
from
forming
in the
fuel system
or
on essential carburetor parts.
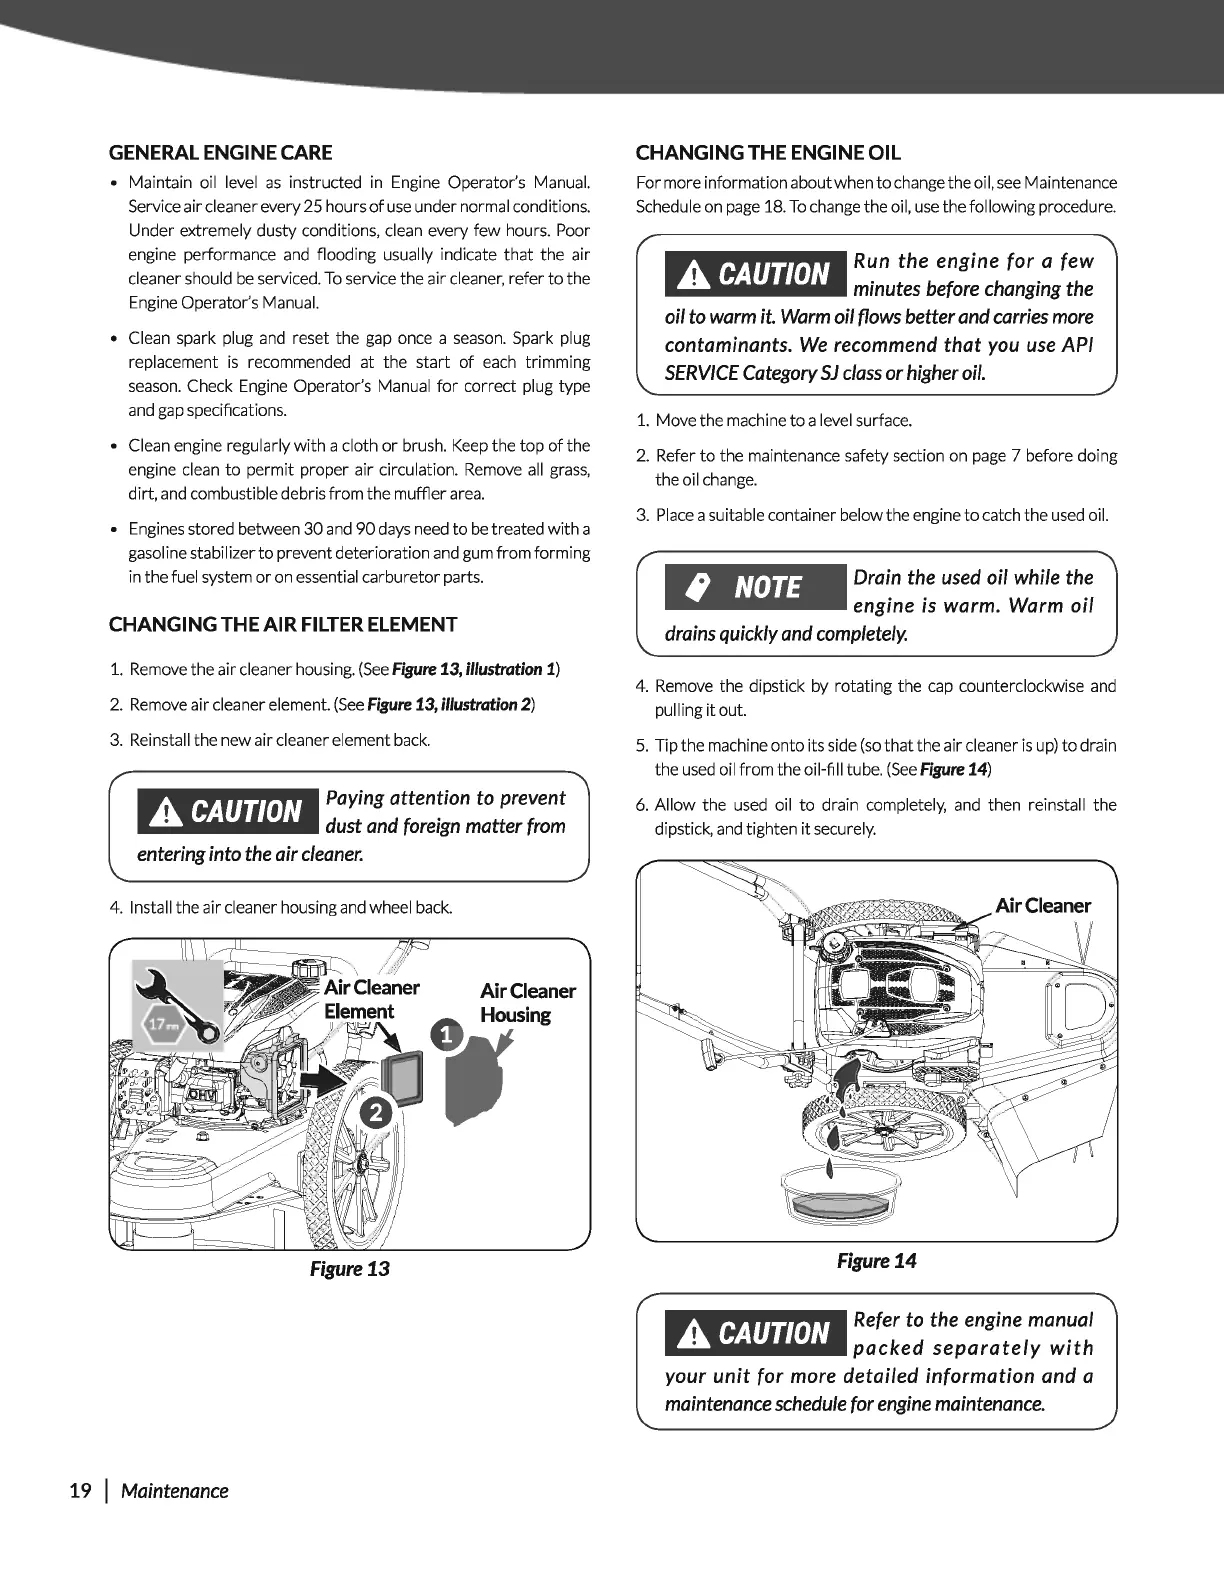
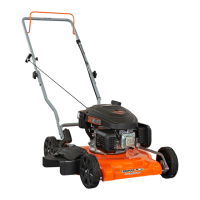
CHANGING THE AIR
FILTER
ELEMENT
1.
Remove the air cleaner housing.
(See
Figure
13,
illustration
1)
2.
Remove air cleaner element.
(See
Figure
13,
illustration
2)
3.
Reinstall the new air cleaner element back.
A
CAUTION
Paying
attention
to
prevent
dust
and
foreign
matter
from
entering
into
the
air
cleaner.
4. Install the air cleaner housing and wheel back.
Air
Cleaner
T&
i~
Figure
13
19
I
Maintenance
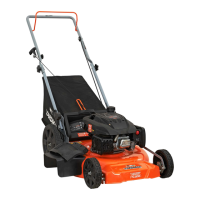
CHANGING THE ENGINE OIL
For more information about when
to
change the oil,
see
Maintenance
Schedule on page 18.
To
change the oil, use the following procedure.
A
CAUTION
Run
the engine for a few
minutes
before
changing
the
oil
to
warm
it.
Warm
oil
flows
better
and
carries
more
contaminants.
We
recommend
that
you
use
API
SERVICE
Category
SJ
class
or
higher
oil.
1.
Move the machine
to
a level surface.
2.
Refer
to
the maintenance safety section on page 7 before doing
the
oil change.
3.
Place
a suitable container below the engine
to
catch the used oil.
~
NOTE
Drain
the
used
oil
while
the
engine
is
warm. Warm oil
drains
quickly
and
completely.
4.
Remove the dipstick by rotating the cap counterclockwise
and
pulling
it
out.
5.
Tip the machine
onto
its side
(so
that
the air cleaner
is
up)
to
drain
the used
oil from the oil-fill tube.
(See
Figure
14)
6.
Allow
the used oil
to
drain completely, and then reinstall the
dipstick,
and
tighten
it
securely.
Figure
14
A
CAUTION
Refer
to
the
engine
manual
packed
separately
with
your unit for
more
detailed information and a
maintenance
schedule
for
engine
maintenance.