REPLACING
TRIMMER
LINE
When the
trimmer
line becomes
worn
to
half the original length,
replace
the
trimmer
line.
1.
Stop the engine.
Wait
for
all moving parts
to
stop. Disconnect the
wire
from the spark plug.
2.
Remove the
worn
mower line
from
the line retainer.
3.
Use the built-in length gauge, located on the shield
to
make sure
the new
trimmer
line
is
cut
at
the correct length.
Place
one end
of
the
trimmer
line
at
location
"A"
and bend
it
along the raised portion
of
the shield.
Cutthe
line
at
location "B" (22")
or
location
"C"
(20").
(See
Figure
15a)
.A
CAUTION
Do
not allow the length of
the
lines
to
vary
more
than
one
inch.
This
is
important
to
make
sure
the
trimmer
head
is
balanced
and
does
not
vibrate.
Figure
15a
4.
Replace the lines
as
follows:
•
First,
put
the new
trimmer
line through the line retainer.
(See
Figure
15b,
illustration
1)
• Next, check
to
make sure
that
the ends
of
the line are even.
(See
Figure
15b,
illustration
2)
• Finally, cross both sides
of
the I i
ne.
(See
Figure
15b,
illustration
3)
• Repeat the same procedure
to
change the
other
side one. Keep
both
lines in the same length.
.A
CAUTION
When
replacing
lines,
better
do
it
one
at a time
and
use
the
old
line
to
mark
the
position
for
the
new
line
that
you
are
replacing.
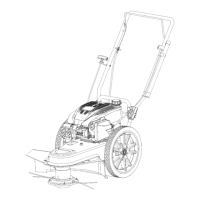
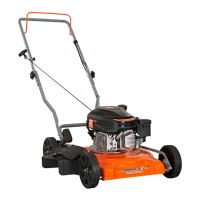
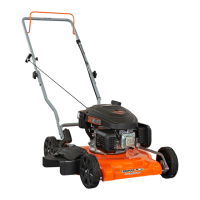
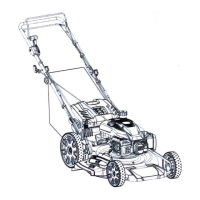
Walk-Behind
String
Trimmer
Mower » Operator's
Manual
BELT
TENSION ADJUSTMENT
Proper belt tension
is
critical
to
good performance.
To
increase belt tension
if
the belt slips
or
the
trimmer
head does not
rotate
after
the
trimmer
head drive control lever
is
engaged.
1.
Loosen the upper jam
nut
on the
trimmer
head drive control cable.
2.
Tighten the lower jam
nut
up in several threads.
3.
Tighten the .
Figure
16a
To
decrease belt tension
if
the
trimmer
head starts
to
rotate when
the
trimmer
head drive control lever
is
not
completely pressed
against the
handlebar.
1.
Loosen the lower jam
nut
on the
trimmer
head drive control cable.
2.
Tighten the lower jam
nut
down in several threads.
3.
Tighten the lower jam nut.
Figure
16b
Maintenance
I
20