model no. 060-1314-4 | contact us: 1.866.523.5218 model no. 060-1314-4 | contact us: 1.866.523.5218
15
ASSEMBLY
model no. 060-1314-4 | contact us: 1.866.523.5218
HANDLE
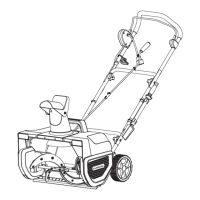
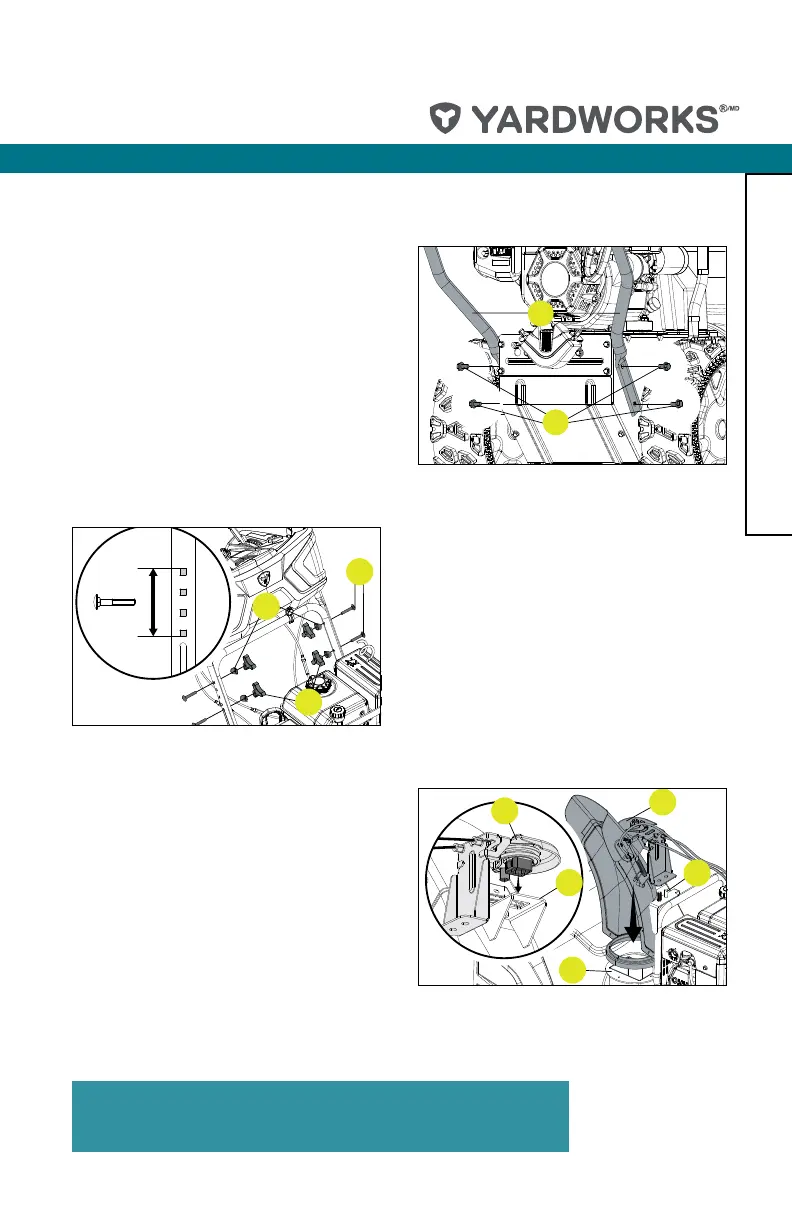
1. Attach the lower handle (1-1) onto the
unit body with 4 self-tapping bolts (1-2)
using included tool or your own 13mm
wrench (Fig. 1).
NOTICE: Make sure the chute pivot assembly snaps securely into the
chute bracket as shown in Step 3.
1-1
1-2
Figure 1
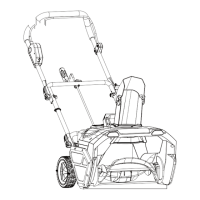
2. Connect the upper and lower handle
with bolts (2-1), washers (2-2) and
locking knobs (2-3) (Fig. 2). The top
handle can adjust to 4 positions. You
can come back later and adjust to a
more comfortable height.
2-1
2-2
2-3
Figure 2
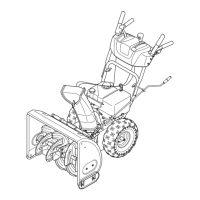
3. Remove the chute pivot assembly (3-1)
from the bubble wrap and attach to the
bracket on the chute (3-2). Align the
round and square connector on the
underside of the chute pivot assembly
to the bracket. The square connector
snaps in place. Then, place the entire
chute (3-3) over the two posts (3-4)
aligning the chute with the base (3-5).
The chute will just rest on the base and
rotate at this point (Fig. 3).
3-1
3-2
3-3
3-4
3-5
Figure 3