Quick Reference Guide - Yealink – T58A IP Phone with Camera
3
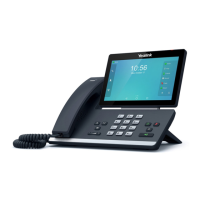
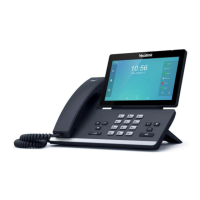
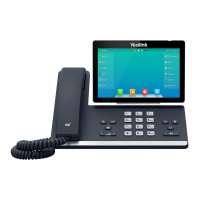
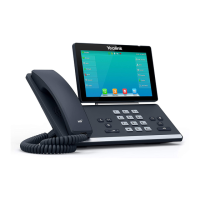
Yealink T58A IP Phone with Camera
CALL FORWARD
You can configure your phone to forward your calls
to another number.
There are three types of call forward:
Always Forward – Incoming calls are immediately
forwarded to the configured number
No Answer Forward - Incoming calls are forwarded
if not answered after a configured number of rings
to the specified number
Busy Forward – Incoming calls are immediately
forwarded to the specified number if the phone is
busy
To enable call forward:
Swipe down from the top of the screen or swipe
left/right to go to the second idle screen
Tap Settings > Features > Call Control > Call
Forward
Choose from Always Forward, No Answer
Forward, or Busy Forward
Tap the On radio button
Enter the forward destination number
Tap the 3 dots in the top right on the screen and
select the Save option from the dropdown
options
Additionally, for No Answer Forward:
Tap the After Ring Time field and select the wait
time in seconds.
Tap to accept the change or to cancel
The call forward icon is displayed on the LCD
screen when Call Forward is active
Disable call forward
Swipe down from the top of the screen or swipe
left/right to go to the second idle screen
Tap Settings > Features > Call Forward
Choose from Always Forward, No Answer
Forward, or Busy Forward
Tap the Off radio button
Tap to accept the change
DO NOT DISTURB (DND)
You can use DND to reject incoming calls
automatically on your phone. Calls will go directly
to your voicemail or receive a busy message.
To activate:
Swipe down from the top of the screen to enter
the control centre
Tap DND
Select the On radio button
Tap to accept the change (the icon on
the status bar indicates that DND is enabled)
To turn off, select the Off radio button
CALL HISTORY
Your phone maintains a call history of Placed Calls,
Received Calls, Missed Calls and Forwarded Calls.
Each list can hold up to 100 entries. The following
icons represent each of the categories:
Missed Calls
Received Calls
Placed Calls
To view History:
Tap
The touch screen displays all call
records
Select an entry and tap Send to call back
DIRECTORY
To add a contact:
Tap then select the desired group on the
left
Tap to add a contact
Enter a unique contact name in the Name field
and contact numbers in the corresponding fields
Tap to accept the change

 Loading...