Installation_Guide | 1 - Installation Guide | 12
LED Indication Status Description
SD Insert SD card to store auto recording files.
Reset button Press and hold for 10 seconds to restore the factory defaults.
USB Insert USB device to store auto recording files.
Console Connect RS232 line to debug the system.
Power Switch Press this button to switch on/off the device.
Power Inlet Connect the supplied power supply to the port.
Protective
Earth
Connect to the ground to reduce the risk of electrocution to the user or protect the
PBX from the bad effects of external noise in the case of a lightning strike.
Antenna
Socket
Rotate the antenna into the Antenna Socket.
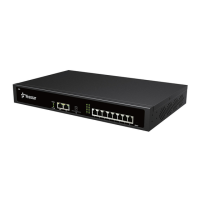
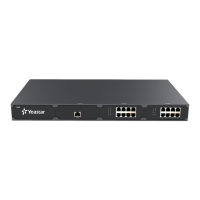
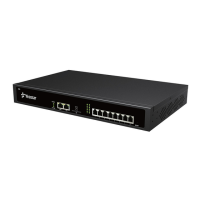
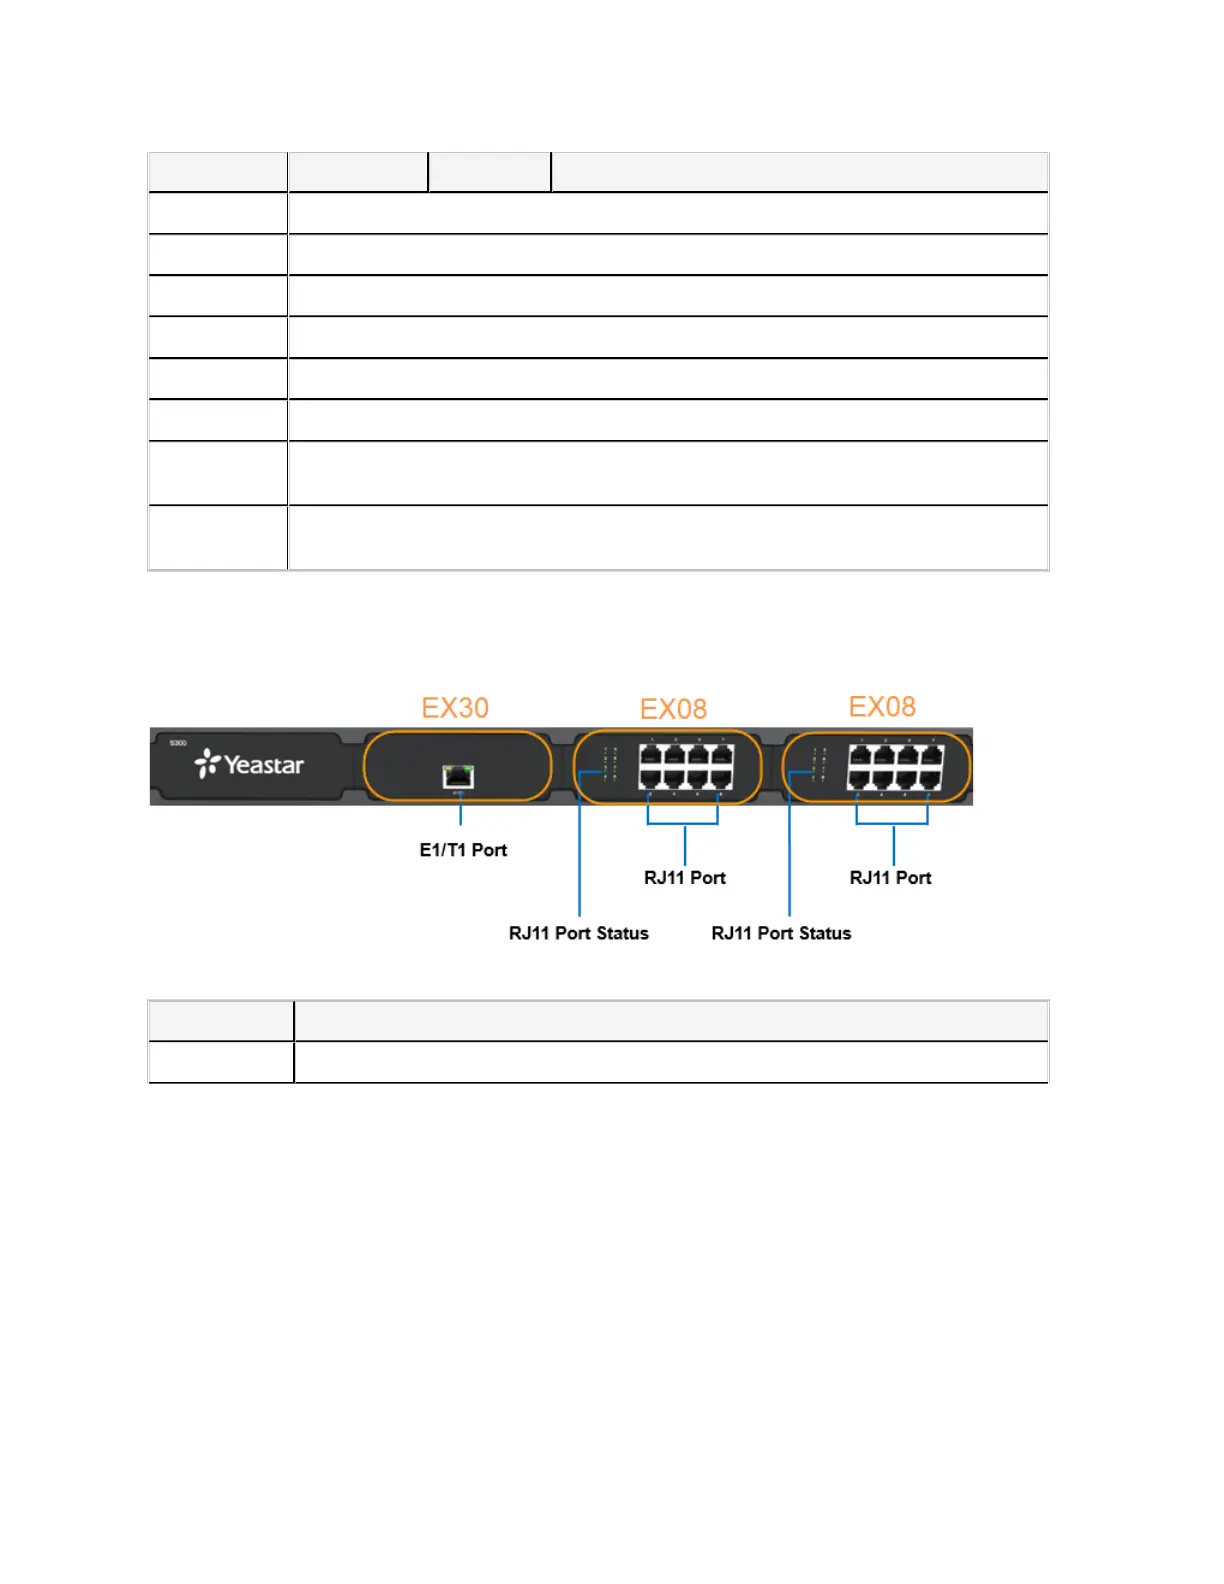
S300 Overview
Front Panel (1*EX30 + 2*EX08)
Table 9: Descriptions of 3100 Front Panel
Port Description
E1/T1 Connect the E1/T1 line.
 Loading...