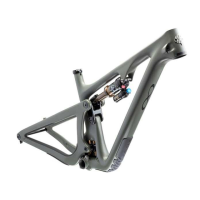
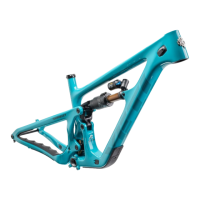
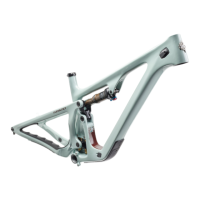
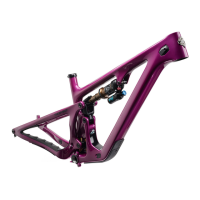
ASR | OWNER’S MANUAL
8
FRAME ASSEMBLY
TOOLS NEEDED
• Torque wrench(es) 5-25Nm
• T-25 torx bit
• 2.5mm allen key
• 3mm allen key
• 5mm allen key
• 6mm allen key
• 8mm allen key
• Blue Loctite (243)
• Grease
• Internal cable routing kit
OPTIONAL BUT HELPFUL
• 10mm guide pins
• 8mm guide pins
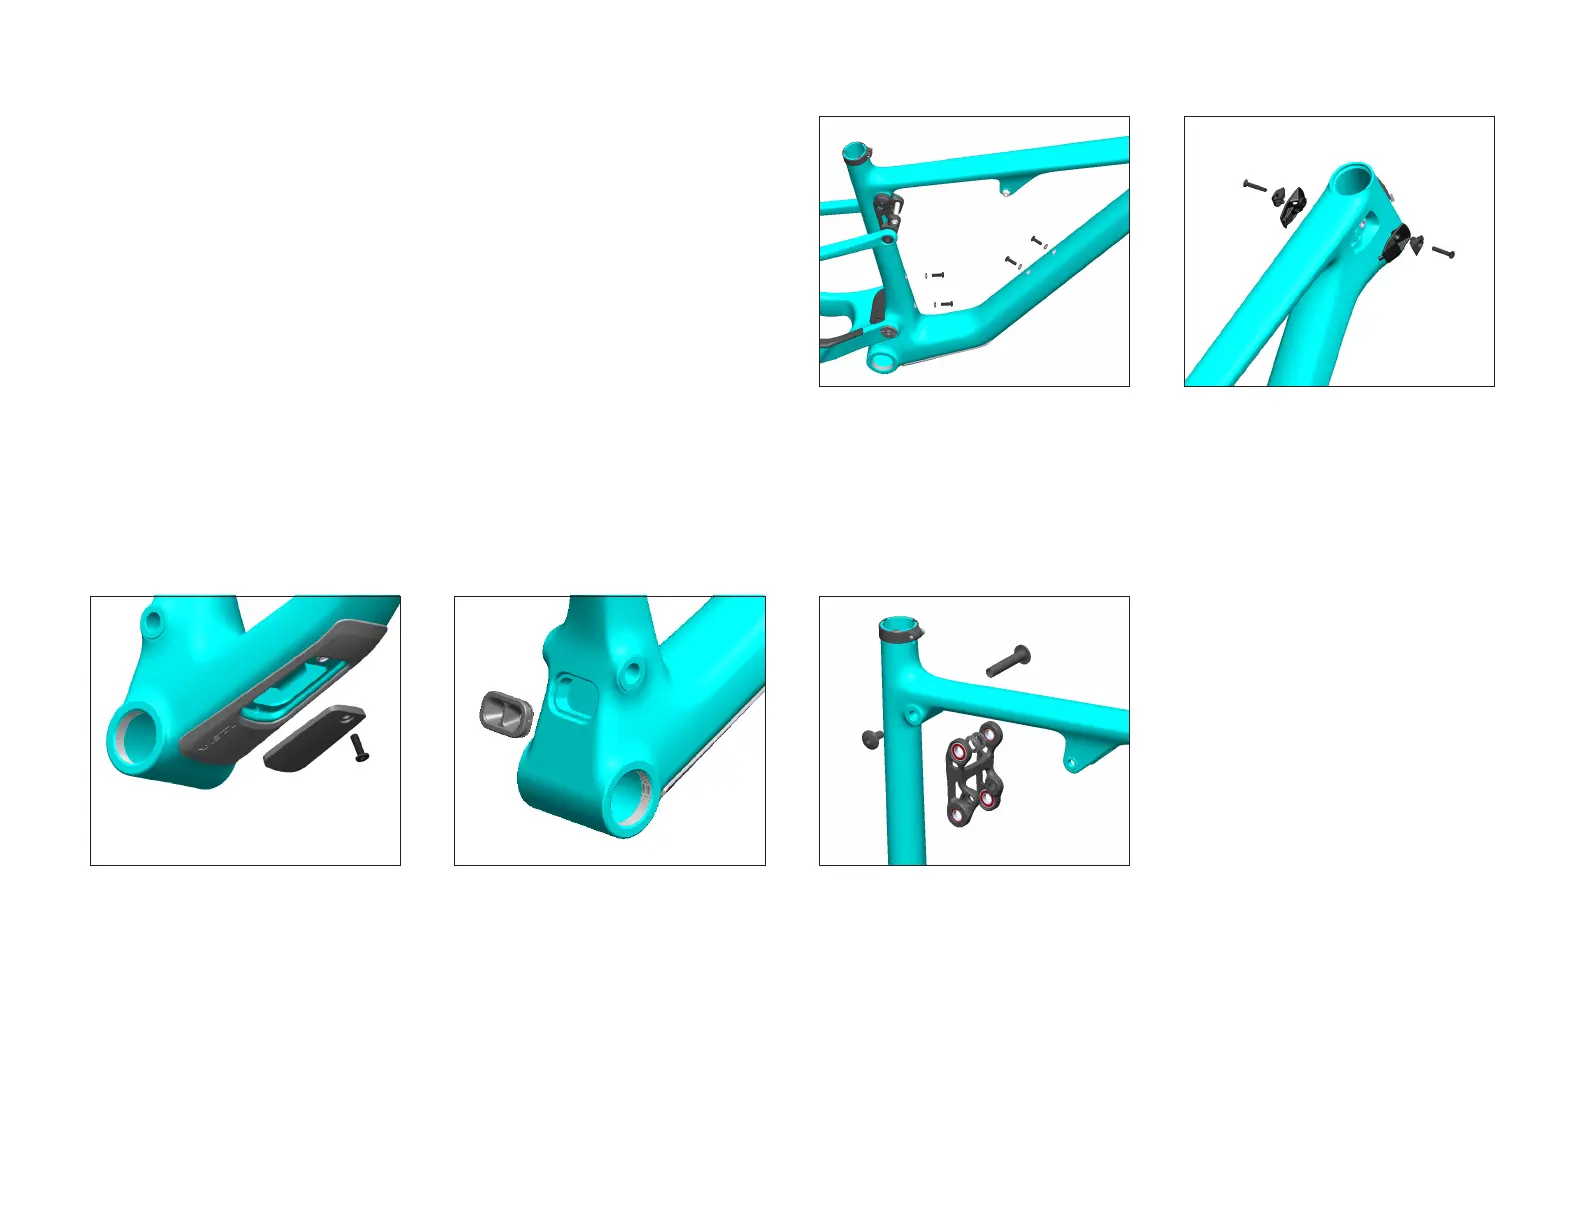
01
Grease threads and install 2x Low Prole H20
Bolts (3.23) and Washers (3.24) to front triangle.
Torque: 5 Nm (or hand tight)
03
Install Lower Access Door (3.25) to the Front
Triangle using Low Prole M5 Screws (3.23),
apply Blue 243 Loctite.
Torque: 5 Nm
02
Place a Head Tube Cable Port Cover (3.17) into
each recess behind the head tube.
Place a Double Port Clamp (3.18) into both
covers. Secure with M4 x 25L FHCS (3.19).
Tighten until snug. Hardware can be torqued to
2-3 Nm after housing installation.
05
Place 2x Race Extenders (3.9) onto the upper
bearings in Link Assembly (3.1). The side of
the race extender that has the raised smaller
diameter should t against the bearing, allowing
the at side to rest against the carbon. Litghtly
grease under the ange of the race extnders
will help hold them in place during install. Install
into Front Triangle using a 10mm guide pin if
available.
Lightly grease shaft of the Link Pivot Collet Axle
(3.7) and install. Apply Blue 243 Loctite to the
threads on the Link Pivot Screw (3.5) and secure
Link Pivot Axle.
Torque: 12 Nm
04
Press Routing Grommet (3.20) in the back side
of Front Triangle.
YETI TIPS
Make sure your tools are in good condition.
A worn allen key can round the hex on a
bolt not allowing for proper torque.
Torque settings are listed throughout the
instructions and on page 7 of this manual.
It is important to prep all bolt threads.
The instructions denote whether to use
a Loctite compound or grease and part
locations, listed in parentheses, are shown
in the exploded view on page 13. Please
ensure all prep call outs are followed.
WARNING: Failure to follow prep instructions
could lead to serious frame issues.
WARNING: Service on Yeti bicycles requires
special knowledge and tools. Yeti Cycles
recommends that all service and repairs be
performed by an authorized Yeti Dealer.