
C
Crystal JoyceAug 4, 2025
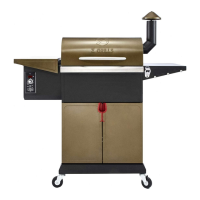
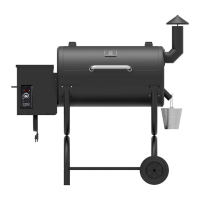
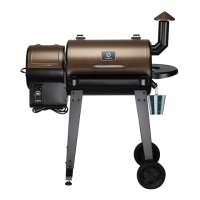
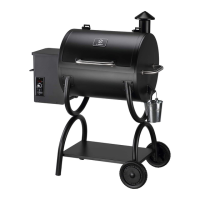
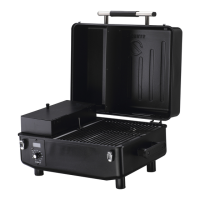
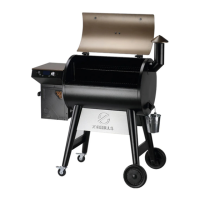
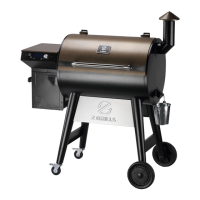
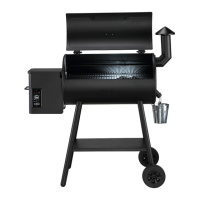
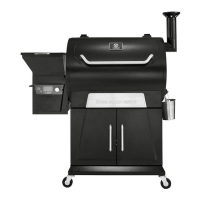
How to start a Z GRILLS ZPG-L6002B Grill correctly?
- Jjerry79Aug 4, 2025
To start your Z GRILLS Grill, use the SMOKE setting with the lid open. After about 5 minutes, close the lid and then set it to your desired temperature.