Do you have a question about the ZALMAN GS1000 and is the answer not in the manual?
Covers checks before installation, avoiding foreign objects, cable checks, vent blocking, environmental conditions, cleaning, and transport.
States Zalman is not responsible for damages from external causes or improper use.
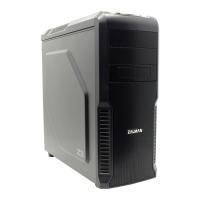
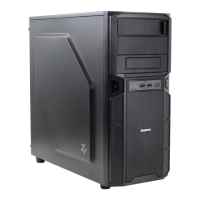
Enclosure type, dimensions, weight, materials, compatibility, drive bays, cooling, slots, and front I/O ports.
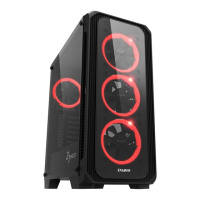
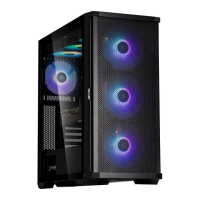
Illustrates front, back, top, and side views of the GS1000 case, plus an icon for tools.
Detailed breakdown of the GS1000 chassis, covers, brackets, and feet with a corresponding parts table.
Details included parts like feet, cables, standoffs, screws, and covers with their specifications and quantities.
Step-by-step visual guide for attaching the case feet to the front and rear of the chassis.
Instructions with diagrams on how to detach the side panels of the GS1000 computer case.
Guides users through removing and then installing the power supply unit (PSU) bracket within the case.
Illustrates the process of installing the motherboard, including standoffs and securing it to the chassis.
Shows how to install expansion cards, specifically a graphics card, into the motherboard slots.
Instructions for removing the front drive bay panel to access the 5.25" drive slots.
Demonstrates the process of installing an Optical Disk Drive (ODD) into the 5.25" bay.
Step-by-step guide for installing a Floppy Disk Drive (FDD) into a 5.25" bay using provided hardware.
Visual instructions for mounting a 3.5" Hard Disk Drive (HDD) into the designated bay.
Explains how to remove a 3.5" HDD from its tray by pressing corners and pulling a handle.
Details the process of installing a 3.5" HDD into the tray, including securing hooks and final mounting.
Advises using a bolt to secure the HDD lock for system transport and ensuring correct HDD orientation.
Illustrates connecting SATA and Power cables to the Hot Swap PCB and notes about turning off the PC.
Shows how to connect the Power button and Power LED cables to the motherboard, with a note on correct orientation.
Provides pinout diagrams for IEEE1394, USB 2.0, and Audio connectors for motherboard connection.
Warns against mixing USB 2.0 and IEEE1394 connectors and advises consulting the motherboard manual.
Recommends installing an optional 120mm fan on the top panel to improve cooling performance.
Suggests installing an optional 120mm fan on the bottom panel to enhance cooling efficiency.
Details installing a second fan and optionally adding a second Hot Swap PCB for expanded functionality.
Lists compatible Zalman products like CPU coolers, VGA coolers, fans, PSUs, and chipset coolers for the GS1000.
| Model | GS1000 |
|---|---|
| Case Type | Full Tower |
| Material | Steel, Plastic |
| Color | Black |
| Motherboard Compatibility | ATX, Micro-ATX, Mini-ITX |
| External 5.25" Drive Bays | 4 |
| Internal 3.5" Drive Bays | 6 |
| 2.5" Drive Bays | 2 |
| Expansion Slots | 7 |
| Front Ports | USB 2.0 x 2, Audio In/Out |
| Cooling System | 120mm Fan x 1 (Rear) |
| Power Supply | Not Included |