7
Media Rewind Upgrade
Preparing the Printer
10/23/2006 33181L-001 Rev. A
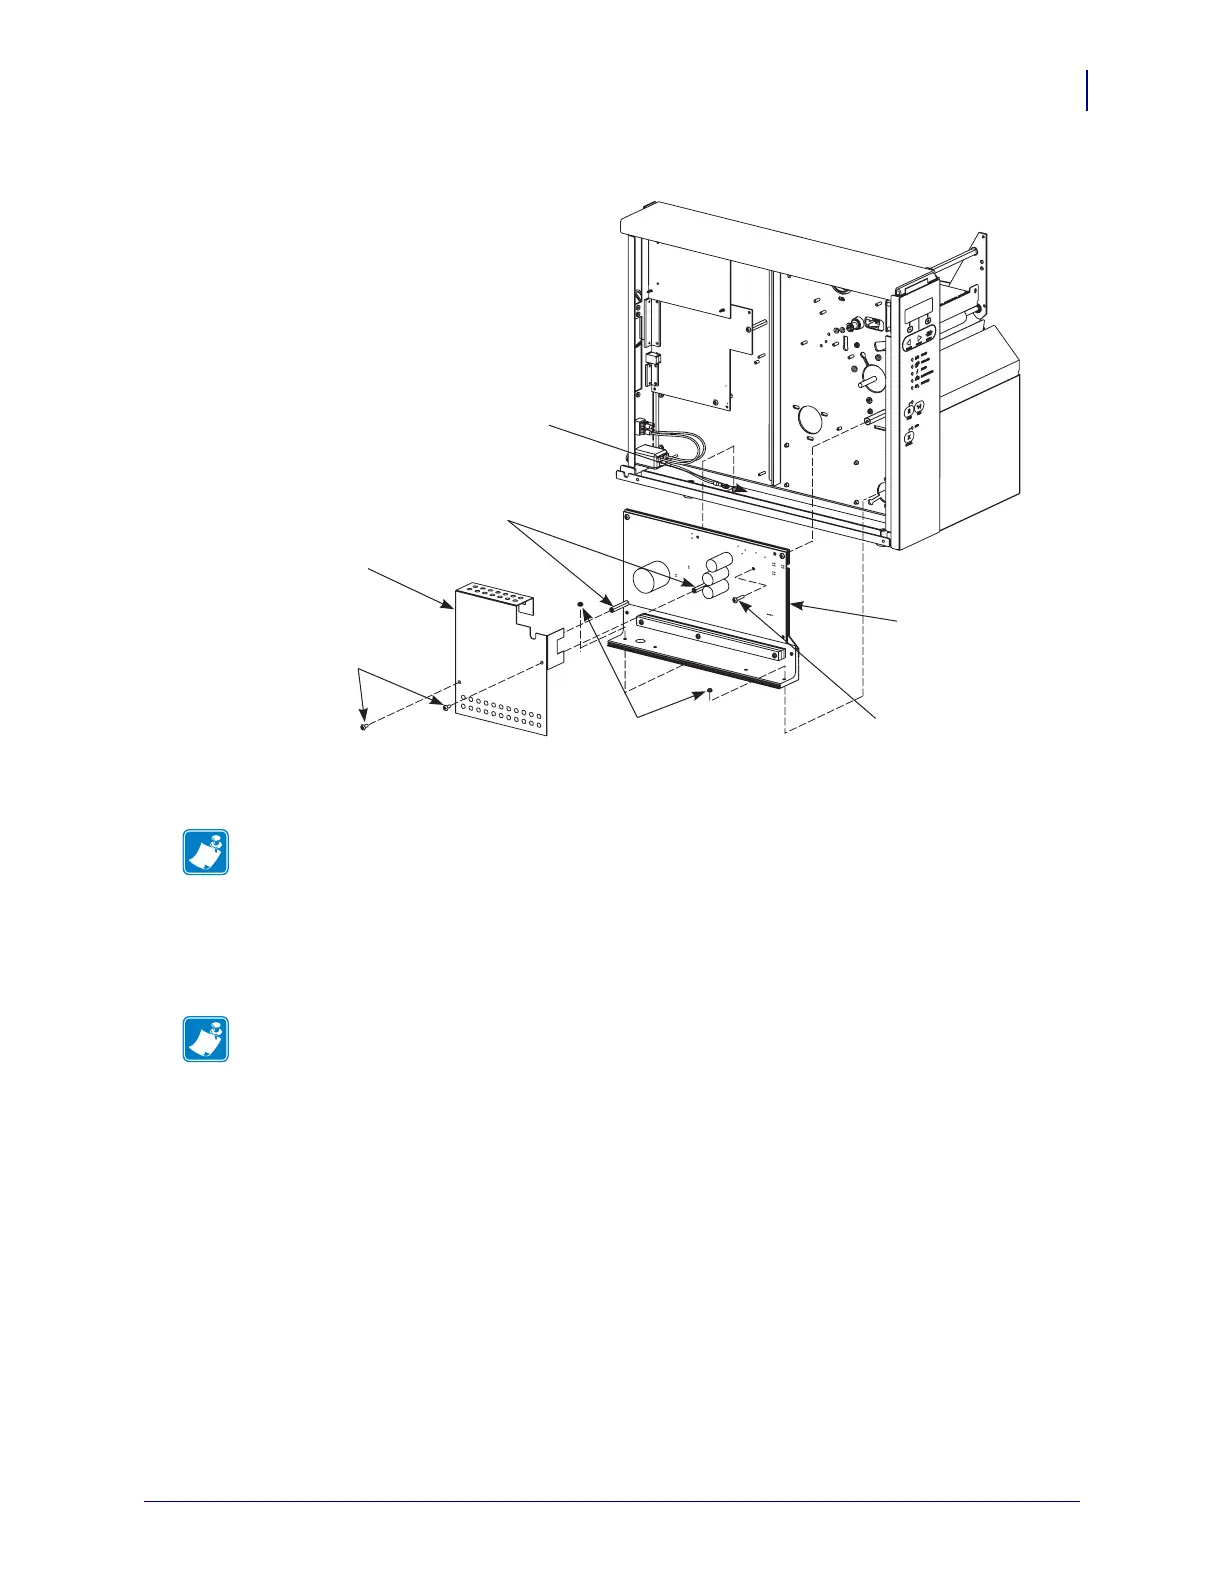
Figure 3 • AC/DC Power Supply Removal and Installation
6. Unplug the four cable connectors attached to the AC/DC power supply board.
7. Remove and retain the two nuts and one mounting screw that secure the AC/DC power
supply assembly in position.
8. Swing the assembly aside to gain access to the mainframe of the printer.
Do Not Remove
Heat Conduction Pad
Insulation
Shield
Standoffs
Insulation Shield
Mounting Screws
AC/DC
Power Supply
Hex Nut
Screw
Note • You may leave the cable tie attached to the upper right-hand corner of the board.
Note • The black heat conduction pad MUST NOT be discarded.
 Loading...


