II. Adjust the print darkness.
1. To begin this procedure, printing on the test labels must initially be a light
gray darkness. First, press the MODE key (DARKEN light and PAUSE light
turn ON) to permit darkness adjustment.
2. Press the PAUSE key to begin printing test labels.
3. While observing the print darkness, repeatedly press the UP (FEED) key to make
the printing DARKER, or the DOWN (CANCEL) key to make the printing
LIGHTER, until a light gray darkness is achieved.
NOTE: If the light gray print darkness is not achieved, it may be necessary to increase
or decrease the Printhead Toggle Pressure.
4. Once proper print darkness is achieved, press the PAUSE key to stop printing.
Continue to Step III.
This procedure is continued on the next page...
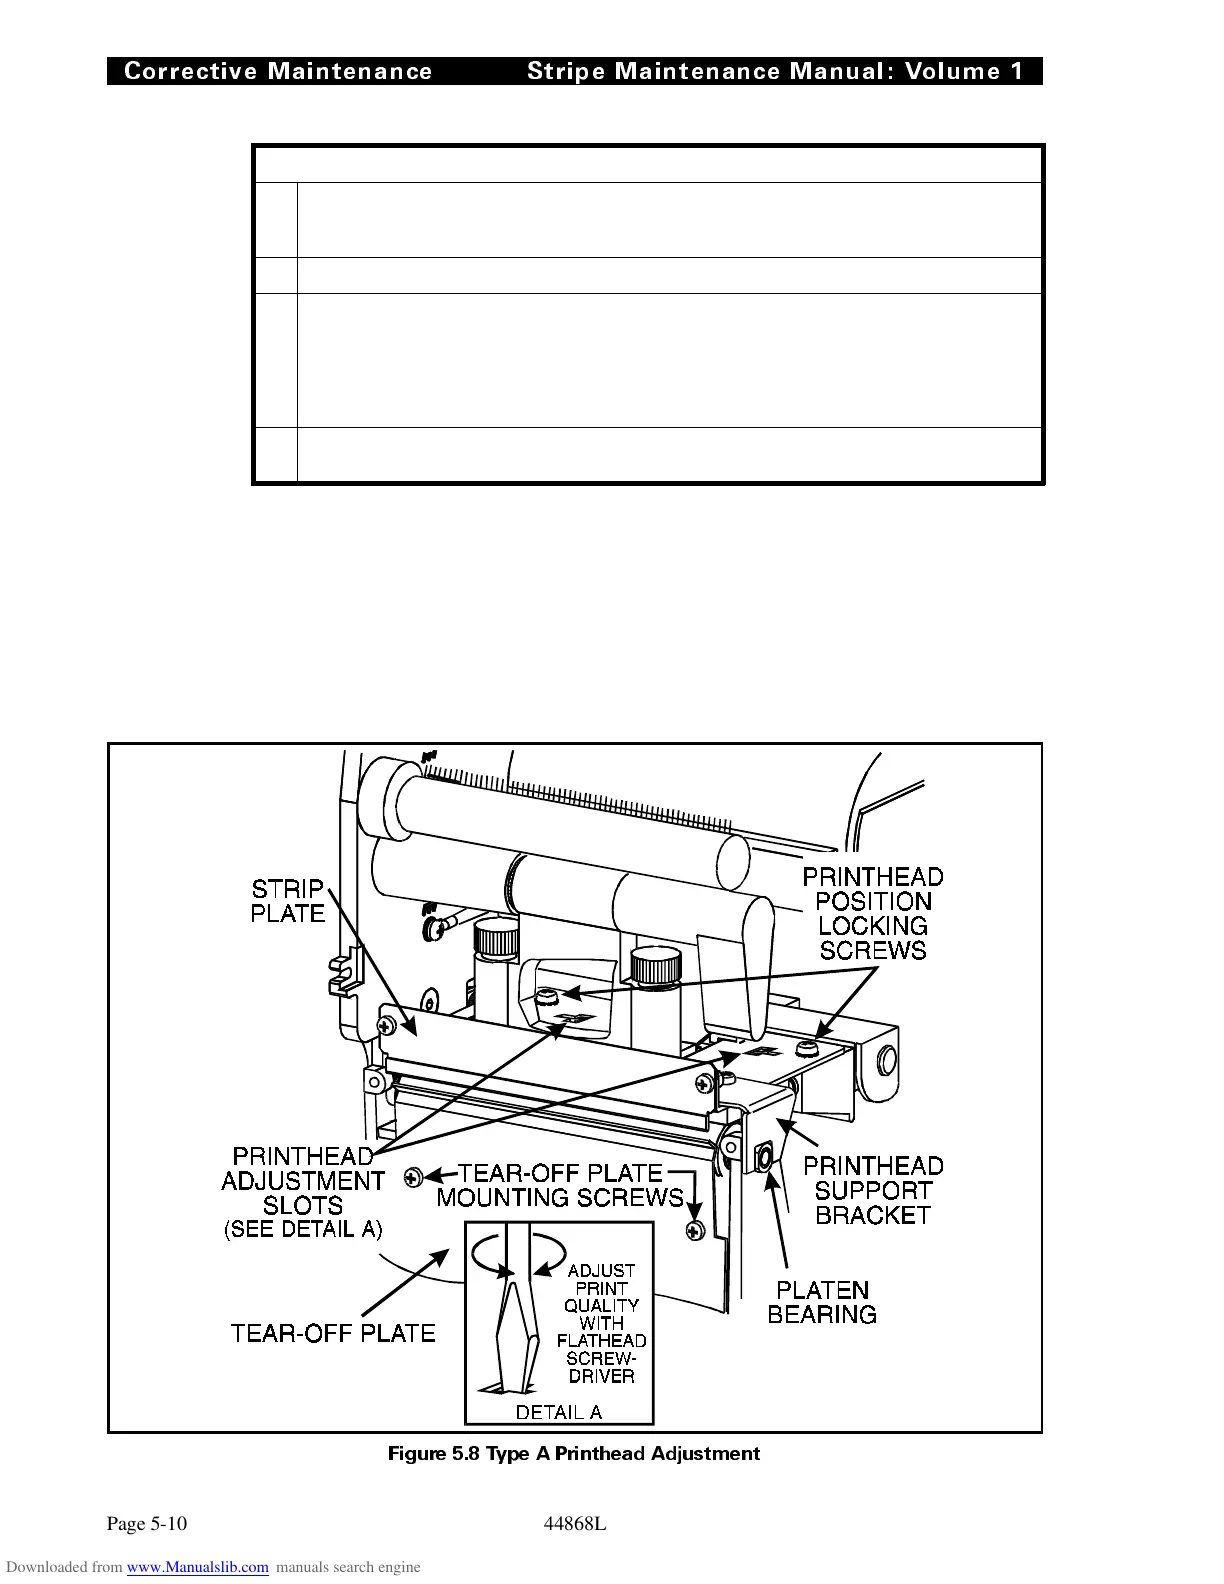
Figure 5.8 Type A Prin thead Adjustment
Corrective Maintenance Stripe Maintenance Manual: Volume 1
Page 5-10 44868L