Do you have a question about the Zeiss LSM710 and is the answer not in the manual?
Details the steps for powering on the LSM710 microscope, including main, system, component, and laser switches.
Emphasizes the critical 5-minute cool-down period for the Argon laser after shutdown to prevent damage.
Lists the correct order for turning off the LASOS panel, argon key, computer, mercury lamp, and main switches.
Provides solutions for when the RealTime computer is not communicating with the main computer.
Offers steps to resolve errors indicating devices are used by other software in Zen.
Explains the 'Locate' mode for finding samples and the 'Acquisition' mode for confocal scanning.
Covers key settings like frame size, scanning speed, averaging, bit depth, laser power, and gain for image quality.
Details settings for smart setup, pinhole, scanning direction, light path, tile scan, Z-stack, and objective lenses.
Guides users on activating tile scan, defining scan areas with overlap, and initiating the experiment.
Explains how to stitch multiple acquired images together using the processing tab in Zen software.
Lists free and paid software options for analyzing confocal microscopy images, including Fiji/Image J and CellProfiler.
Provides contact details for assistance with the instrument, procedures, or image analysis projects.
| Laser Wavelengths | 405 nm, 458 nm, 488 nm, 514 nm, 561 nm, 633 nm |
|---|---|
| Resolution (pixels) | Up to 4096 x 4096 pixels |
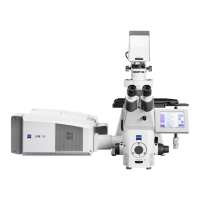
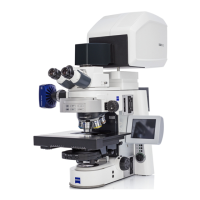
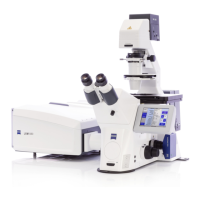
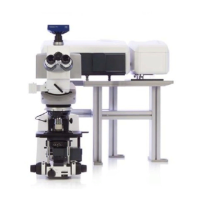
| Microscope Type | Confocal Microscope |
| Scanning Speed | Up to 8 frames per second at 512 x 512 pixels |
| Scanning Method | Galvanometric Mirrors |
| Software | ZEN software |
| Objective Lenses | Various objectives available (5x to 100x, air, water, oil immersion) |