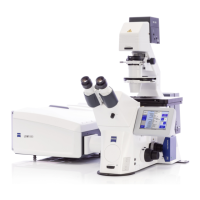
Using Zen software to run the LSM710
Refer to separate software guide: Zeiss_LSM710_Software_Guide_JWM.pdf
Double click Zen Black icon.
Select ‘Start System’ from the
Zen login window.
Zen Black will open with many tabs visible
Oil: Use Zeiss oil for the LSM 710. Minimize the amount of oil used. Clean up oil from both your slides and
the objective lenses (lens paper only). Use “splash” detergent to remove oil from your slides.
“Locate” tab is the “view by eye”, mercury lamp mode
This mode will allow you to find your sample and focus. Three filter cubes are available (DAPI (violet), GFP
(green) RFP (red) and 5 objective lenses: 4x, 10x, 20x, 40x (oil), 63x (oil).
“Acquisition” tab is the laser scanning confocal mode
Acquisition settings and practical tips
(green = initial recommended setting)
1. Click, “show all” at the top to see all settings.
2. Frame size (=X-Y pixel dimensions of image). Set to 1024x124 or 2048x2048. Best choice will
depend on zoom factor and objective lens used. “Optimal” setting will give maximum theoretical size.
3. Scanning speed. Set to 7. Slower speeds will give better images but will take more time.
4. Average imaging. Set to 4. This will remove noise (it averages the pixel readings). For slower scans
speed you can use less averaging.
5. Bit depth. Use 8-bit for normal imaging, 12-bit for quantification (use 12 bit for images with
bright and dim pixels). Bit depth is the number of gray scale values for the pixels.
6. Laser power. Avoid going beyond 20%. Higher power can damage the detectors and will
photobleach your samples. If you cannot see a good signal with 20% laser power and 700-gain
setting, you need to improve your staining or fluorophores to have a better signal noise contrast.
7. Gain. Less than 700. High gains give pixelated images. Low gains look better but require brighter
fluorescence signal.
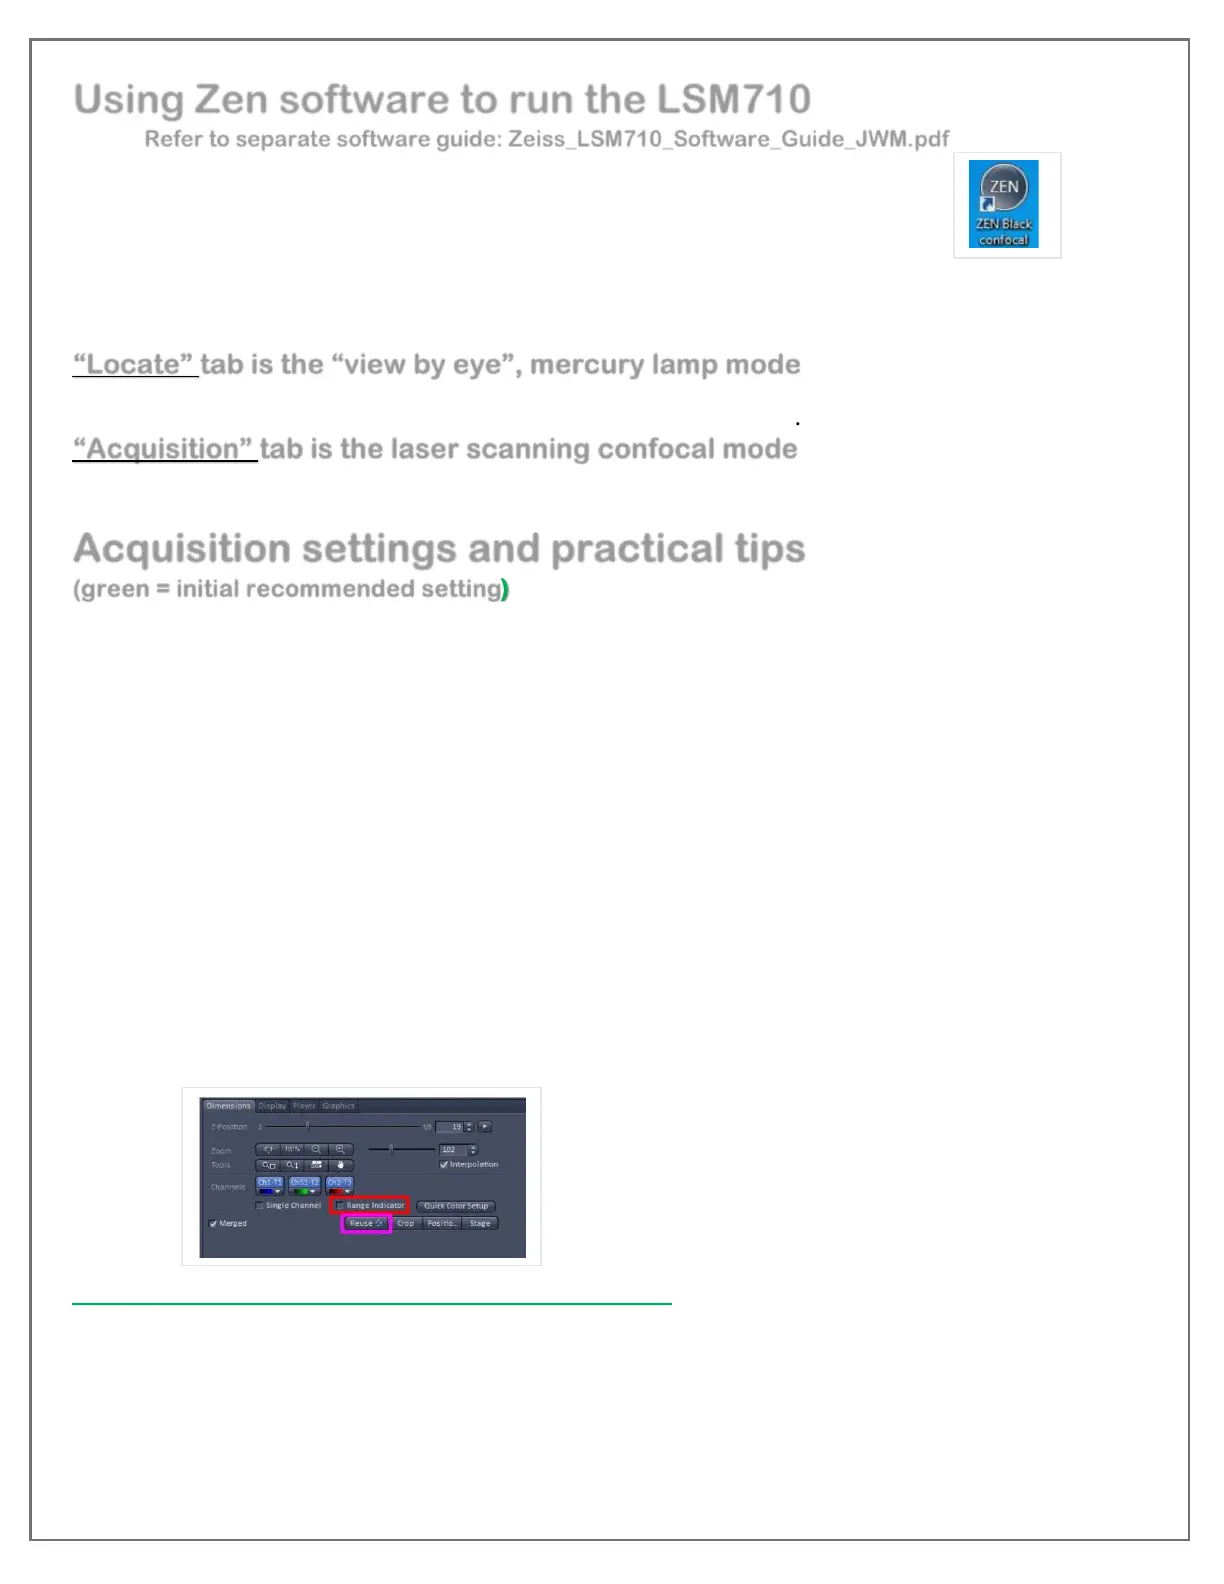
8. Use the Range indicator (red box below, bottom panel of Zen Black). Check this button to view your
saturated (red = 255) and black (blue = 0) pixels. Adjust the laser power and gain of each channel when
you hit “continuous” or “live” imaging (“Continuous” uses your chosen settings while “live” gives fast
live view).
Typical methods to get good image settings:
Set laser to 2% (default), press “Set Exposure” (upper left, auto adjusts image settings).
OR
Check Range Indicator, press “Live” (live = fast viewing) and manually adjust gain until pixels just begin to
saturate. Confirm image settings by pressing “Continuous”. Adjust gain and laser settings for best image.
Usually avoid saturation (a lot of red).
For lowest bleaching, use lowest laser power, slower scan speed, more averaging.
 Loading...