hitting each stave a little harder now as the bottom strap is
tightened. Don’t be afraid to hit pretty hard. Continue
tightening with wrench. At this point using the mirror,
any gaps should be virtually gone. If not, stop, back up a
few steps – loosen the straps a bit and distribute the gap
as described earlier.
Now do a final tightening - but don’t overdo it. The
bottom strap is pressing against the floor on the inside, so
it will reach a point where you can tell it is tight - don’t
force it beyond that. Use vise grip pliers to clamp onto
the aluminum block that the bolt passes through to keep it
from twisting as you do the final tightening. Stop when
you see noticeable deflection of the aluminum blocks.
This indicates bottom strap is tight enough.
The upper
straps don’t need to be as tight as the bottom. If it feels
tight, it is. Do a final adjustment on the top of the staves
at this time. Remember - the wood will swell to tighten
all joints further once water is introduced.
TIP: If you have a torque wrench – the bottom strap
should be tightened to about 40 lbs. of torque (similar to
a lug nut on a vehicle), the upper ones to a lesser amount
- about 25 lbs. of torque.
Next climb inside the tub and remove the temporary floor
braces. With a tube of clear silicone caulk, place a very
small (1/4”) neat bead all around the inside corner where
the floor and the staves meet. Use your finger or a
rounded piece of wood like a tongue depressor to smooth
the bead. Also put a very small bead on the top of the
floor seam. The purpose of the silicone is to slow the
initial seepage from the dry tub - allowing the wood to
absorb more water and swell more quickly. Your tub will
hold water as a result of the expansion of the wood,
causing the joints to compress.
Your tub is now ready for installation of the heating
system and any other accessories.
Section 9: Accessories
Install any accessories in this order:
1. Heating system - see separate instructions for
your type of heater
2. Benches - see below
3. Tub Shelf
4. Access Steps - see below
5. Cover - see below
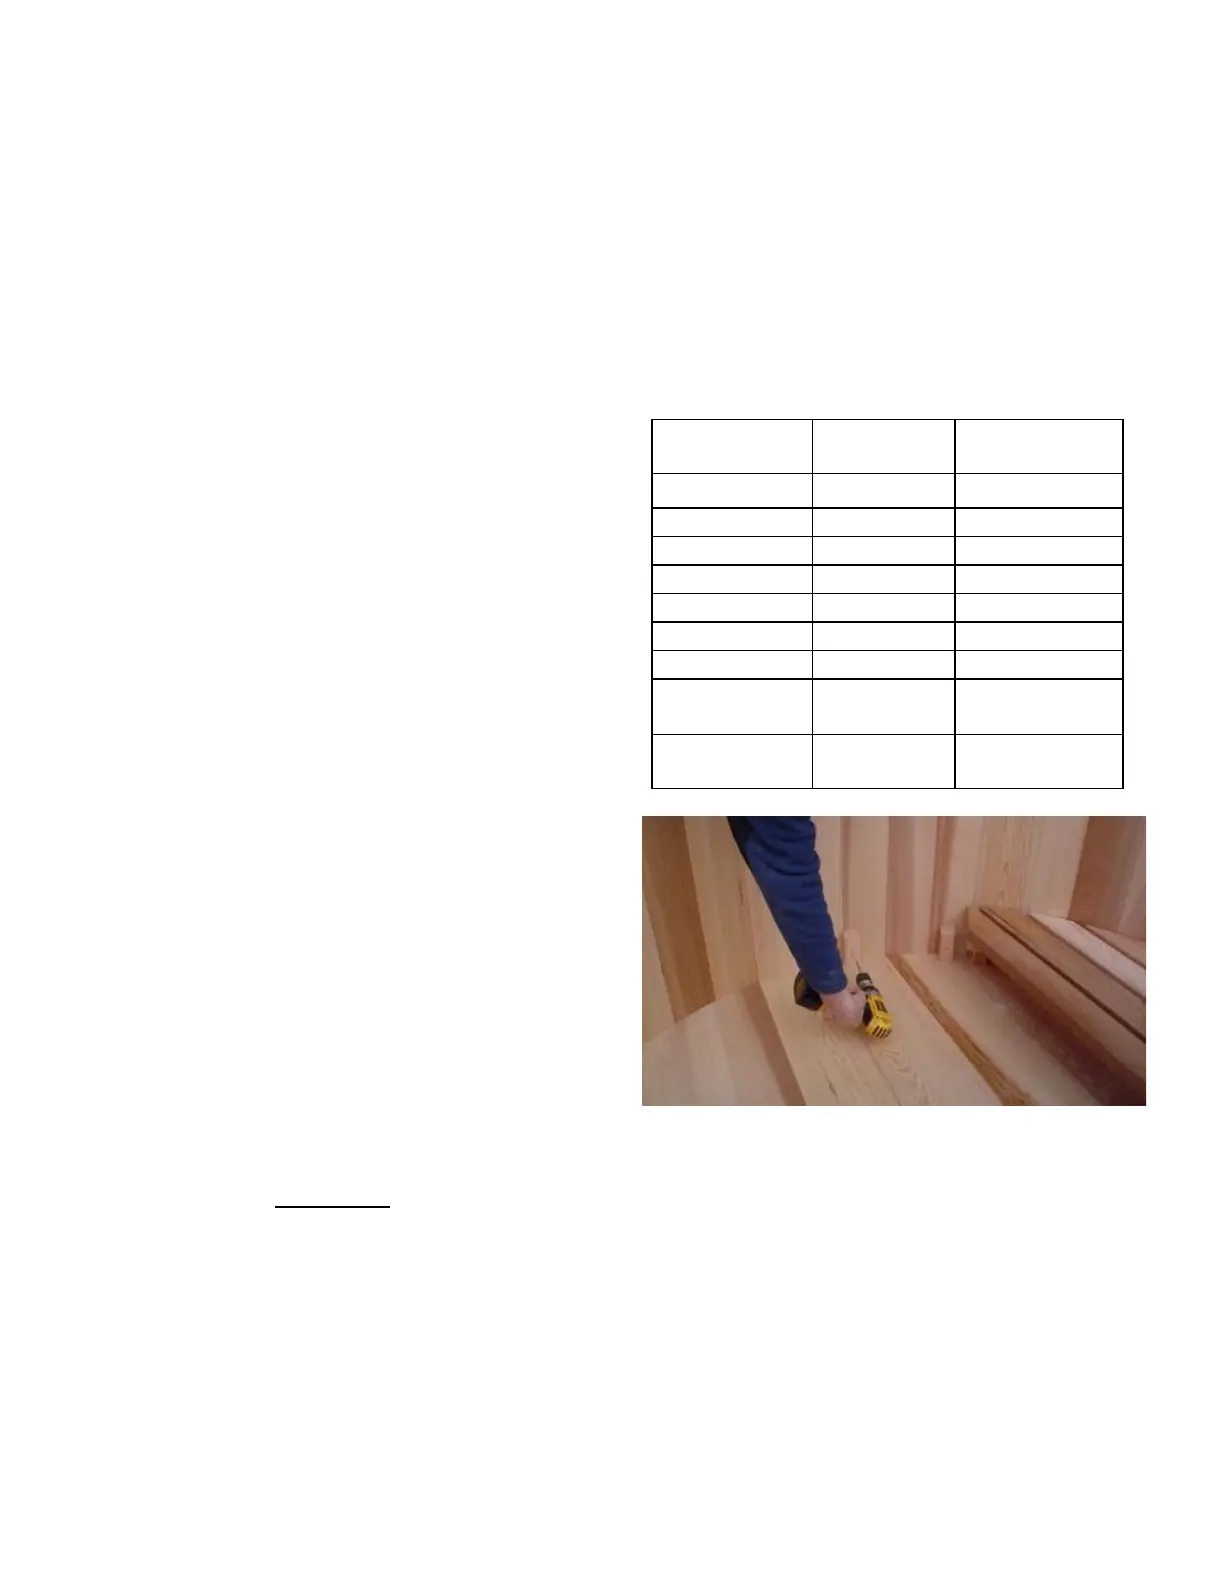
Figure 9.2 Aligning and attaching bench blocks – DO
NOT drive a screw into a seam between staves! This will
cause a leak.
A bench is typically held in place with four blocks, which
act as legs, which are screwed directly to the inside of the
staves with the included 3” stainless screws. The bench is
then screwed down to the top of those four blocks with 3”
deck screws. Place the blocks so you can screw down
through the bench frame between the slats and into the
top of the blocks. Place the benches so the drain is
accessible. See Figure 4.3 for typical orientation of