Section 8: Tightening
Time needed: approximately 30 minutes
This step is best done with two people, however it can be
done with one.
VERY VERY Important! Look under the tub rim (with
mirror) and confirm that any gaps between staves are
evenly distributed around the circumference of the tub.
Gaps larger that 1/16 inch should be addressed. The goal
at this point is to have any gaps between the bottom of
staves be no more than 1/16” AND distributed evenly
around the tub circumference. NOT all in one section. If
necessary, use your mallet to strike the staves from the
INSIDE OUT using a glancing blow to adjust the gaps
around the perimeter of the tub to achieve this even
distribution.
Now you can tighten each strap a little at a time - starting
with the bottom one. Tighten the staves incrementally in
stages - bottom first, then upper(s); this will be repeated
several times. One person will be tightening the bolt
clamp as the other person uses the rubber mallet and starts
on the side opposite the bolts, rapping each stave with
moderate force just above the lower strap where the
staves and floor join, driving them inward. Constantly
monitor with the mirror to confirm that the joints are
getting tight.
Always start opposite the bolts and do one half of the tub,
then the other. Have your helper take up the slack in the
bands by tightening the bolts as you do this. The staves
should be driven on slowly. The object is to set the staves
evenly around the tub. Work from the opposite side
toward the bolts in one direction, then from the opposite
side toward the bolts in the other direction. In this way
the tub is tightened evenly.
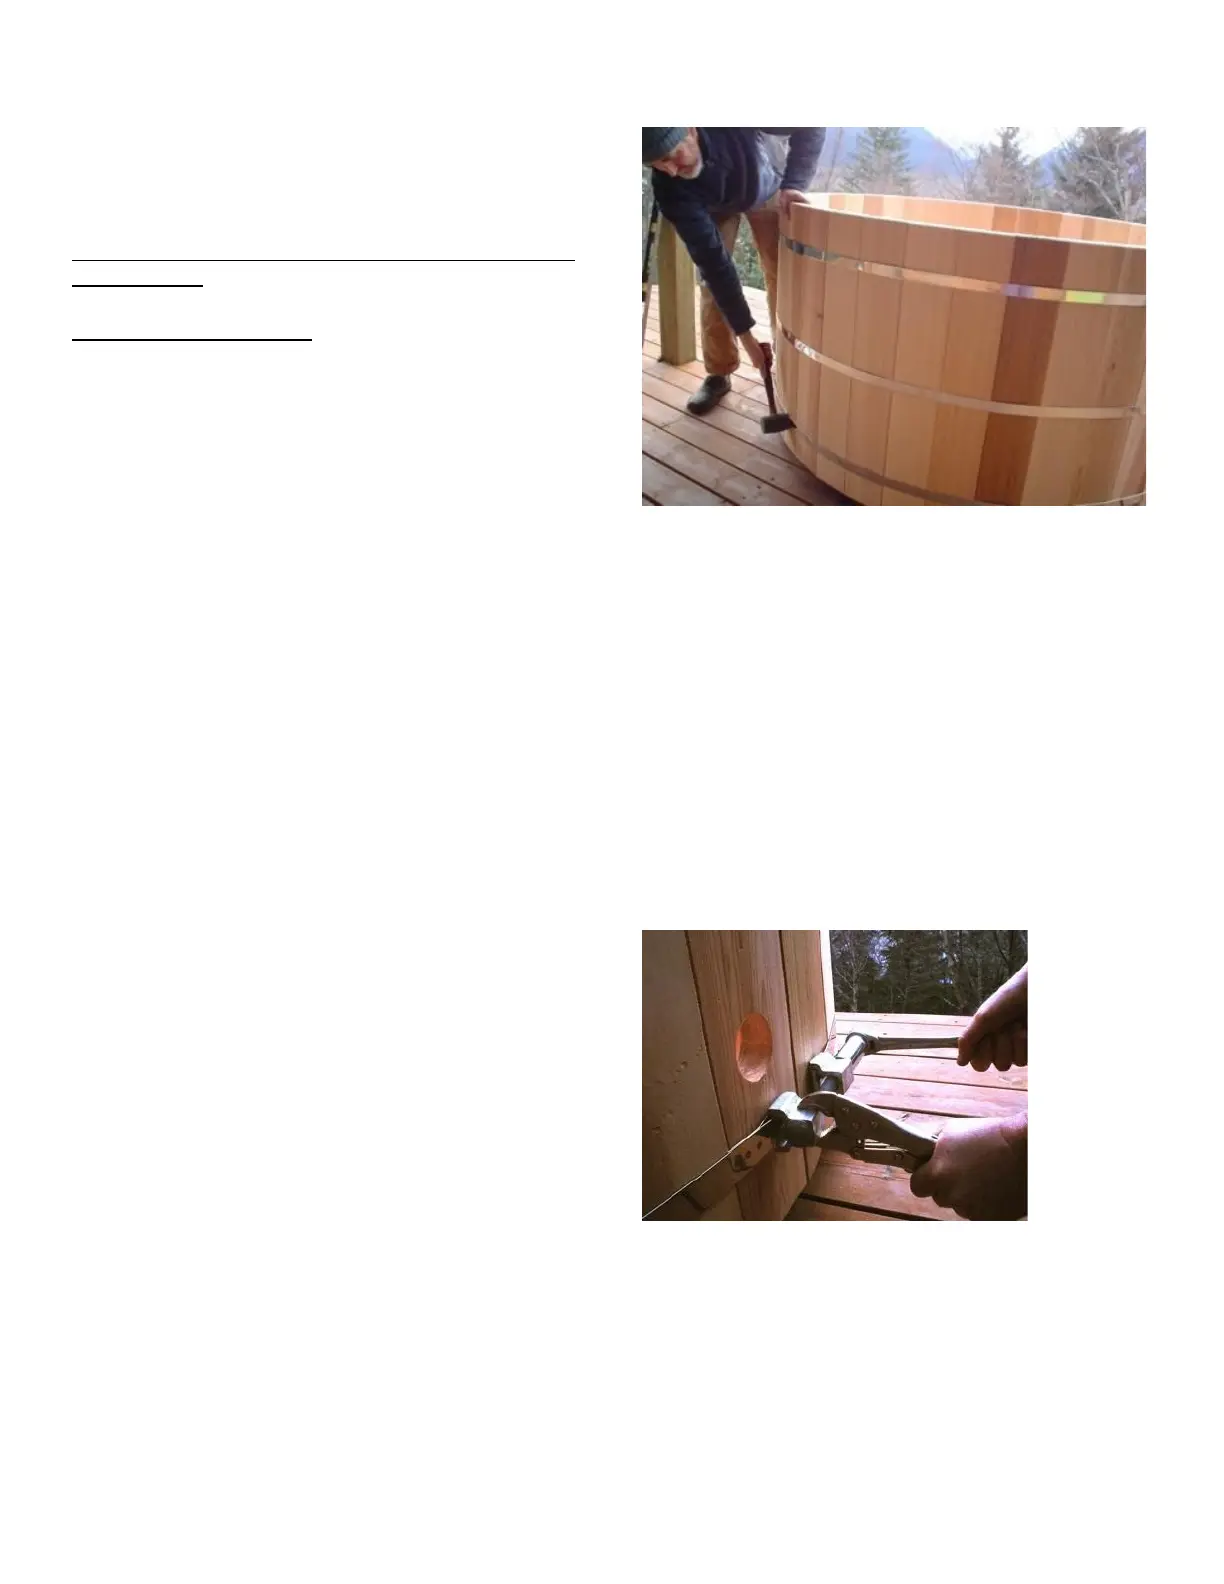
Work around the tub, hitting each stave with a firm rap
right on the bottom strap. You will see each stave seat a
little tighter. After one round of tightening the bottom
strap, stop and take up slack in the upper strap(s) so they
stay in position. Note: do not over tighten the upper
straps; they do not require as much tension as the
bottom one.
Figure 8.1 Hitting staves directly on the strap.
Double check the vertical placement of the straps now
before things get too tight. It is easier to move the straps
now. Use a tape measure to adjust the straps so they are
placed as shown in Figure 7-2 and Table. Step back and
make sure that the straps look level. Adjust as needed.
Now do another round of rapping with the mallet while
tightening the bottom bolt. Use the mirror continuously
to monitor any gaps as you go. This time hitting each
stave a little harder - a good full swing on each one as
your helper tightens the bolts. Alternate tightening each
strap a little bit, so that you can keep the tension on the
upper straps less than the bottom one.
Figure 8.2 Using pliers to resist as you tighten. Stop
when you see noticeable deflection of the aluminum
blocks. This indicates bottom strap is tight enough.
Upper straps should not be as tight.
Turn your attention to the tops of the staves. They should
be lined up nicely giving a smooth interior. If any need
alignment, use the mallet to hit them inward or outward to
bring them into adjustment. Do another revolution of