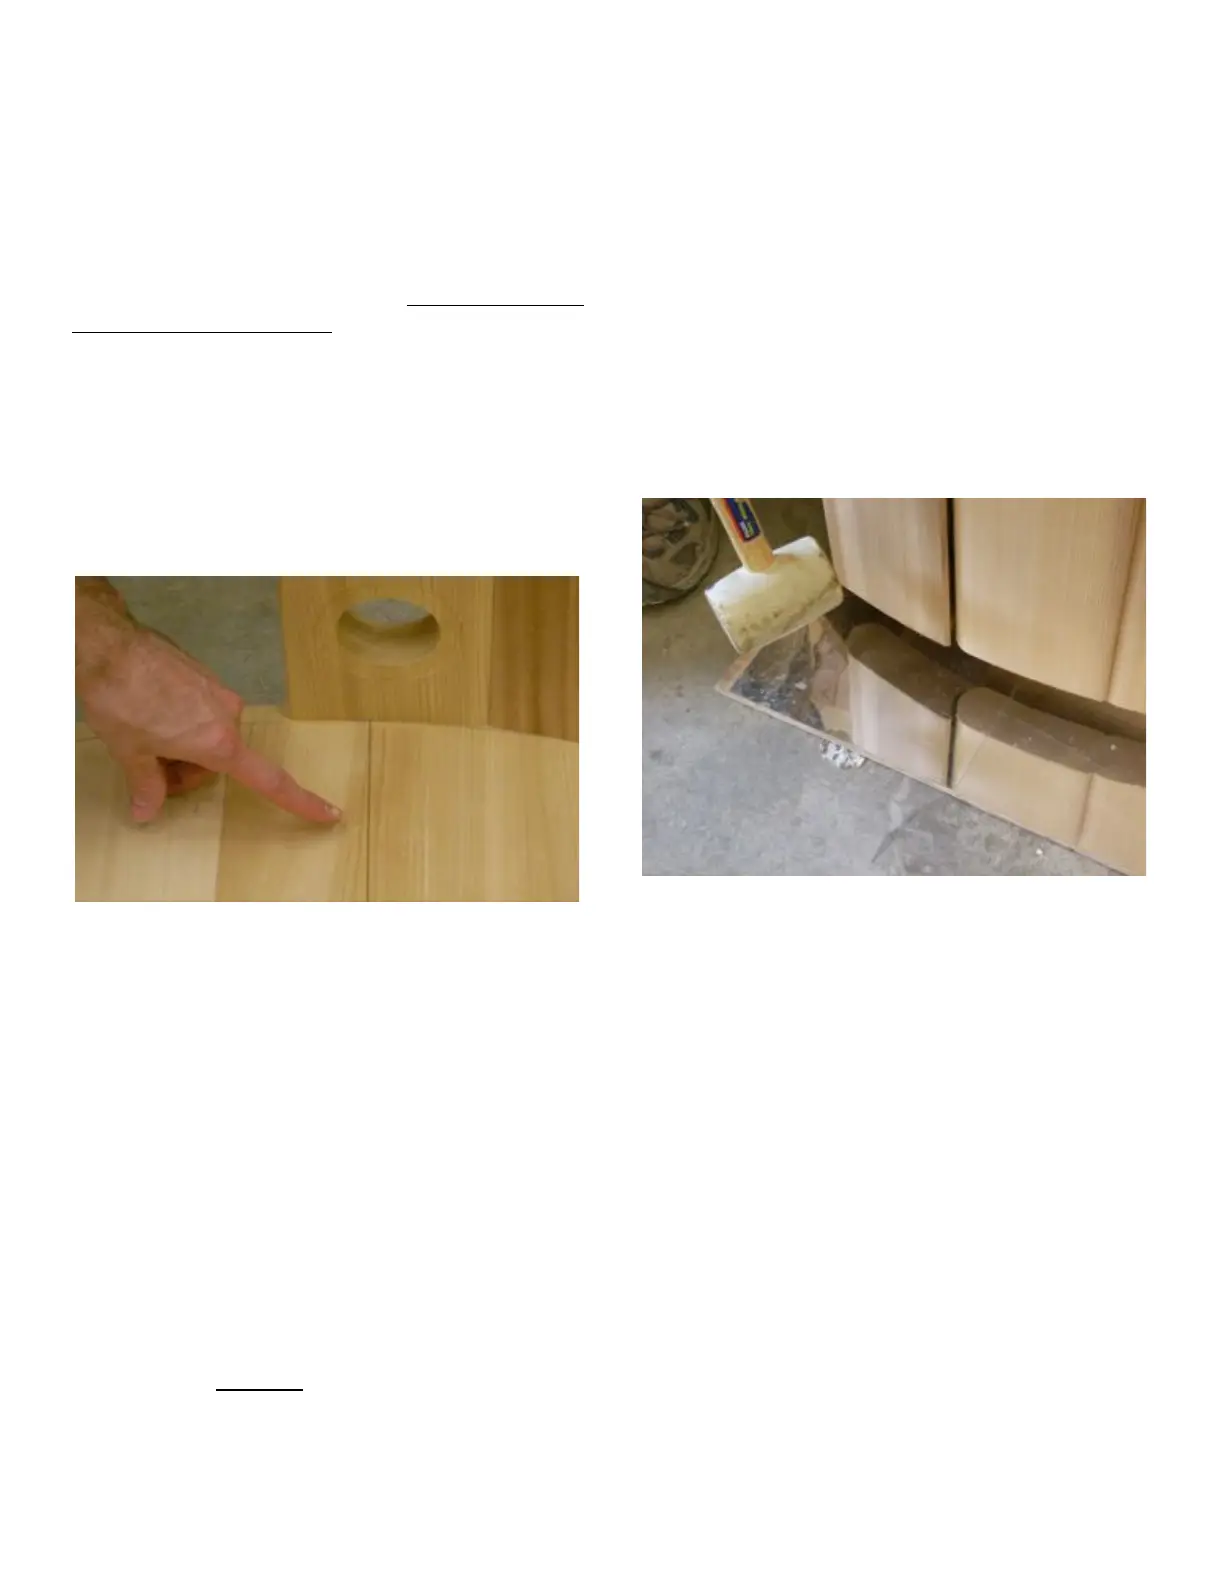
Choose a stave and place it so that it straddles the seam
between floor sections (Figure 6.1). The dado (groove
cut across the inside of the stave) fits over the edge of the
floor. With the rubber mallet, give the stave a light tap
on the outside about 4 inches from the bottom, directly
over the dado. The stave should then stand on its own
from the friction of the tapered joint. The amount of force
to use at this point is minimal
- just enough to get the
stave to bite the floor enough to stand on its own. Don’t
worry - you’ll get to hit them harder soon!
Notice that a pencil line has been scribed about 3/4 inch
from the edge of the top of the tub floor. Use this as a
reference line to judge if the staves are seated evenly as
you progress. At this point the staves will not reach the
reference line. That is normal.
Figure 6.1 First stave straddles floor seam (4’ellipse tub
has one piece floor and no floor seam, all others do).
AS YOU PROCEED - Check the edges of each stave
and remove any dirt or wood particles that could
interfere with a good seal.
VERY IMPORTANT! Use of the small mirror
included in the kit: A reflective mirror approximately 4”
x 10” is used to see what is going on the bottom of the
staves. The mirror may have a protective plastic sheet
over the reflective surface – Peel this layer off. Place the
mirror on the ground directly under the staves you are
adding. Use it to observe how tight and consistent the
gap is between staves. Use the mirror and mallet to adjust
this gap to keep it tight and consistent as you proceed.
Now work clockwise (to your left) and add a second stave
next to the first. DO NOT put silicone between the
staves. Use the mallet to gently tap the new stave first
sideways - mating the ball and socket - until snug with the
first stave inside and out, then tap it inward gently until it
to stays in place on its own. Tap the staves only on the
ball edge, NOT the socket edge which is more fragile and
could be damaged by the mallet. Add a third stave the
same way - always snug them tight sideways first, then
inward. It is not necessary to use much force at this time.
It is important to keep the staves tight sideways - however
a few small gaps (of 1/32 to 1/16”) are okay for now. This
is an important step so take your time. See Figure 6.2.
Work your way around the tub adding staves. The staves
will stay upright by friction from the bottom joint and
from the support given by the ball and socket design.
Figure 6.1.1 Mirror allows you to see the bottom of the
staves. USE IT!
After each set of about five staves is added, go back and
tap the previous staves inward to keep them from bulging
outward. Use the mallet to go back and lightly tap the
previous staves inward as they may loosen as you add
new ones. Use the scribed line to keep track of how
things are aligned. Small gaps at this point are okay (1/32
- 1/16 inch.) Use the mirror to constantly check for
consistency on the joints.