53
21. Dry fit the cabinet together, on its back, with the Front in place.
157
Look at those two little vertical
edges on the cabinet Top, at either side of the amp cutout. If you want to apply an edge detail to
this spot, like a roundover, but you want to leave the edge of the Front square, then YOU MUST
APPLY THAT DETAIL TO THE TOP NOW! You will have the dickens of a time detailing it later
without also messing up the Front, unless you are a crafty craftsman indeed. See also Step 48
below. Here in the Lab, we roundover the cabinet later, and we roll right across that front edge
as well, so we skip this step.
157
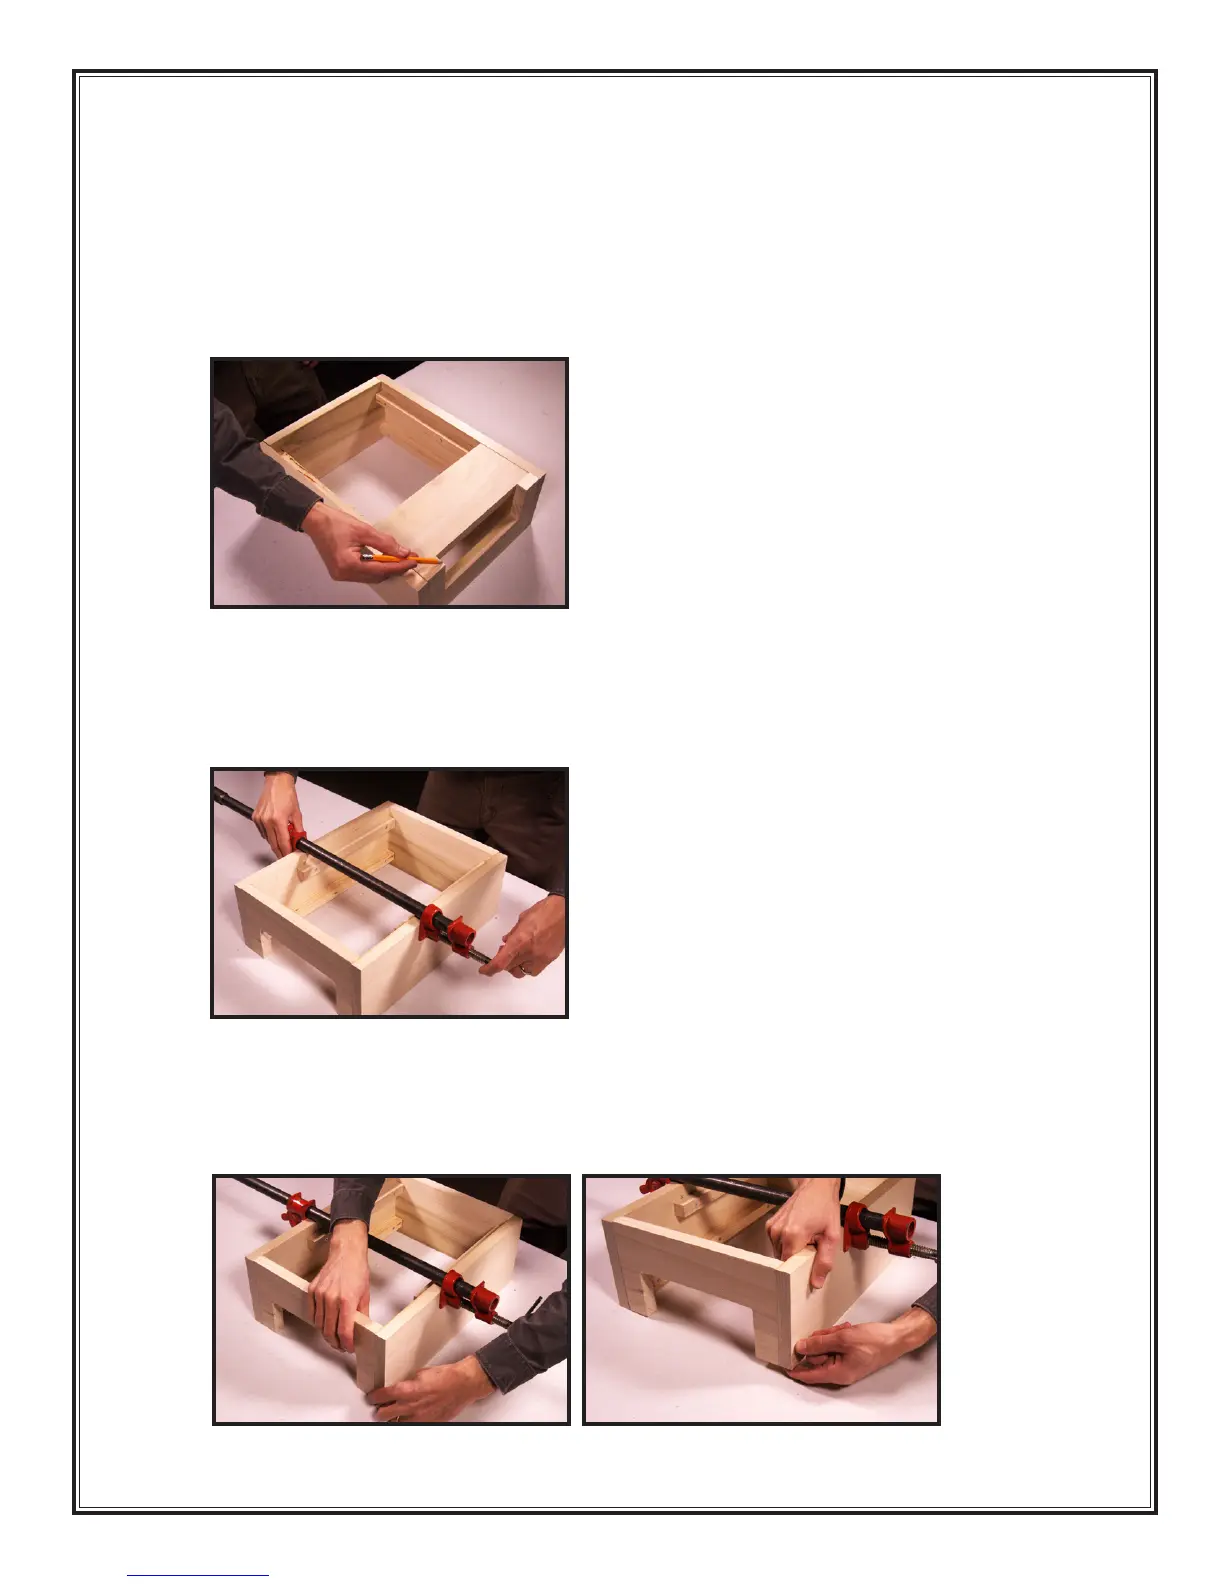
22. Now stand up the Top, Sides and Bottom on their FRONT edges on your clean, smooth, flat work
surface. Dry-fit them together. Use a bar clamp to snug the pieces together as shown.
158
Hopefully your clamps have plastic pads on the bearing surfaces. If not, DO NOT
OVERTIGHTEN the clamps or you will mar the wood. It just needs to be snug.
158
23. Pick one corner and line up the pieces of wood as carefully and accurately as you can.
159
Be
sure the faces (the sides touching the table) are flush to each other at the joint. If the parts are a
tiny bit uneven on the back face (that is, the side facing you), that’s okay; don’t worry about it
– it’s the back.
160
159 160