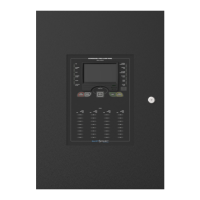
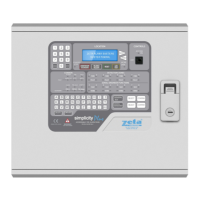
SIMPLICITY PLUS / SIMPLICITY MICRO – ADDITIONAL FEATURES. Software Version :PANEL-R6180 (Plus) R5780 (Micro)
Approved Document No: GLT.MAN-139 PAGE 6
Issue 1.00 Authorised: GH Date: 02/06/2010
6 CHANGING THE ALARM RESPONSE – I/O UNITS
Because a system could have several I/O units, each reacting to different types of events the simplicity system
adopts the following method for configuring I/O units:-
1. Select a default I/O unit operation (This is done from the Alarm Operation Menu)
This will then be the default operation of all I/O units on the system.
2. Any I/O units which need a different operation can be edited individually from the edit device screen
6.1 Types of I/O UNIT Operation
The simplicity now has the following types of I/O operation:-
I/O Com Operates output on ANY alarm
I/O Zn-D Operates it`s output on a DETECTOR alarm from it`s own ZONE
I/O Zn-A Operates it`s output on any alarm from it`s own ZONE
I/O Addr Operates it`s output ONLY when it`s own INPUT is triggered
I/O Link Special type used for Inter-panel link. Output operates on any alarm , EXCEPT from its own
address, AND the input is non latching and behaves similar to class change.
6.2 Setting Default I/O UNIT Operation
To set the simplicity panels default I/O operation, enter configuration menu 2, then
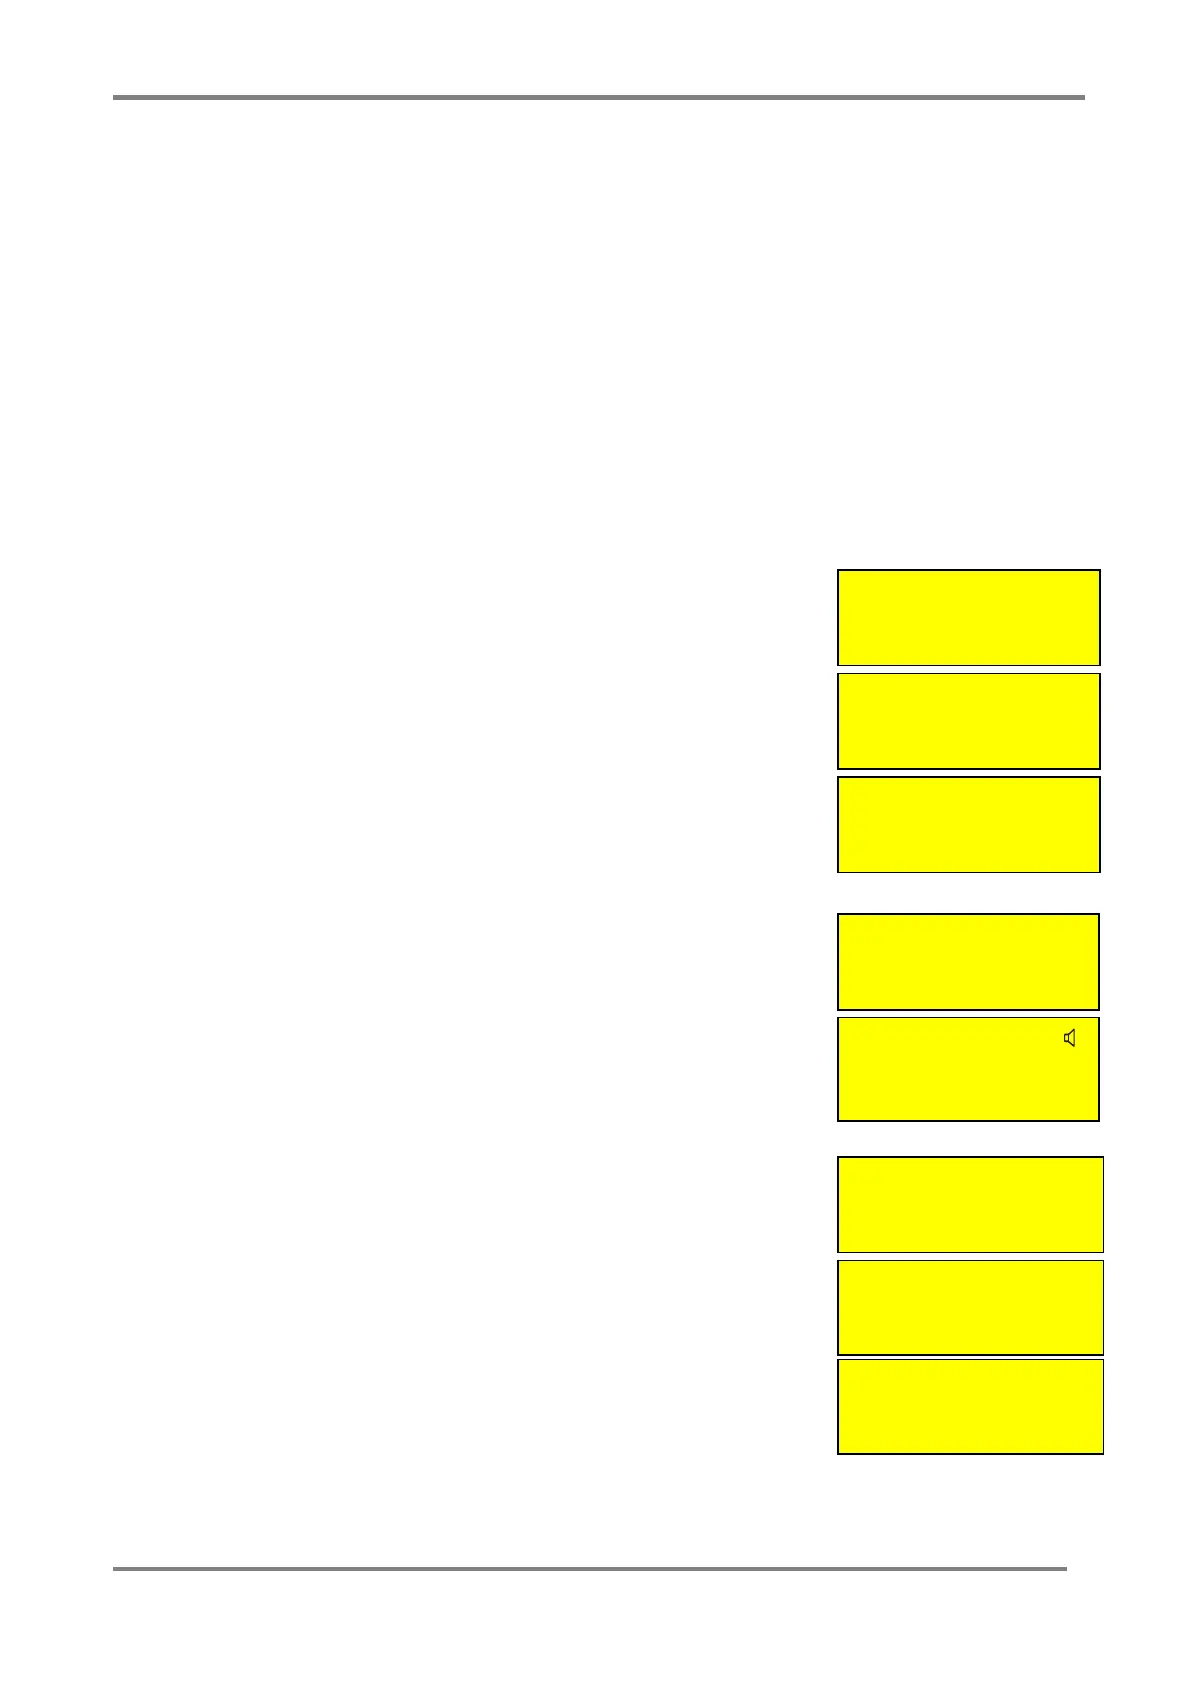
select config system to bring up the system menu
Select Option 3 (Alarms) to bring up the alarm operation Menu.
Select option 5 (I/O). This brings up the following screen.
Press Prev & Next to select the default operation, then press enter.
6.3 Setting Individual I/O UNIT Operation
To alter the operation mode of an individual I/O unit, go to configuration menu 2
Select Edit Device.
Scroll to the required Address
Press V to cycle through the different Variations of I/O configuration
7 SETTING THE LCD LANGUAGE
From Configuration menu 2, Select configure system (option 6)
Then from the system menu, select option 1 (Language)
Pressing Prev / Next will scroll through the available languages.
The currently supported languages are:-
English
Spanish
Portuguese
Hungarian
French
Other languages are available on request.
System Menu
1: Clock 4: Timing
2: Zones 5: Misc
3: Alarms 6: Reset
Alarm Operation
1: Det 4: Bases
2: MCP 5: I/O
3: Sounder
I/O Unit Operation
Common
ENTER to Confirm
Configuration Menu 2
4:Configure Loops
5:Edit Device
6:Config System <
I/O-COM
Analog: 16 Normal
Interface to Main FA
Zone:01 Ad:013
System Menu
1: Clock 4: Timing
2: Zones 5: Misc
3: Alarms 6: Reset
Misc Settings
1: Language
2: Version Info
Set Language
English
Press ENTER to Save
 Loading...