193mm
234mm
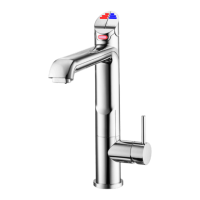
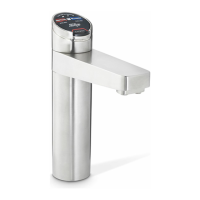
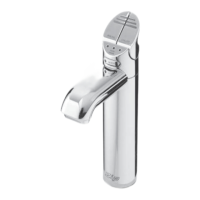
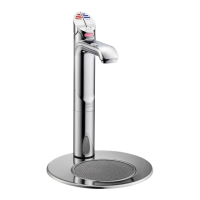
Positioning
Position the tap such that it dispenses into the
sink bowl with ample clearance for a cup or tea
pot.
Ensure that taps are positioned to minimise
the risks of scalding when dispensing
boiling water.
1
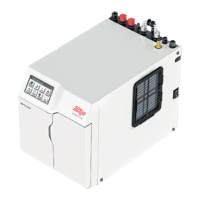
Position Command Centre
and Tap as close together as
possible. See below.
2
Cut the hole
Cut a Ø50mm hole in the worktop / sink.
Ø50mm
Check the hose, USB,and pipe positions on the base
clamp.
Familiarise yourself with the base clamp
Red marked
braided hose
Blue marked
braided hose
Blue
silicone
tube
Clear
silicone tube
USB cable
3
Red silicone
tube
Familiarise yourself with the tap connections
BLUE Chilled tube
RED
Boiling
tube
CLEAR
Vent
tube
USB
Sparkling
models
Mains connections
See
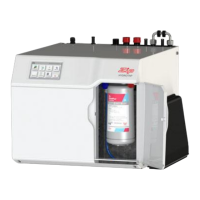
6
Command
Centre
quick guide
4
Mount and secure the tap
Base clamp
O-ring
Fixing
nut
5
Use a tube spanner to secure
the tap in place.
Using these instructions
Please refer to all safety and installation requirements
detailed in the Quick start guide provided with the
HydroTap Command Centre, and HydroTap Command
Centre installation instructions found online, prior to
installation of, or any change to, the complete system.
Before commencing the
installation,download
& read the HydroTap
Command Centre
installation instructions
Read the
instructions
WARNING
Tools needed for tap installation
In addition to normal tools, the following (or equivalent
equipment) will be required.
• 50mm diameter sheet metal hole punch for sinks.
• 50mm diameter hole saw for worktops.
• Tube spanner for fixing the tap assembly (supplied).
Min - Max pressure, kPA (bar)
Australia UK
HydroTap 170 (1.7) - 700 (7.0) 170 (1.7) - 500 (5.0)
Sparkling
HydroTap
250 (2.5 ) - 700 (7.0) 250 (2.5) - 500 (5.0)
Booster 200 (2.0) - 700 (7.0) 200 (2.0) - 500 (5.0)
Water supply pressure requirements
Be aware of the risks of hazards which could
cause harm when using tools. Assess the
risks before starting the installation.
Fit braided hoses, matching
the hose colours to the tap