801314 - Zip HydroTap BC, BCHA, AIO, Installation Instructions - Aug 2015 - V2.01 Page 21 of 40
1.18
Installation Instructions
External HOT & COLD
isolation valves
(Not supplied)
Tee piece
(Supplied)
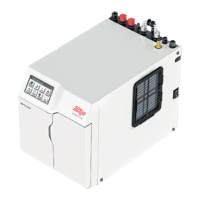
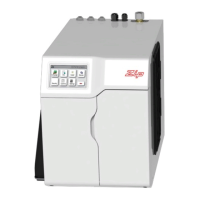
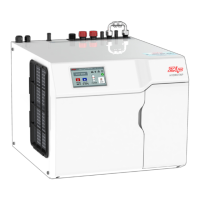
Typical All-in-1 Mains Installation (see section 5)
CLAMP
BLOCK
•
Screw the braided hoses
into the extension tubes.
Ensure the o-rings
are lubricated prior to
assembly and that the
braided hoses, with
coloured markings,
are correctly matched
with the colours on the
extension tubes and
on the clamp block (as
indicated).
•
Make sure all tubes and
hoses are firmly secured.
1.19
Note: All silicon tubes must
be cut to size. They must have a
constant fall back to the unit.
Braided
hoses
Vented braided hose positions
Mains braided hose positions
BLUE to
Mixer IN
HOT IN
from HWS
WHITE
Mains IN
RED from
Mixer OUT
Underside view
BLUE
Mains IN
RED
Extension
tubes
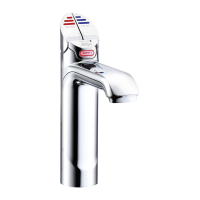
Typical Vented assembly
RED Hot
BLUE Chilled
Note:
- Mains hose
length is 750mm
- Plug and Cord
length is 1800mm
Position the under
sink unit close
to the outlet tap,
within reach of
the hose and cord
lengths supplied

 Loading...