Do you have a question about the Zippity WASHINGTON ZP19049 and is the answer not in the manual?
Key tips for successful and safe assembly, including surface protection and force usage.
Guidance on reporting and replacing faulty components via website or customer service.
Contact information and guidance for receiving help with product assembly process.
Instructions on how to initiate a product return and resolve issues before returning.
Pressure fit Rail End Caps onto the ends of the Gate Top Rail and Gate Bottom Rail.
Slide Gate Posts into rails and fasten with screws, aligning pre-drilled holes.
Attach Corner Brackets to gate rails and posts using self-drilling screws at internal corners.
Insert Pickets through the top and bottom gate rails, ensuring tabs snap into the bottom rail.
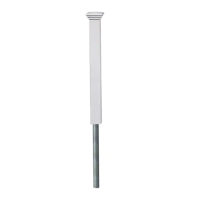
Pressure fit Post Caps onto the gate posts until they lock into place.
Align and fasten Hinges to the top and bottom gate rails using black self-drilling screws.
Align and fasten the Latch Finger to the top gate rail using black self-drilling screws.
Slide Posts into Horizontal Rails and fasten with screws, aligning pre-drilled holes.
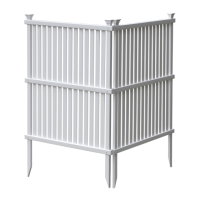
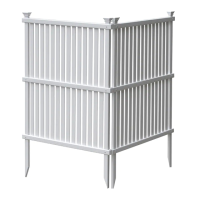
Insert numbered pickets through the horizontal top rail into the bottom rail of the gate wing.
Move gate wings to final location, ensuring correct post spacing as illustrated.
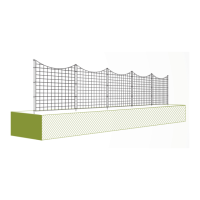
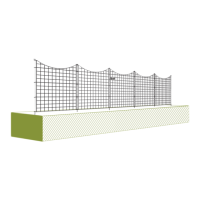
Push posts into ground; if hard, loosen soil, add water, and hammer gently.
Use auger bit to drill holes, fill with water, then push fence posts into the holes.
Level the assembled unit and backfill/compact dirt around posts to strengthen the base.
Finish assembly by pushing post caps down onto the top of the posts until they lock.
Align and fasten hinges to the horizontal rails of the gate wing using screws.
Align and fasten the Latch Catch to the gate wing's top rail using screws.
Use joiner clips to connect the horizontal rails of the gate and fence panels.
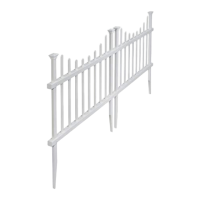
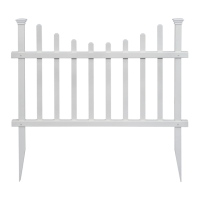
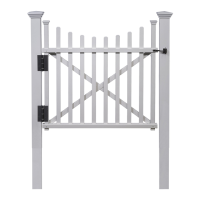
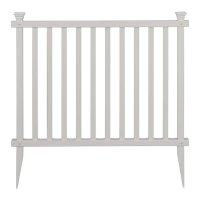
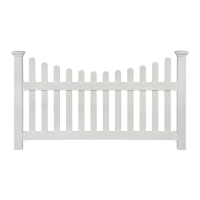
This document provides assembly instructions for the Zippity Washington Vinyl Gate Kit with Fence Wings (ZP19049). This product is designed to create a gate and two fence wing sections, with overall dimensions of 30 inches in height and 60.5 inches in width. The estimated assembly time is 45 minutes. A QR code is provided for accessing an assembly video.
The Zippity Washington Vinyl Gate Kit is an outdoor product designed to provide a functional gate and two attached fence wing sections. It is intended for use in outdoor settings, likely as an entryway or a decorative barrier. The gate allows for passage, while the fence wings extend the barrier on either side. The vinyl construction suggests durability and low maintenance, suitable for outdoor exposure. The kit includes all necessary components for assembling the gate frame, installing pickets and post caps, and attaching hinges and a latch for functionality. It also details the process for installing the gate wings into the ground and connecting them to existing fence panels (if applicable).
| Brand | Zippity |
|---|---|
| Model | WASHINGTON ZP19049 |
| Category | Fencing & Gates |
| Language | English |