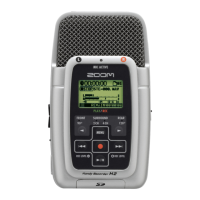
ZOOM H2
78
Other Functions
This section explains some additional functions and features of the H2.
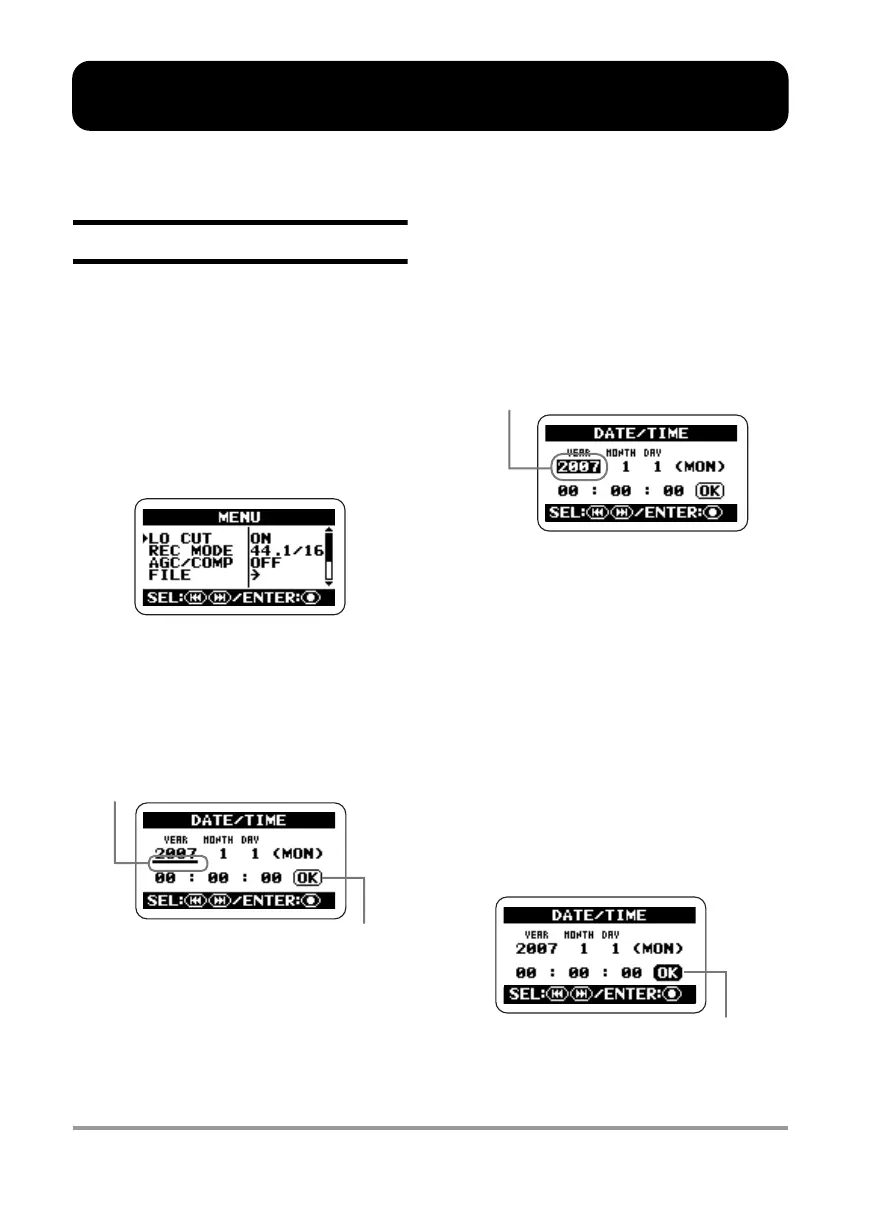
Setting the date and time
You can set the internal clock and calendar of
the H2. The setting is used for time stamping
the files created during recording.
1.
Bring up the main menu screen.
At the stereo mode or 4-channel mode top
screen, press the
4
(MENU) key.
2.
Bring up the DATE/TIME screen.
Repeatedly press the
3
(REW)/
2
(FF)
keys to move the cursor to "DATE/TIME" and
press the
5
(REC) key.
On this screen, the underline symbol functions
as a cursor.
3.
Set the date and time.
Use the
3
(REW)/
2
(FF) keys to move the
cursor to number you want to change and
press the
5
(REC) key. The number where
the cursor is located is shown in reverse. This
indicates that the number can be edited.
Use the
3
(REW)/
2
(FF) keys to change
the number indication, and press the
5
(REC) key to accept the setting.
Change other numbers in the same way.
4.
Confirm the date and time
setting.
Use the
3
(REW)/
2
(FF) keys to move the
cursor to the OK button, so that the button is
shown in reverse. Then press the
5
(REC)
key. The setting is accepted and the display
returns to the menu screen.
Cursor
OK button
Shown in reverse
OK button
H2-E.fm 78 ページ 2007年7月11日 水曜日 午後3時19分
 Loading...