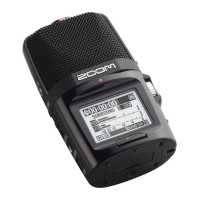
- Then move the cursor to SD CARD READER and press the PLAY button. The
computer and H2 will then go into online condition and the display will change to
show this connection.
The recorder will show up as an accessible external drive on your desktop from
which you can drag files, delete files etc. You will find your files in the STEREO
folder (by default in FOLDER01)
- To terminate the connection, always click “safely remove hardware”
icon (Windows) or drag and drop the H2 icon to the trash (Macintosh)
Things to check:
a) You must keep always monitor your recording both by listening and
watching the VU meter.
b) The number one Mistake is that you can ‘hear’ it but it doesn’t mean it has
recorded well. You must check both your head phone levels and the
recording levels.
c) The headphones have a left and right channel – make sure to wear them
correctly.
d) Make sure when you loan the equipment that the first thing you do is to ‘re-
format’ the disk (i.e. get rid of anyone else’s files that may have been
accidentally left on the machine).
e) DO NOT edit in machine - there is plenty of room on the disk. This will
only lead to disaster … believe us!!! You can dump and get rid of files once you
have transferred them onto the computer.

 Loading...