15
█
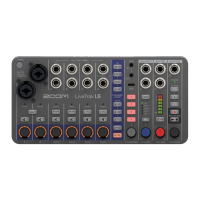
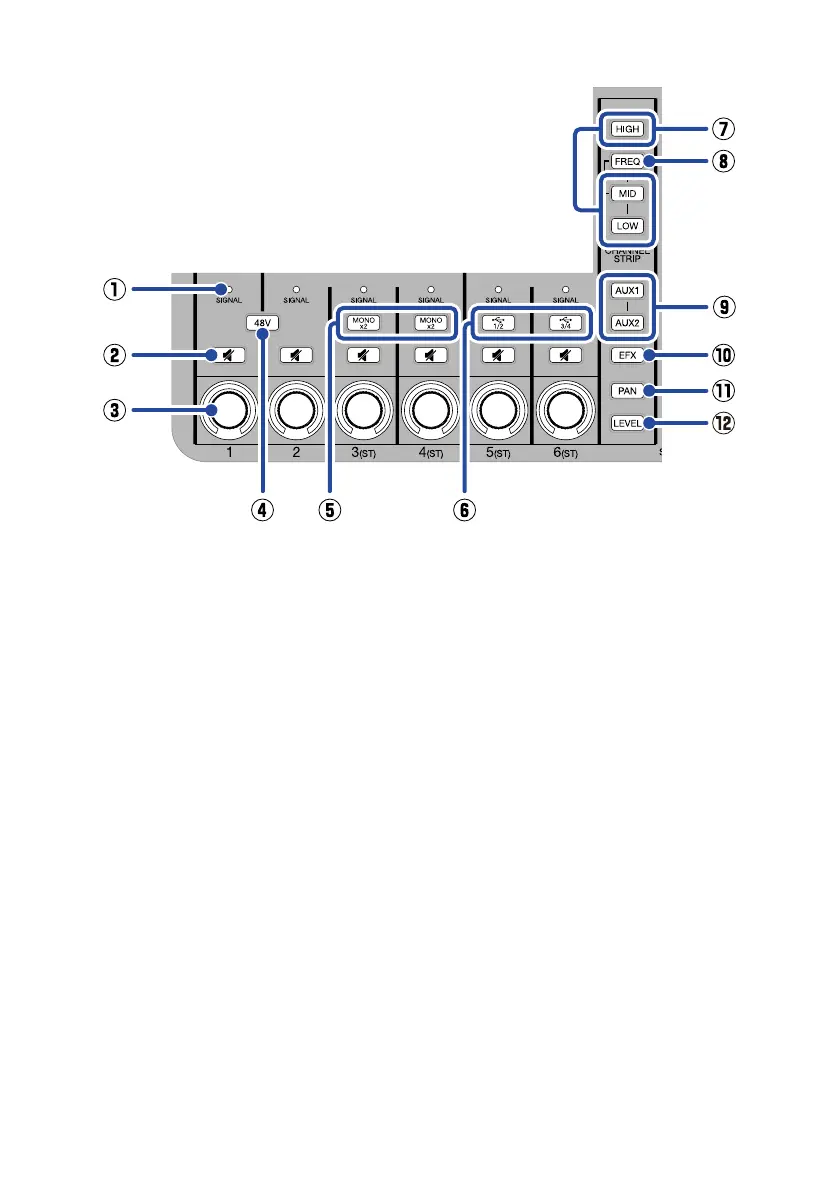
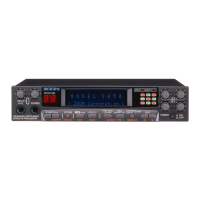
Channel section
①
SIGNAL indicator
This lights green when a signal is being
input and lights red when a signal clips.
②
Mute button
Press this to light it and mute that
channel.
③
Channel encoder
Use this to adjust the level, tone and pan-
ning of the channel along with its effect
and AUX send levels.
Adjusted levels are shown by indicators
around the encoder.
④
48V switch
Press this to light it and provide +48 V
phantom power to the INPUT 1 and 2
(XLR) jacks.
⑤
MONO buttons
Press these to enable input of 2 mono
signals on those channels.
Level, tone and panning settings as well
as effect send levels are shared by both
mono inputs.
⑥
USB 1/2 and 3/4 buttons
When being used as an audio interface,
press these to light them and input audio
from channels 1/2 or 3/4 of the com-
puter or smartphone.
When lit, audio cannot be input through
that input (5 or 6).
⑦
HIGH/MID/LOW buttons
Press one of these to light it, enabling
adjustment of the high/medium/low fre-
quency boost/cut.
⑧
FREQ button
Press this to light it, enabling adjustment
of the middle frequency band that is
boosted or cut (100 Hz – 8 kHz).
⑨
AUX1 and AUX2 buttons
Press one of these to light it, enabling
adjustment of the amount sent to the
AUX SEND 1/2 jack.
⑩
EFX button
Press this to light it, enabling adjustment
of the amount sent to the internal effect.